CWP is a free control panel that allows you to manage your site efficiently. You can use CWP with your VPS bought at Truehost if you have not planned on spending money on cPanel license.
We install CWP for you on all our managed servers. After that, you can migrate your website to the server using this simple step:
- Get a full cPanel backup of your site.
- Upload it to the CWP server
- Restore it
- Point your DNS to CWP server
Get a full cPanel backup #
All our shared hosting packages allow you to backup your account in full from the cPanel. You can follow this guide to get a backup of your account.
https://truehost.cloud/cpanel-backup-how-to-generate-and-download-a-manual-backup/
Upload Backup to CWP Server #
Using WHM to Upload Backup #
Once you generate a backup, the backup file will be stored on your cPanel home directory. You should download it to your computer.
To upload it to the CWP Server, follow the steps below
1.Login to your CWP server WHM interface. Use the link below on your browser. Replace 12.34.56.78 with your VPS IP
https://12.34.56.78/whm
The username is root and password is the root password we send after VPS is set up.
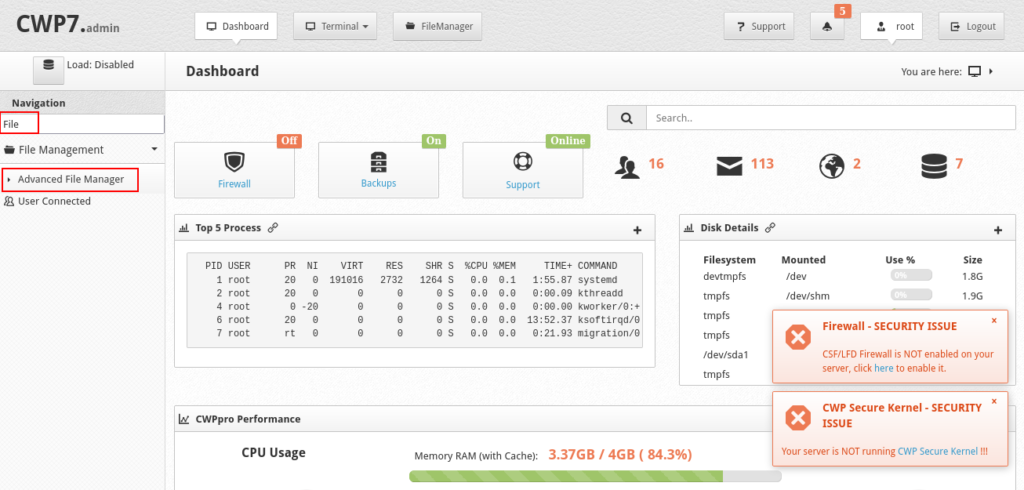
2.Once logged in, on your left side, use the Search Box there to search the word File Manager then click Advanced File Manager
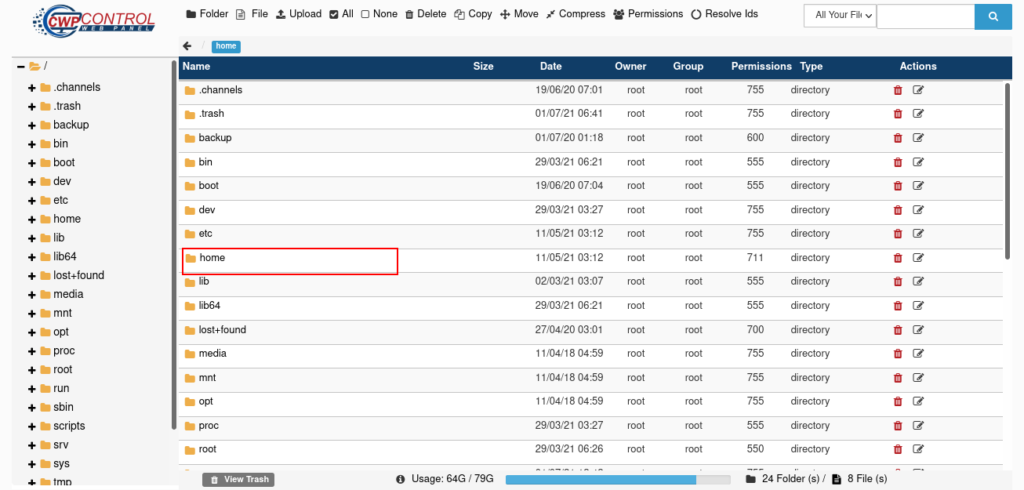
3. Click on home directory
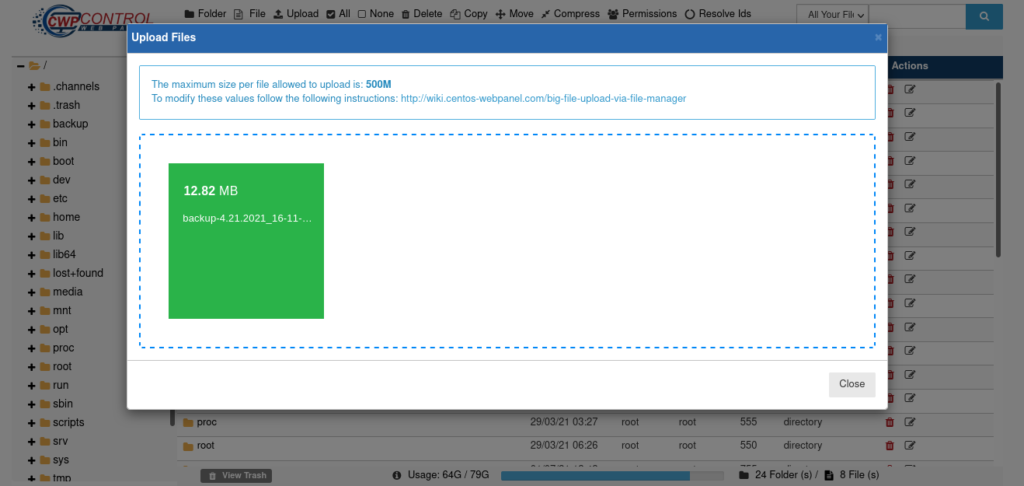
4. Click on Upload icon at the top of the page then select your backup file and upload
Using SSH to Upload Backup #
Alternatively, if your cPanel account supports SSH, you can easily use this command to migrate the backup directly to the CWP server
$ ssh backup-01.02.202-cpusername.tar.gz [email protected]:/home
Replace backup-01.02.202-cpusername.tar.gz with your actual backup file and 12.34.56.78 with your CWP server IP address.
Restore the backup #
1.Login to the CWP server via WHM again
2.On your left side menu, go to User Accounts >> cPanel Account Restore

3.On the drop down menus, under Account Import, select the name of your backup file. If it does not display, it means you did not save it under /home directory. You need to upload the backup file under /home directory as guided above
4. Select Account Package as default
5. Click Import

Point your DNS to CWP #
Now, login to olitt.com and create your DNS records as guided below