There has been difficulty with transfer of data from one server to another, and especially if the servers run different panels.
Well, more technical lads may be managing such transfers but with a lot of manual work, which we all agree to not like.
Non technical guys on the other end have been having nightmares with these kind of tasks especially if they do not have one of these common, user friendlier panels like cPanel.
There has especially been challenges moving email files from cPanel to a server that runs CyberPanel due to compatibility issues. Most users would move website data and databases manually but not email data.
This is article guides you on how to move both your website and email data from cPanel to CyberPanel without manual configurations. Let’s do this, shall we?
NB> This guide assumes that;
*You have a server with CyberPanel already installed. Click here or here to see how to.
*You are moving all files/websites on the cPanel to CyberPanel, and not just one addon domain.
Step 1: Prepare the Full Backup file from cPanel #
Yes, you will need to create a full cpanel backup, and have it saved in the format of filename.tar.gz.
In this case “filename” is whichever name that you give your file.
Most cPanel backups will look like backup-3.2.2024_12-21-02_cpaneluser.tar.gz as in the image below;

Step 2: Upload the backup file to the CyberPanel server #
Now that you have the full cPanel backup, you will uplaod/download the backup file to any location on your Cyberpanel server. We recommend that you create a folder in /home/backup then save the file there.
You can download the file to your computer then upload it to your CyberPanel server using FileZilla OR, you can use the wget command to download the file from the cPanel to the VPS using a download link. For you to use the second method, DNS of the domain that will be used as the download link should be pointing to the server where the backup was created.
See the video at the end of this article to understand better.
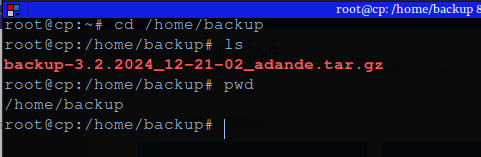
The image below shows our sample file saved in /home/backup
Step 3: SSH into the CyberPanel server and restore the backup
#
Having copied the backup to your Cyebrpanel server, you now need to access the server via SSH and restore it.
If you got your VM from Truehost Cloud, then you were sent SSH logins to your email.
Also, Cyberpanel is usually installed while logged into SSH and since you have it installed, I suppose you already have SSH logins. If you do not have them, please check with our support team for help.
For example, if my server IP is 123.456.789, then I will SSH into the server using this command below;
ssh [email protected] (replace 123.456.789 with your actual server IP)
You will be prompted to input the user password. Proceed to input it, then hit ENTER.
Once you have successfully logged in to SSH, navigate to the folder where you saved your backup file.
In our case it is /home/backup.
cd /home/backup
Use the ls command to confirm that the file is there.
Run the restore command below. Note that the path option has double dashes with no space in between them (- -)
/usr/local/CyberCP/bin/python3 /usr/local/CyberCP/plogical/cPanelImporter.py –path /home/backup/
Note that in the restore command above you will specify the path to the directory that file that you want to restore. In our case the file is in /home/backup thus the command will be as above;
If you have more than one file in the folder, then mention the name of the specific file that you want to restore, as shown below. NOte
/usr/local/CyberCP/bin/python3 /usr/local/CyberCP/plogical/cPanelImporter.py –path /home/backup/fileName
Time taken for the restore to complete depends on your backup file data size.
If the data is too large, go make a cup of tea and wait for the results.
After the process is completed, you will see a log message line:
Backup logs to be generated in /home/cyberpanel/7366
To view the contents of the Log file, use the following command:
tail /home/cyberpanel/7366
Step 4: Check the data #
Having restored the backup, you now want to check your data to confirm that it is there.
Go to Websites –> List Websites to see the websites.
However, there is just one issue. If your cPanel had multiple domains, lets say the main domain and some addon domains, only the main domain will be seen under Websites section.
The addon domains will be seen under child domains/subdomains, and their document root folders will be found in the public_html of the main domain. The addon domains should work well that way.
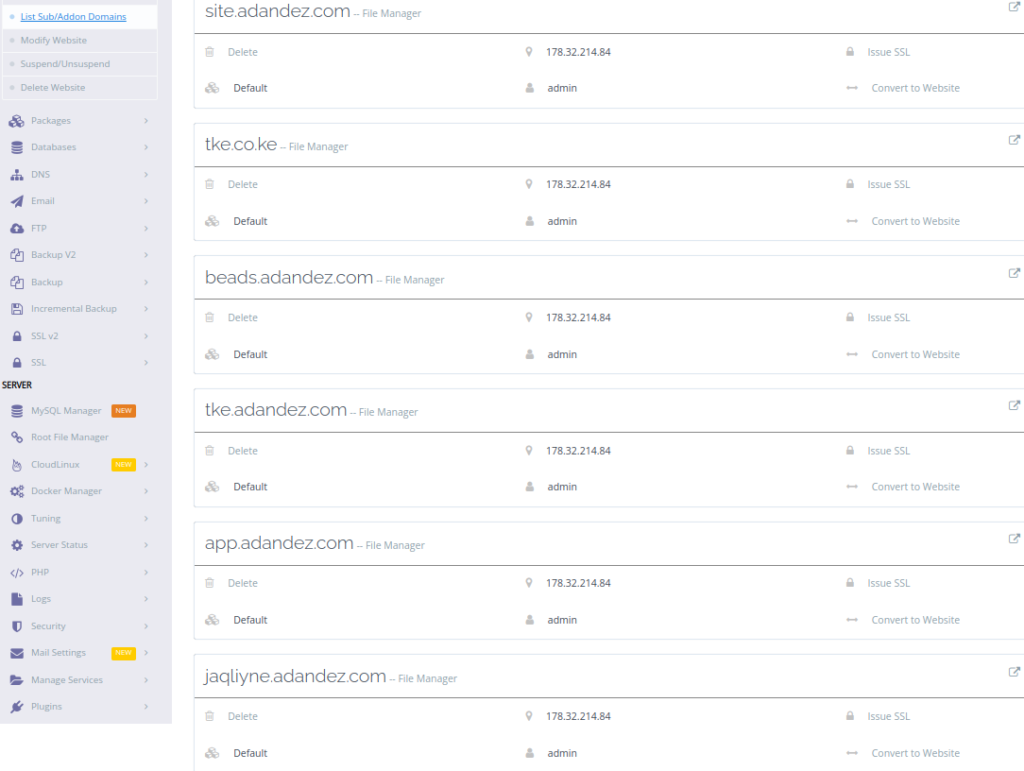
However if you want them to appear under websites as stand alone domains, you can convert them to websites using the convert to websites button that is highlighted in the image below.

Note that your databases and mailboxes are also moved thus you will not need to do manual configurations again
That way, you have moved the files from cPanel to Cyberpanel.


