You have a WordPress e-commerce website on a shared hosting package. However, due to resource limitations, you opt to upgrade to the E-commerce Lite Hosting package. Great! In this guide, we will look at how to move your website to the e-commerce package.
We will require two items:
- Zipped website file
- Database files (.sql)
Compress Site Files and Export Databases
First, you will access your cPanel, then access your website files through File Manager.
Copy WP-config (and any other custom files) to the WP-content folder, then compress (or zip) the folder. Then Download the zipped file.
Access phpMyAdmin of your cPanel dashboard. Then export your database.
Access CloudPanel Dashboard and Create WordPress site.
Access your e-commerce server dashboard through the link: https://ip_address:8443. Enter the username and password. To get the username and password, follow this guide: https://truehost.com/support/knowledge-base/how-to-login-to-cloudpanel/

Create a new site by clicking Add Sites. Then create a new WordPress Site. Guide to create WordPress site: https://truehost.com/support/knowledge-base/how-to-create-a-wordpress-site-on-cloudpanel/
Upload WP_Content Folder
We will then upload the zipped file we downloaded earlier. Click Files, then navigate through the domain folder, then open the htdocs folder. You will see the WordPress files and folders there. Right-click to upload the file there. Select the file then upload. A blue bar will appear on top of the table showing the progress of the upload.
Rename or delete the wp-content folder created by WordPress. Then extract the wp-content folder from the zipped file. Move wp-config (and any other custom) file from the wp-content folder to the htdocs folder.
Create A Database
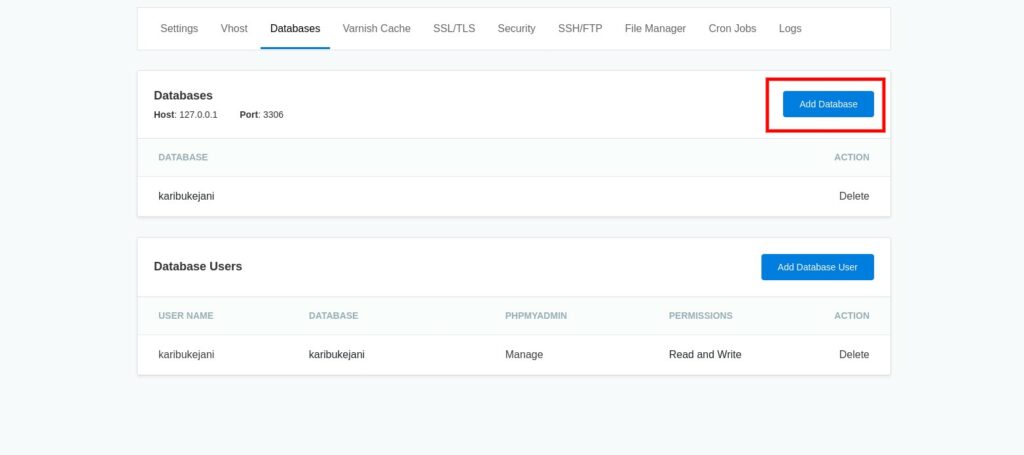
Then create a database for your website on the Cloudpanel. Click the Database tab on your site dashboard. Create a database and a database user. You can create the database with the same name as the database name on cPanel.

Note: If you make any changes in the database name, user and/or password, you need to update wp-config file with the correct credentials.
Upload Database
Click File Manager tab on the site dashboard. Upload the database file there.
Import Database
Login to your VPS through SSH terminal. Then navigate to the directory where you uploaded your database files.
Use the following command to import your database files:
clpctl db:import --databaseName=my-database --file=dump.sql.gz
Make sure to replace my-database with your database name and dump.sql.gz with your database file name.
Change DNS Records
You can now change the DNS records to point to your e-commerce hosting. Use this guide to point your DNS to the e-commerce hosting: https://truehost.com/support/knowledge-base/how-to-register-on-olitt-and-manage-domain-dns/
Install SSL
Install SSL. You can install the SSL through this link: https://truehost.com/support/knowledge-base/installing-ssl-on-cloudpanel-site/
If the migration was successful, your WordPress site should load as it was on the cPanel.


Leave A Comment?