WordPress is one of the most popular Content Management Systems used. Because of its popularity, most panels are meant to host WordPress sites. Plesk or Windows hosting is one of the panels that are used to host WordPress sites.
In this article, we are going to see how to upload a WordPress website to Plesk.
Requirements: #
- Backup of your WordPress files (Should be in .zip format)
- Backup of your Database (Should be in .sql format)
- Patience and a learning spirit.
Step 1: Log in to your Plesk account. (Use the login details that were sent to your email.)
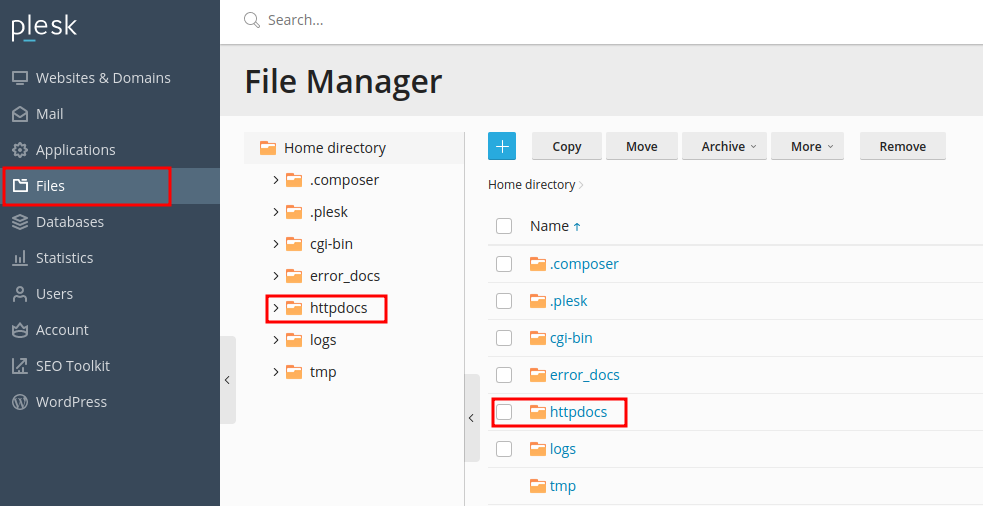
Step 2: Click on Files on the left side menu. Then proceed to click the httpdocs folder to open in.
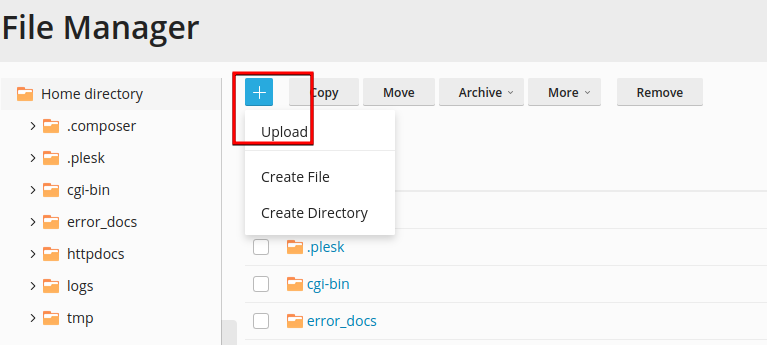
Step 3: Click on the “+” sign and choose upload from the drop-down that appears.
Step 4: Extract the zip file that you have uploaded, containing your WordPress files.
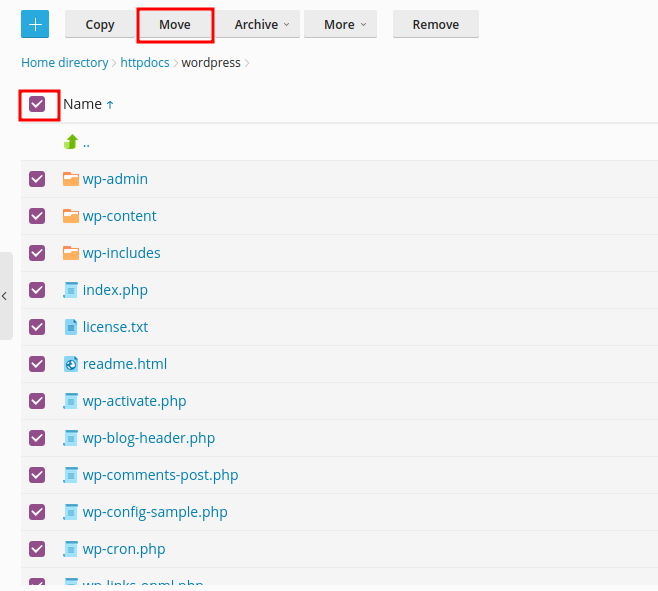
Step 5: Upon extracting the zip file, you will have a folder called WordPress. Open that folder, select everything under it and click move.
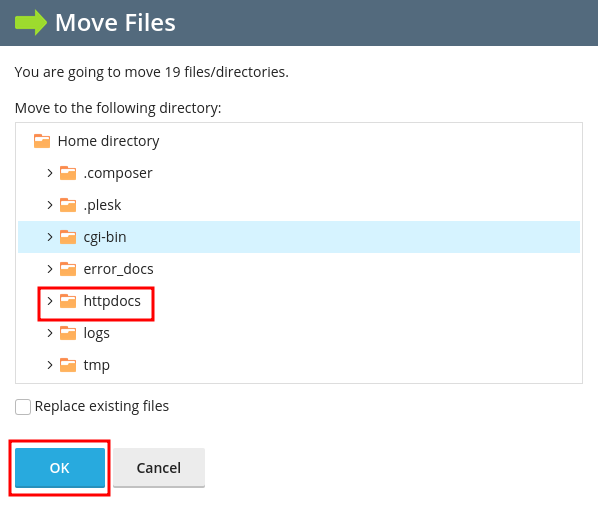
On the next page select the destination of the file. In our case, we will select the httpdocs folder and click OK
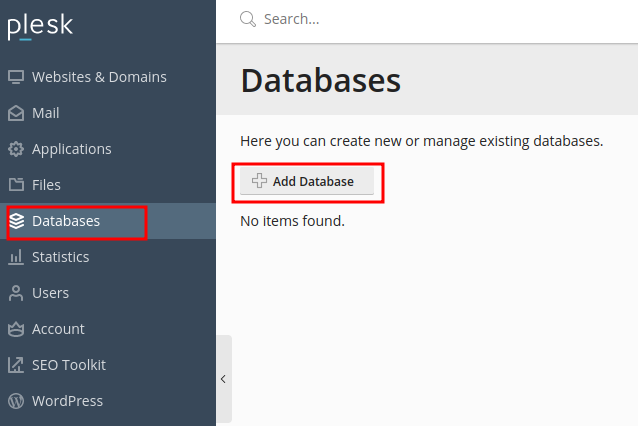
Step 6: Click on Databases located on the left side menu and then Add Database. Fill in the database name, username and the password on the next page.
Step 7: Under httdocs folder open a file called wp-config.php enter the database details that you created in step 6 above. That is the database name, database username, and the database password.
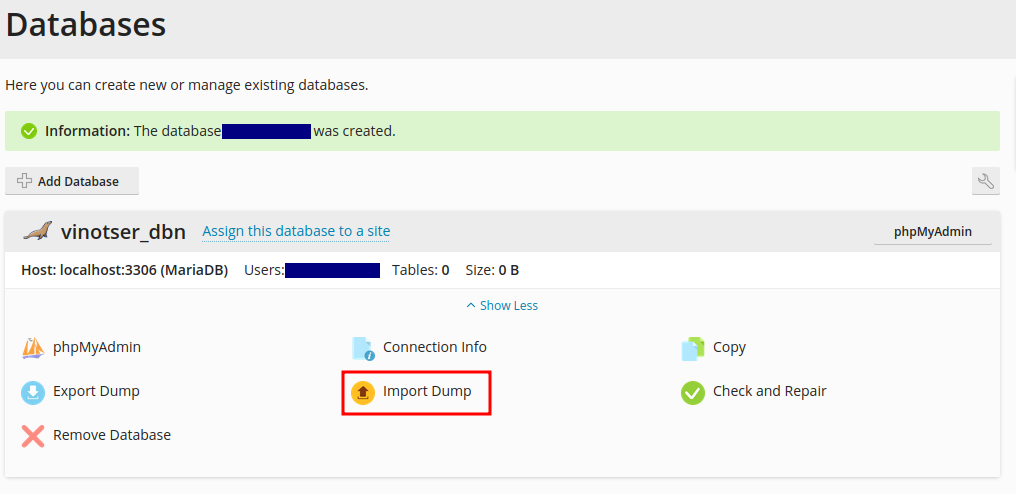
Step 8: Now click on Import Dump and import the backup of your WordPress database.
Step 9: Once you are done importing the database, click on WordPress on the left side menu and then click Scan to add your WordPress to WordPress Toolkit.
Kudos buddy! Your website should now be up and running.


