A WordPress staging environment is a valuable tool for website development and testing. It allows you to create a separate copy of your live WordPress site.
You can experiment with changes, test new features, and ensure everything works smoothly before deploying them to your production site.
How staging sites work #
A staging site is a copy of your live website to test changes before making them live. Staging sites help you catch errors so you don’t break your live website.
Here are the steps on how staging sites work:
- Change your website’s code or content on the staging site.
- Test the changes on the staging site to ensure they work as expected.
- Then deploy the changes to your live website if they are successful.
Staging sites are typically hosted on the same server as your live website, but they are isolated from each other.
Any changes you make to your staging site will not affect your live website. Staging sites are a valuable tool for anyone who manages a website.
Benefits of using WordPress staging environment #
- Peace of mind: Having a staging site provides peace of mind, knowing that any changes or updates you make won’t impact your live website. You can try new things without worrying your visitors won’t be affected.
- Increased productivity: You can work more efficiently with a staging site. You have a dedicated environment to test and refine new features or design changes without disrupting the live site. It allows you to focus on innovation and productivity.
- Improved quality: Staging sites help you ensure the quality of your website. Before deploying them to your live site, you can thoroughly test changes, plugins, or themes. Minimizes the risk of errors, bugs, or compatibility issues and enhances the overall user experience.
- Better collaboration: You can share the staging environment to gather feedback, review changes, and ensure everyone is aligned. It promotes effective communication and coordination among team members.
- Efficient troubleshooting: If an issue arises on your live site, you can replicate it in the staging environment without impacting visitors. It allows you to diagnose and resolve problems more effectively.
- Seamless updates: Staging sites facilitate smooth updates and upgrades. You can test significant updates, such as WordPress core or plugin updates, to identify any potential conflicts or issues before applying them to the live site. Minimizes downtime and ensures a smooth transition.
- Enhanced security: Staging sites provide an additional layer of protection. By testing updates or changes in a different environment, you can identify any vulnerabilities or security risks before exposing them to your live site and its users.
Does staging site affect SEO? #
A staging site typically does not impact SEO. Still, there are a few essential considerations to remember:
- Avoid duplicate content- if search engines index your staging site, it can create identical content issues. To prevent this, use a robots.txt file to block search engine indexing of the staging site.
- Timing of changes- changes made to the staging site may take time to reflect in your live site’s search engine ranking. Regularly deploy tested changes from the staging site to the live site to ensure up-to-date rankings.
- Maintain SEO integrity- when using a staging site to test new features or changes, ensure they don’t negatively affect your live site’s SEO. Thoroughly test changes on the staging site and implement them correctly on the live site.
To enhance your website’s SEO using a staging site, follow these tips:
- Utilize a robots.txt file to prevent search engine indexing of the staging site.
- Deploy changes promptly from the staging site to the live site to keep search engine rankings current.
- Conduct thorough testing of new features or changes on the staging site to preserve SEO integrity.
- Ensure proper implementation of changes on the live site to avoid adverse SEO impacts.
Use a staging site strategically. Improve your website’s SEO while maintaining control over the changes you make.
The Step-by-Step Guide #
- Accessing Softaculous
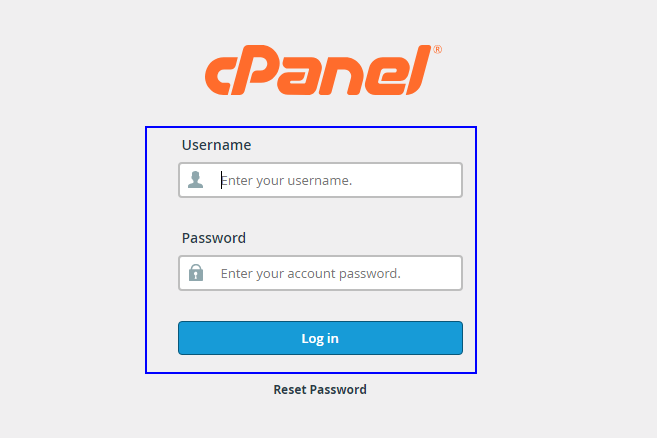
We’ll use Softaculous, a popular auto-installer in cPanel, to create a WordPress staging environment. Log in to your cPanel account using the proper credentials.
- Once logged in, locate the Softaculous Apps Installer.

Press on WordPress, which loads the WordPress sites and installations.
- On the current installations,

Click on create staging. On the dialog that appears, ensure everything is alright, then click create staging.
- It’s done!

You’ll receive the above message that your staging is ready for use. Now proceed to log in and make changes without affecting your site.
Test new features, experiment with design changes, and perform thorough checks to ensure everything functions as expected.
- Deploying changes to production
Once you are satisfied with the changes made in the staging environment, it’s time to deploy them to your live site.
It can be done by manually replicating the changes or utilizing migration plugins like Duplicator or All-in-One WP Migration.
Finalizing on WordPress Staging Environment #
Utilizing a WordPress staging environment brings numerous benefits. Utilize Softaculous to set up a staging environment and elevate your WordPress website development process.
Leveraging a staging site ensures a smoother and more efficient website development and deployment process.
I recommend using a staging site if you are managing a website. It can help you to save time and money.
Also, it prevents headaches by preventing errors and bugs from making it to your live website.


