Captcha helps to protect a website from spamming by bots and other malicious actors.
To add captcha protection in WordPress we will install a plugin.
Log in to WordPress as the administrator.
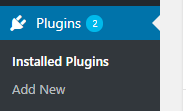
Under Dashboard, click Plugins, and then click Add New.
In the Search text box, type google captcha.
![]()
Click Search Plugins.
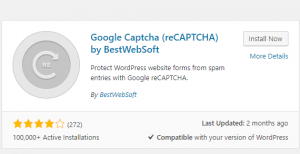
Locate the Google Captcha (reCAPTCHA)plugin, and then click Install Now.
After WordPress finishes installing the plugin, under Dashboard, click Plugins, and then click Installed Plugins.
Locate the Google Captcha (reCAPTCHA) plugin, and then click Activate.
Click Settings.
![]()
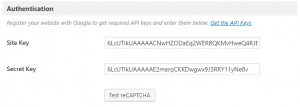
You must create a public and private key to use Google Captcha. To do this, click the registration link under Authentication, and then follow the instructions.
After you receive your keys from Google, type the public key into the Public Key text box, and type the private key into the Private Key text box.
Under Options, select the settings that you want, and then click Save Changes.
CAPTCHAs are now activated for your site. To test this, go to your WordPress site’s front page, and then click the comment link for a post. WordPress displays a CAPTCHA in the submission form.


