Cloudflare is a wonderful DNS service that offers a range of services including caching, free SSL, load balancing among others.
This guide will show you how to create or change an A record for your domain name if it uses Cloudflare DNS.
1 Login to Cloudflare
2 If you have more than one domain on your Cloudflare account, you will need to click on it first, otherwise go to step 3
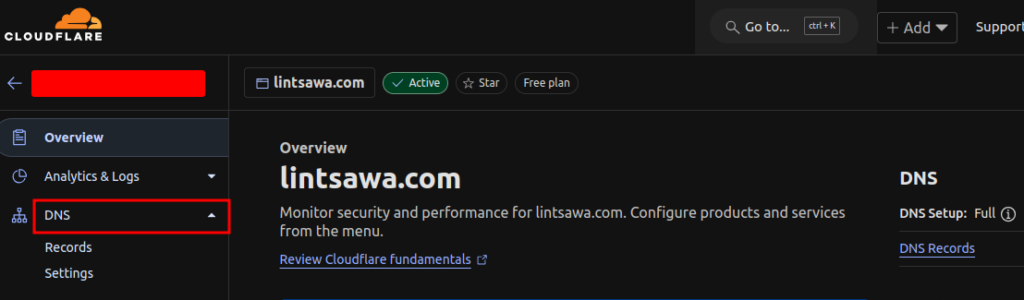
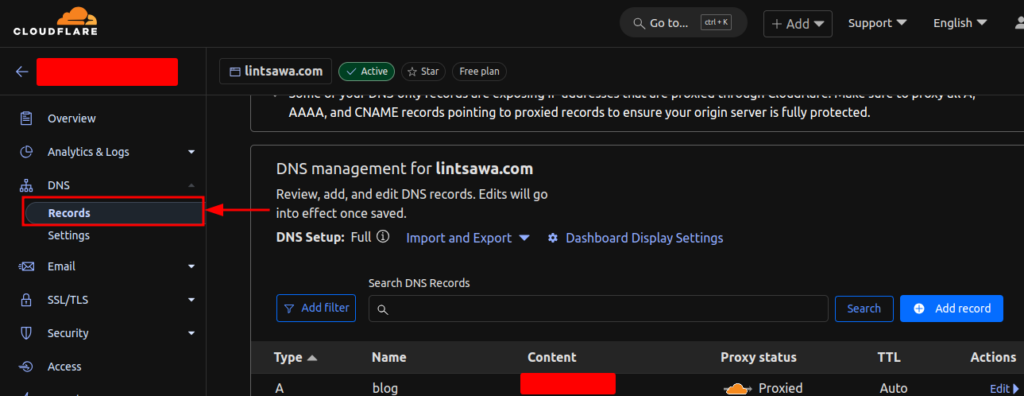
3. Click DNS tab on your Left and click Records.
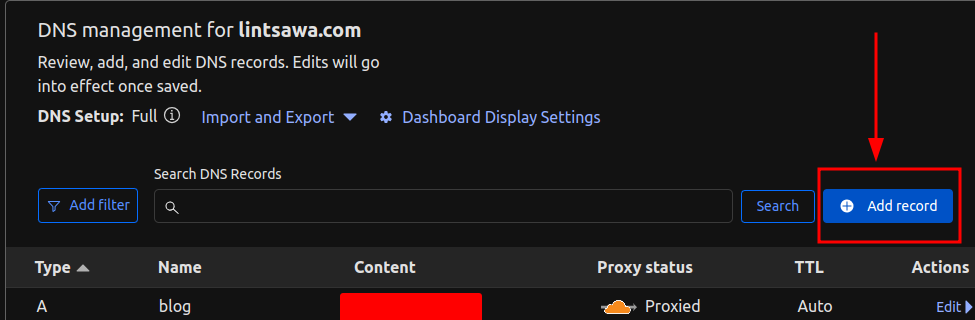
4. Click Add Record button to add a new record
5. Fill in the form that appears and click Save
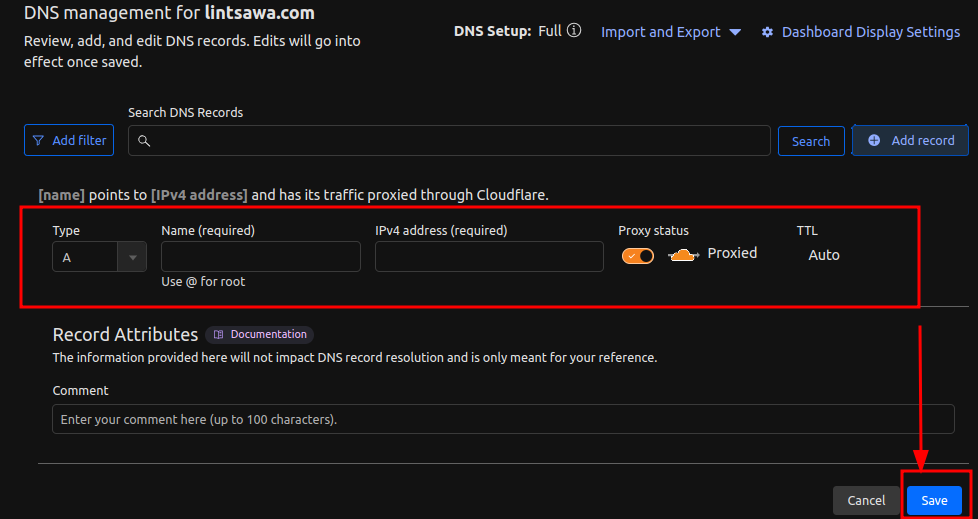
NOTE:
- If you are adding an A record for the main domain, use the symbol @ under Name section
- If you are adding an A record for a subdomain, use the first section of the subdomain under Name section. EG if I want to create blog.truehost.co.ke, I would add blog under Name section
- If you want to use Cloudflare SSL, he Proxy Status should be Proxied. Otherwise, Cloudflare SSL cannot work.
- If you would like to access the subdomain directly without hidding it behind Cloudflare’s proxy, make sure to change the Porxy Status to DNS only.


