Sometimes, you may install a plugin and it turns out to be incompatible with other components of your WordPress site e.g theme or the WordPress version. This may result in errors on your site or downtime even.
Now, even if you know the cause of the issue is a specific plugin, the dashboard may not be accessible to allow you to remove the plugin and revert changes.
This is where disabling a plugin via file manager comes in handy. To do this, follow the steps below
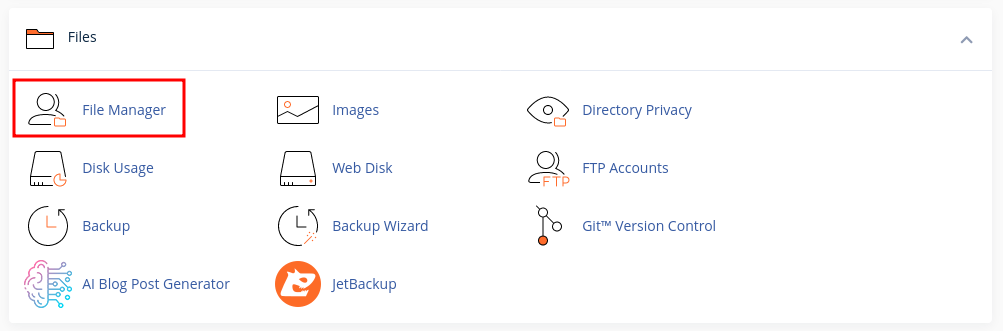
1.Login to your cPanel and navigate to File Manager
2.Navigate to the folder that has your WordPress site. For your main domain, this is the public_html folder
3.Go to wp-content folder
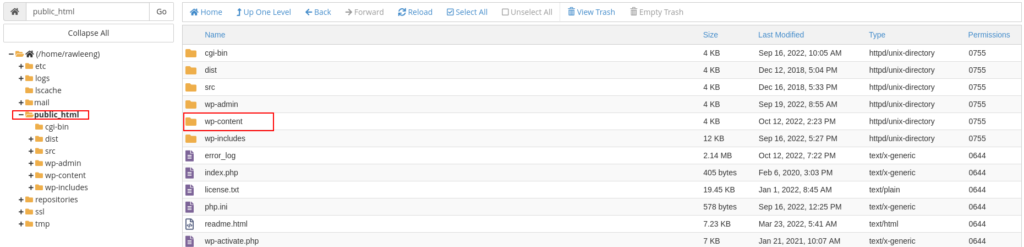
4.Go to the plugins folder. A list of your plugins folder will be named. Each plugin has its folder. To disable any one of them, simply RENAME the folder. For example, in this image, I will rename pagelayer to pagelayer.renamed

Kudos! Now the plugin has been disabled successfully.


