This guide will walk you through the simple process of installing WordPress on your server using FastPanel.
Prerequisites:
- Domain or subdomain A record: Before proceeding, ensure your domain’s or subdomain’s A record is correctly pointed to your server’s IP address.
1. Login to FastPanel
- Access your FastPanel control panel using your credentials.
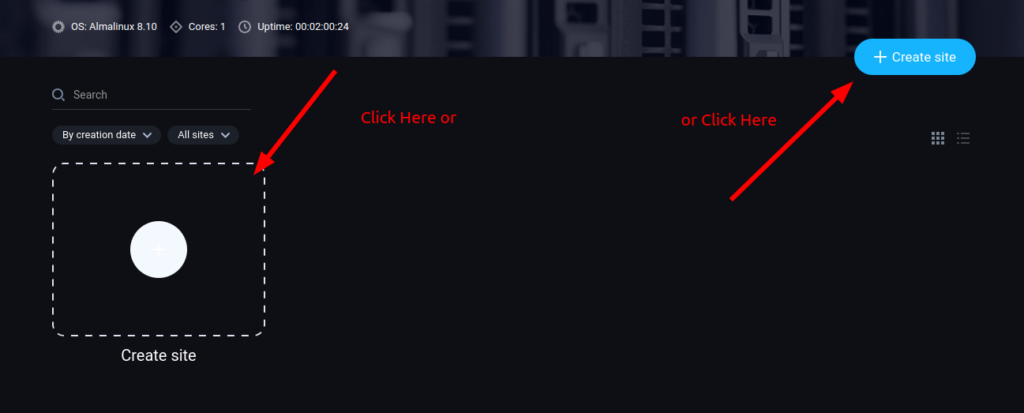
2. Create a Site
- Click on the “Create Site” button within the FastPanel interface.
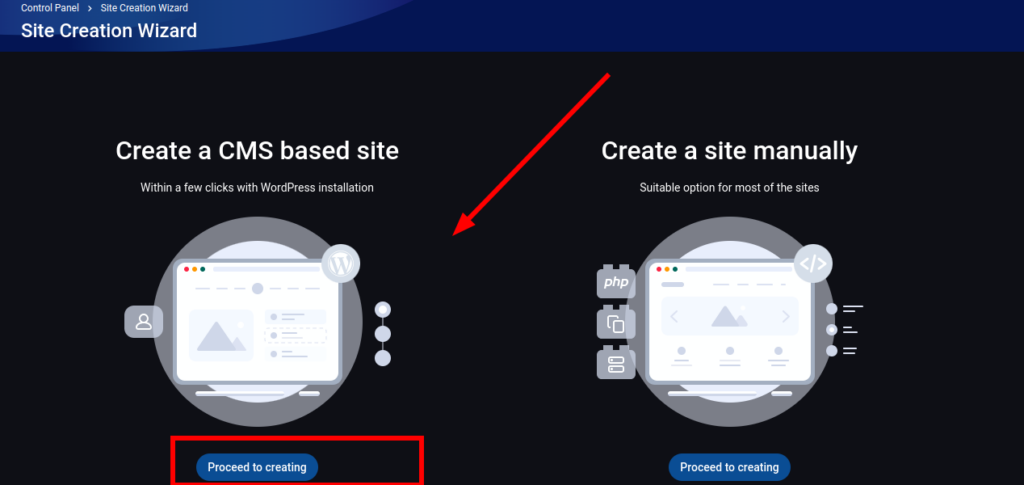
3. Choose “CMS based site”
- Select the option for creating a “CMS based site.”
4. Proceed to Creation
- Click “Create” to initiate the site creation process.
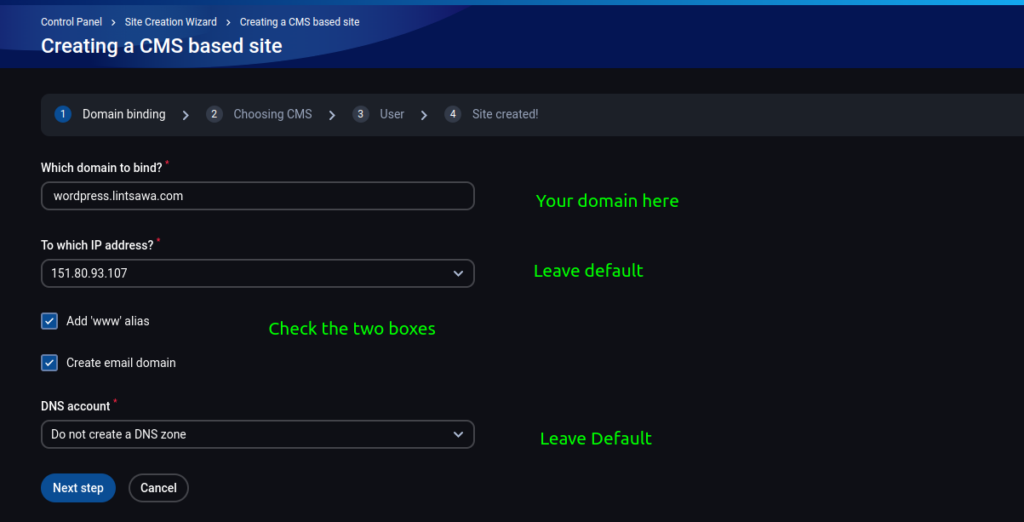
5. Enter Domain Name
- Input your domain name in the designated field and click “Next.”
6. Select WordPress
- Choose “WordPress” from the available CMS options.
7. Configure WordPress
- Enter your desired:
- Admin Username:
- Password: (Important: Store this securely!)
- Admin Email:
- Click “Next” to continue.
8. Choose User
- Select “fastuser” to utilize the default user for managing your site.
- You can also create a new user if preferred.
9. Site Creation
- Observe the progress as your WordPress site is being created.

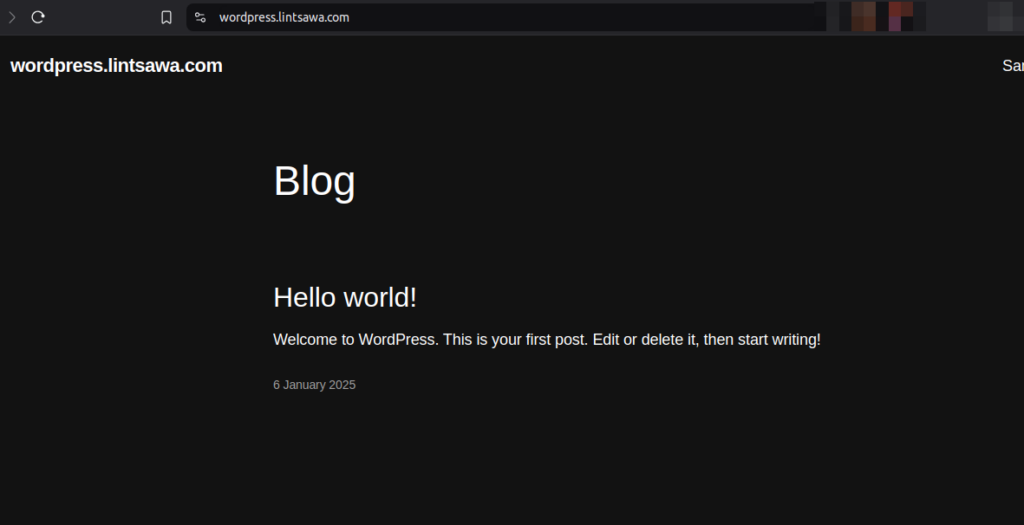
10. Success!
- Once the process is complete, you’ll receive a success message. “You are breathtaking!”
- You can now access your site.
Happy Hosting!