To enable remote database connection on Cyberpanel is seamless process that can be achieved by steps below.
Step 1: Enable Remote connection by editing the database config file. #
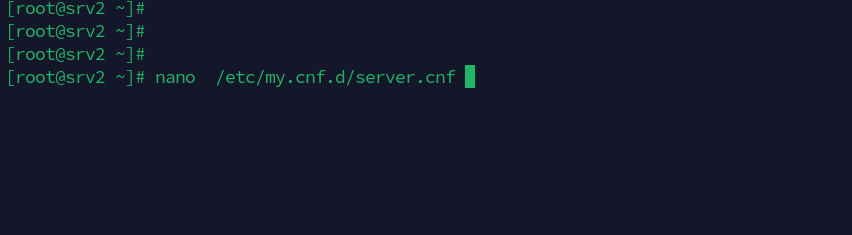
On Almalinux edit the file /etc/my.cnf.d/server.cnf
nano /etc/my.cnf.d/server.cnf
On Ubuntu, the file to edit is /etc/mysql/mariadb.conf.d/50-server.cnf
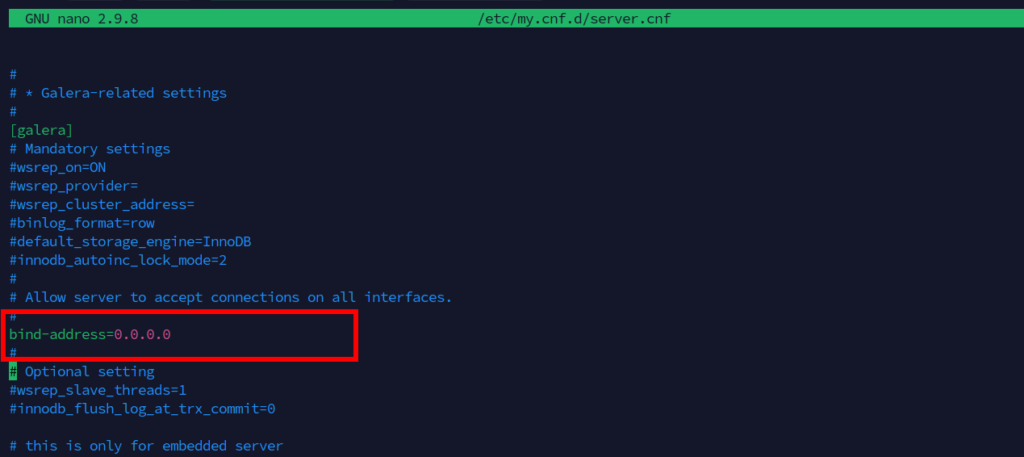
Un comment and Edit the Line on bind address and put 0.0.0.0
This setting allows remote connections from all IP addresses.
Restart the database.
systemctl restart mariadb.service
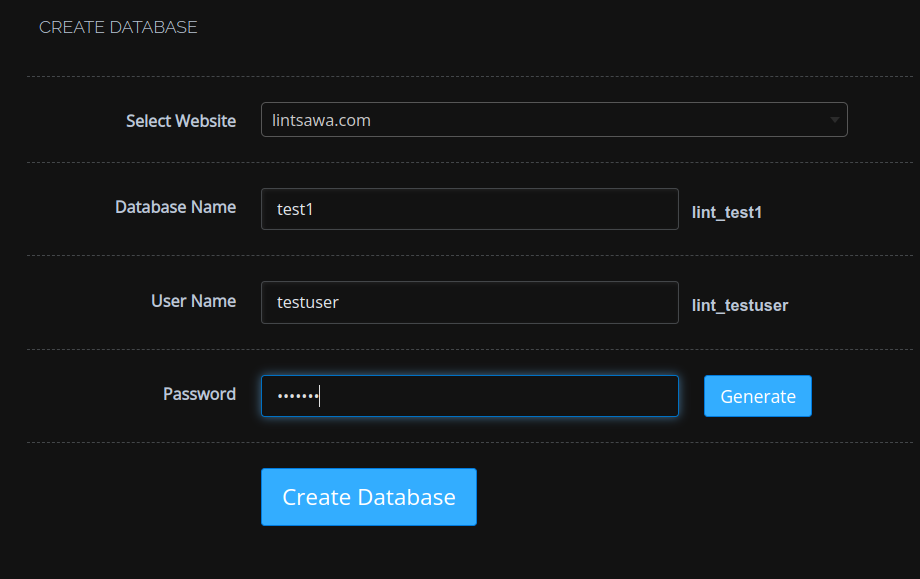
Step 2: Login to Cyberpanel and Create database and allow connections from all IP. #
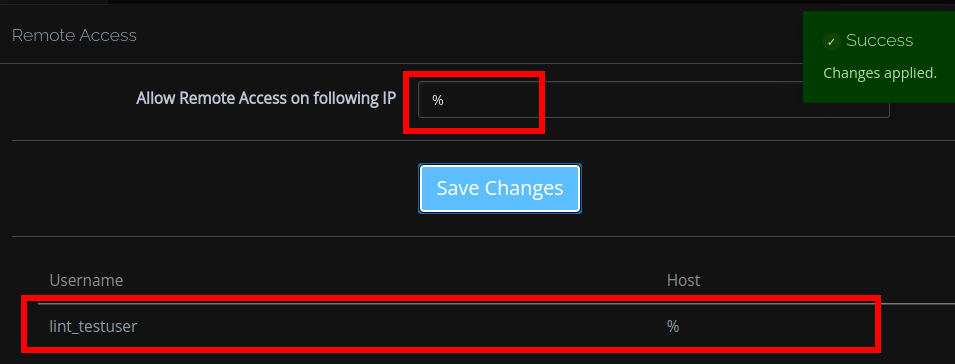
List your database and click Manage under Remote Access section.
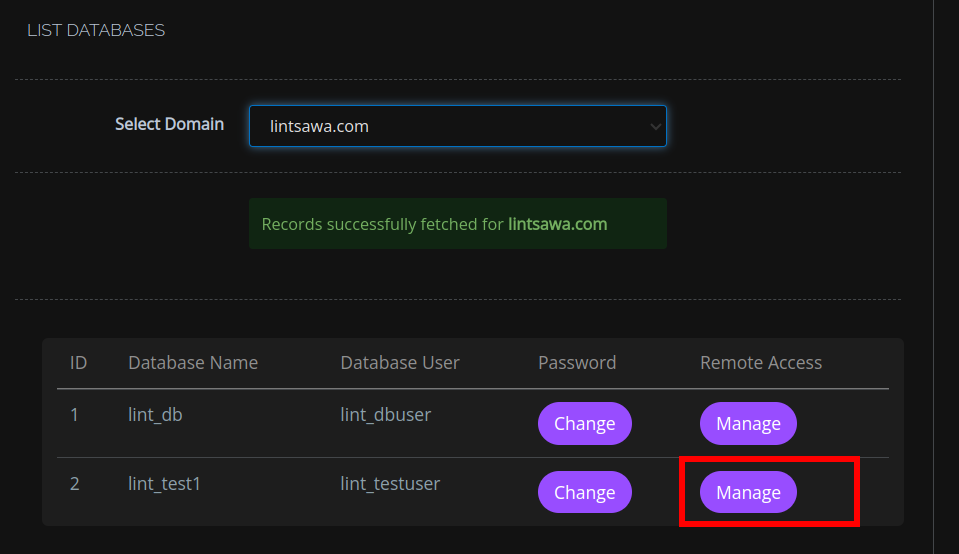
You need to put the wildcard character that tells the database to allow remote connection.
Save changes.
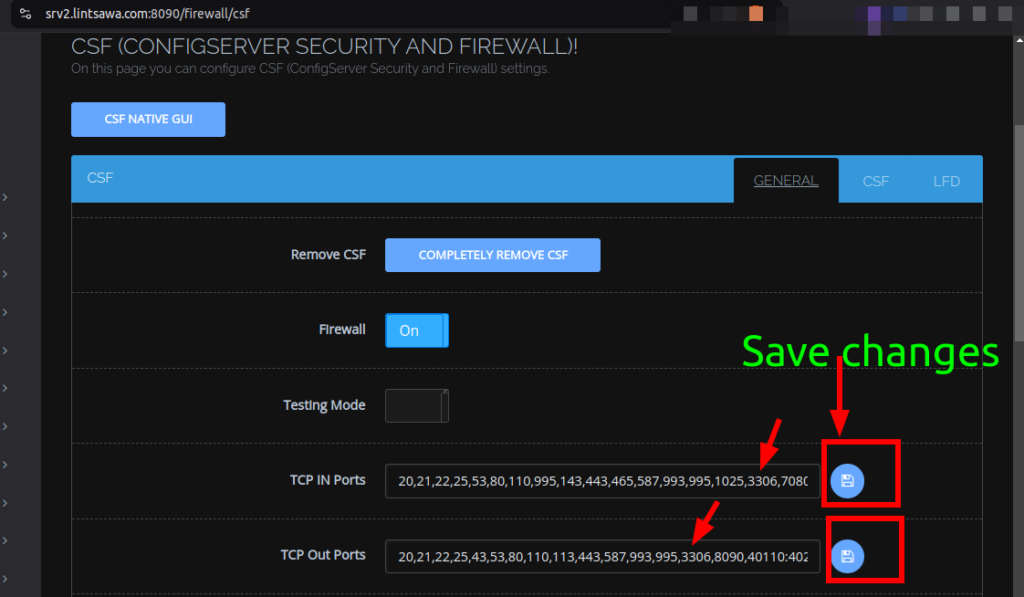
Step 3: Allow Port 3306 through the Firewall. #
If using CSF, Go to Security -> CSF
Add the port
If using default Cyberpanel Firewall, Go to Security -> Firewall
Add the rule for mysql and restart the firewall.

Step 4: Connecting from your application software. Using your preferred software (Mysql Workbench or Dbeaver), you can now connect to your database.
In this section, we shall be using Dbeaver.
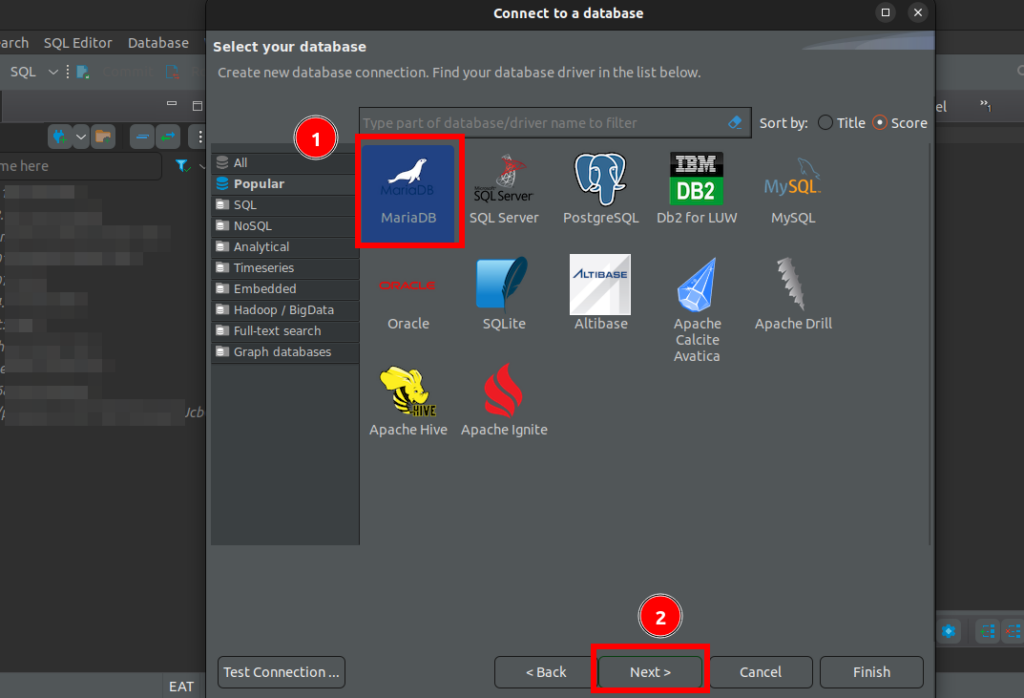
Open Dbeaver and Click on New Database Connection.
Click on Mariadb and Click Next
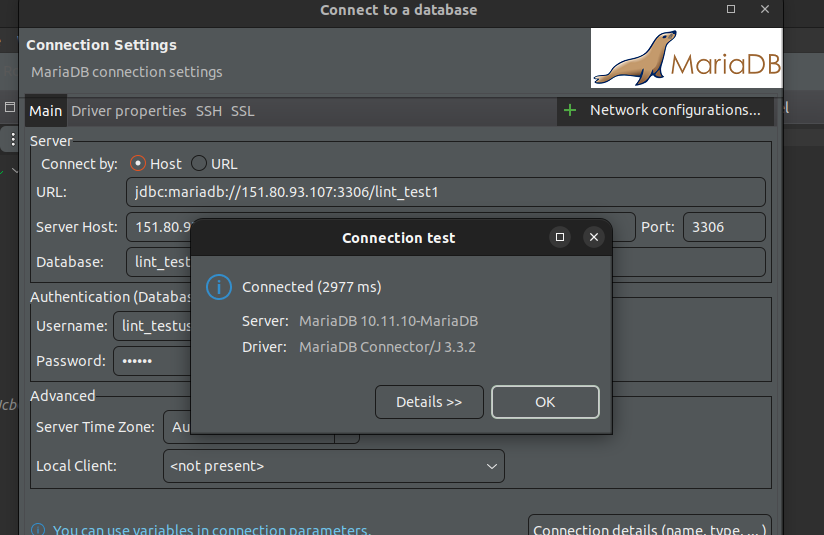
On the next page, enter your database details.
Server Host : Your server IP address.
Database : name of the database you created on Cyberpanel.
Username : name of the database user you created on Cyberpanel.
Password : password for the database created on Cyberpanel.
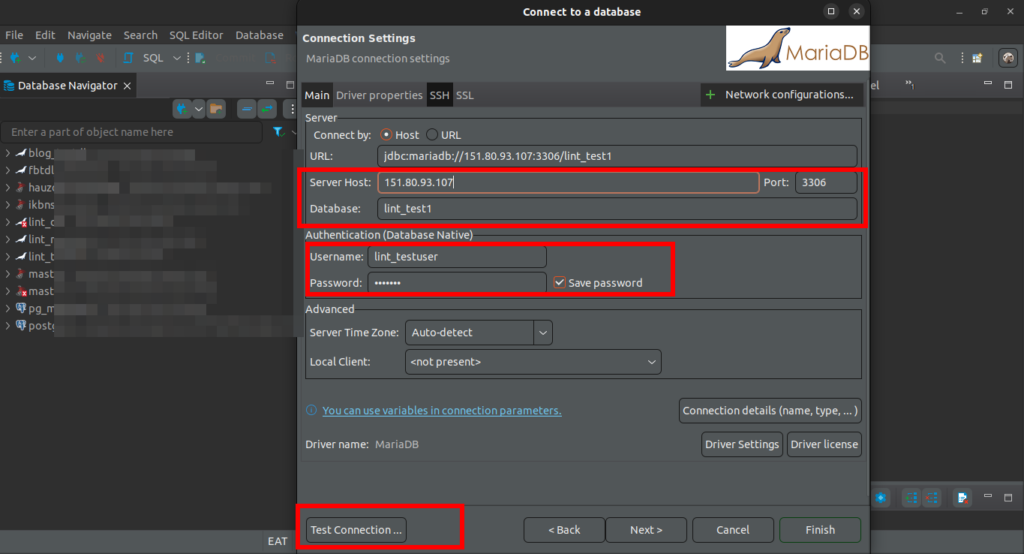
Click on Test Connection.
You should then see Connection successful and Click Finish.
You can expand on your database on your left pane for more operations.
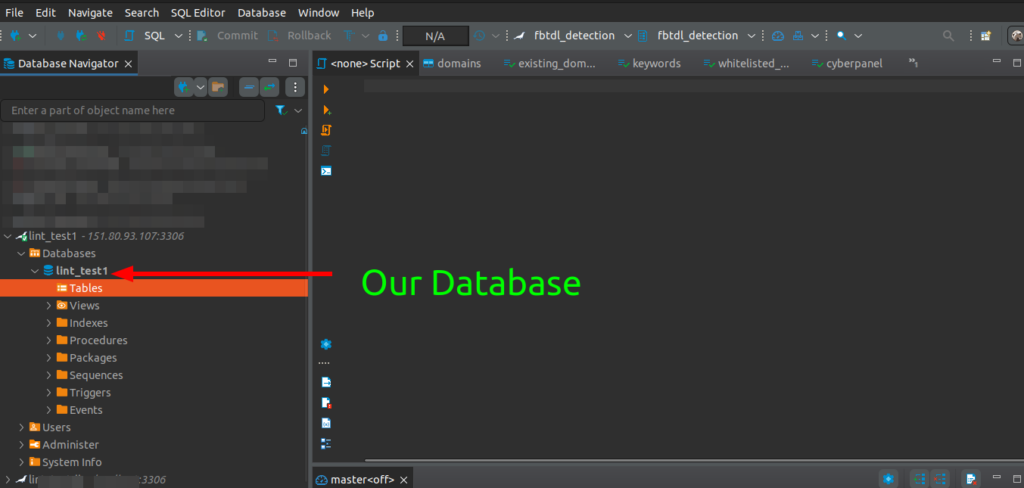
That is it. You have successfully Connected to the Database Remotely for Cyberpanel.