Creating a database in CWP (CentOS Web Panel) is an essential step for hosting applications like WordPress, Joomla, or custom-built PHP apps that require database functionality.
This can be done either from the CWP Admin panel or CWP user’s cPanel
Prerequisites: #
- CWP installed on your server.
- Root access or a user account in CWP.
A. Using the CWP Admin #
Step 1: Log in to the CWP Admin Panel using these steps #
Step 2: Navigate to MySQL Manager
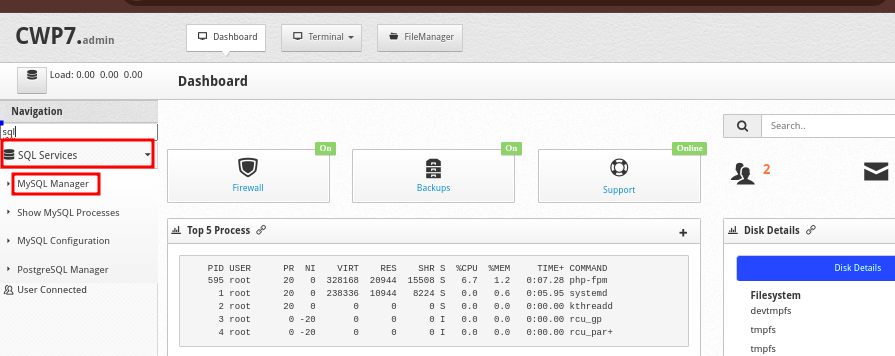
- Once logged in, go to the left-hand side menu.
- Under the SQL Services section, click on MySQL Manager.
Step 3: Create a New Database #
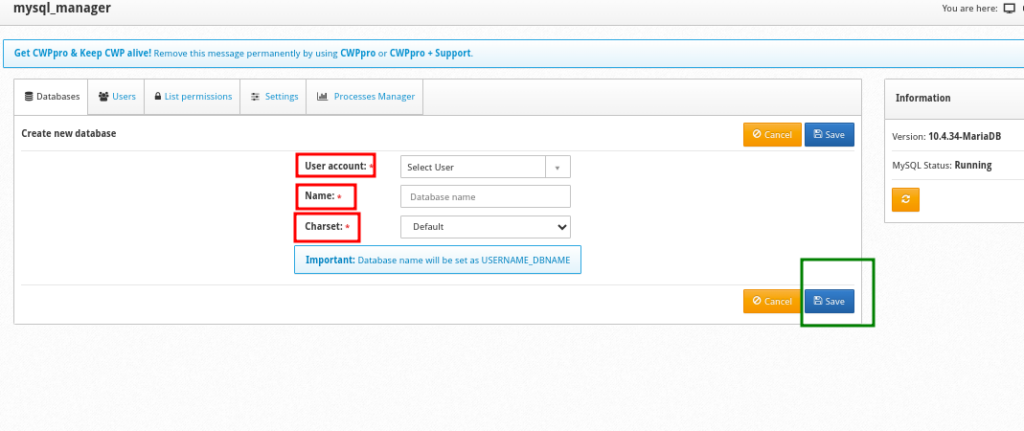
- In MySQL Manager, you will see an option to Create Database. Click on it.
- You will be prompted to enter the following information:
- User Account: Select the domain user that the database will belong to. This is NOT the user for database access but the domain for which you are creating the database.
- Name: Enter a name for the new database (e.g.,
mydatabase). - Charset: Leave the default
- Once all the details are filled out, click the Save button to generate the database
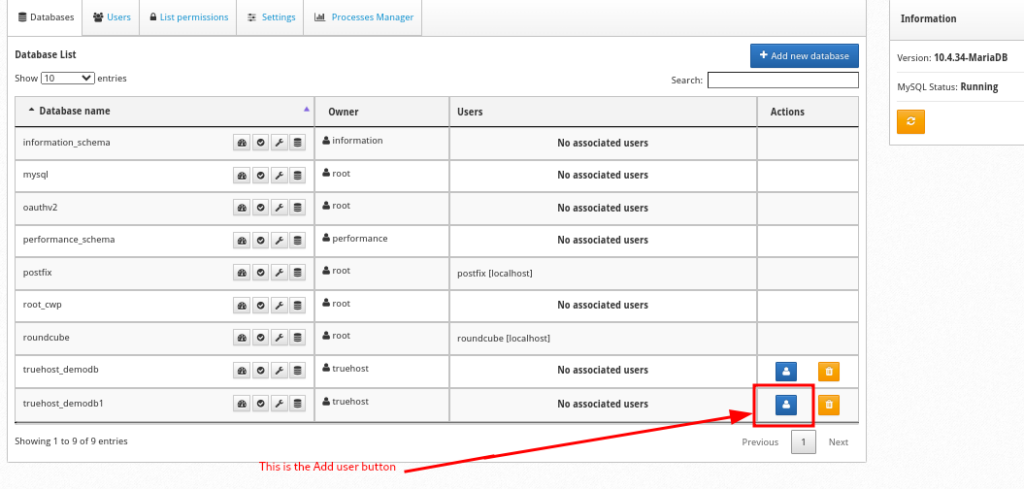
- The database will be created and you will be taken to a list of all databases. I identify your database from the list.
Step 3: Create a User for the database and assign to it
- Your database was created but it has no user to access it. To associate a user to it, click the Add user to this database button, just on the left side of your database. See the image below
- You will be presented with a form to fill fill user details. Fill them as you prefer. You may want to save the password for later use, so that you do not have to reset it.
- Also, be keen to Click on User privileges option and assign the user all privileges to the DB. See the image below
- Once done, click on Save
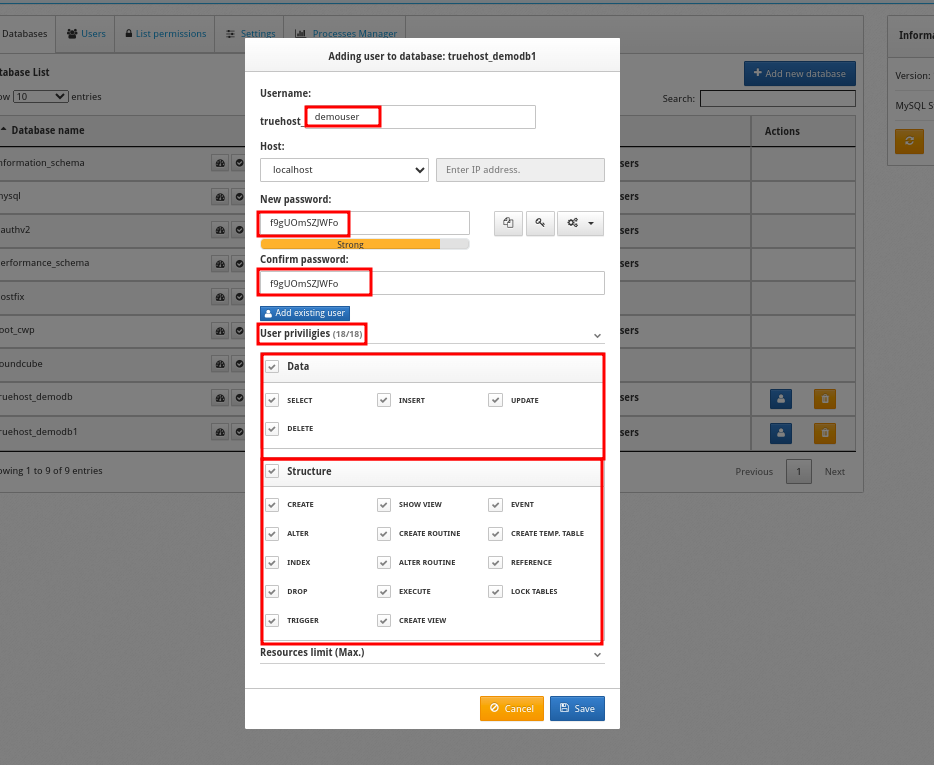
- You will now see that the DB has been associated with the user that you just created.

- You may now connect the database to your website or use it as you intended.
If your server is with Truehost, you may reach our support team in case you need further guidance.