It’s quit easy to add or edit DNS records in Webuzo Panel. See the steps below;
Steps to Add DNS Records in Webuzo Panel #
- Log in to your webuzo user panel using these steps
- While logged in, navigate to Domains section, and click on DNS Zone Settings
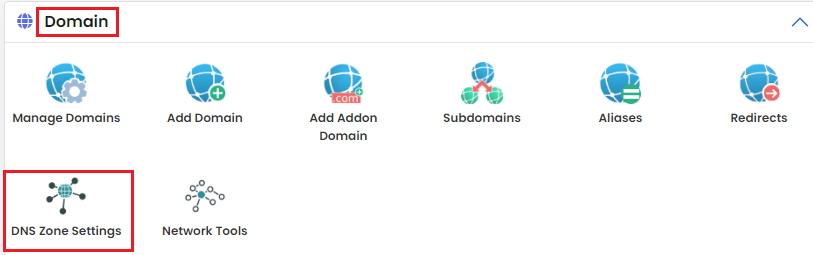
- You will see a new page. Click on Add Record button.

- You will have a new windows where you will input details for your DNS record.
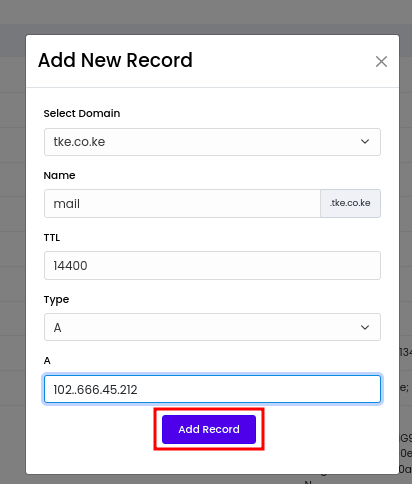
- Once done, click on Add Record to save the new record
Steps to Edit DNS Records in Webuzo Panel #
- While on Webuzo panel, navigate to Domains section, and click on DNS Zone Settings

- You will then see existing DNS record on the panel, like A records, CNAME records, TXT, records MX records, etc.
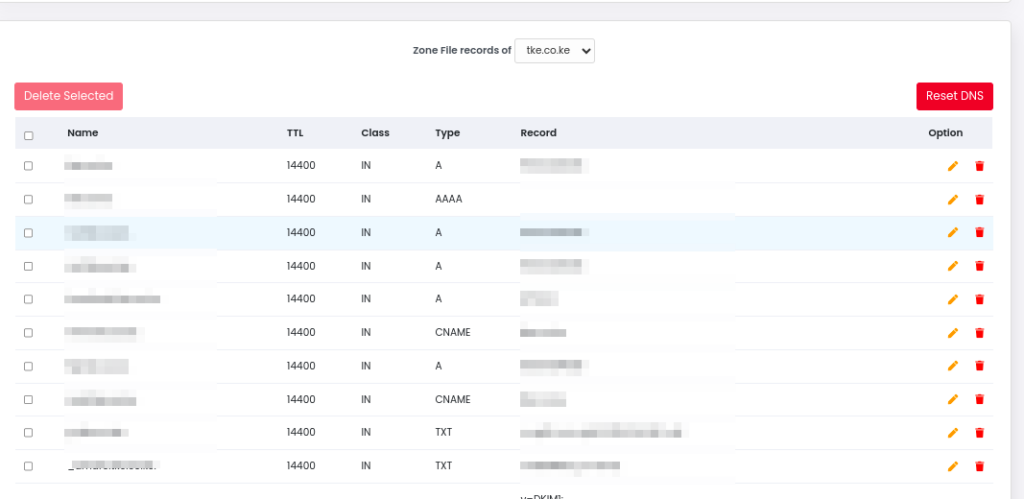
- From the list, locate the record that you want to edit, then click on the pencil-like edit icon on the extreme right side of the record.

- You will then update the DNS information as you desire, then click on the Save button.

That will be all. Those steps will help you to successfully update your DNS on Webuzo panel, at time.