Deploying a laravel application on Plesk can be challenging but we’ve tried to simplify this process for you.
The main way supported by Plesk is to deploy using git.
In this guide we shall use the manual method without git.
Login to Plesk. #
On the domain or subdomain you wish to upload Laravel, locate the Laravel Toolkit.
Click on the Laravel Toolkit. #
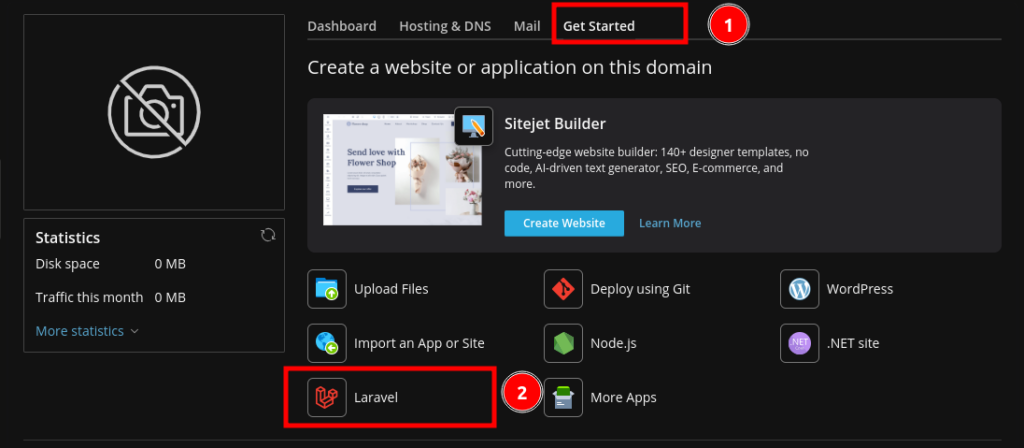
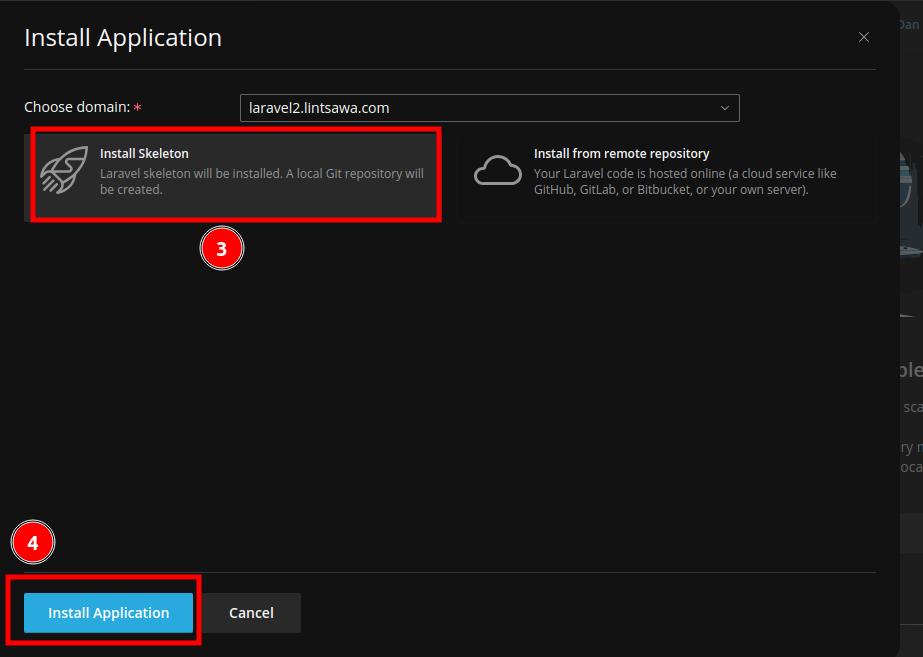
Install Application #
On the next page, click on install skeleton and install application.
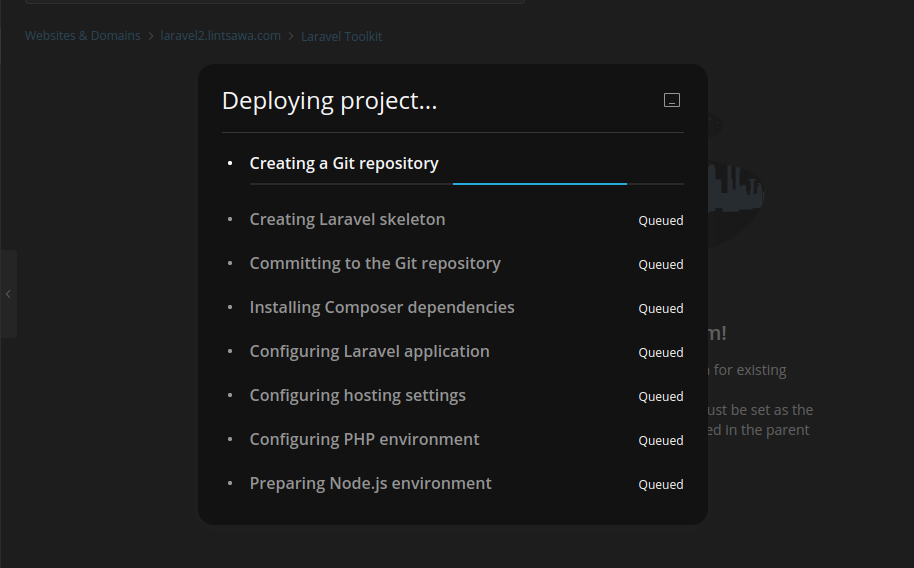
You will see a progress as below
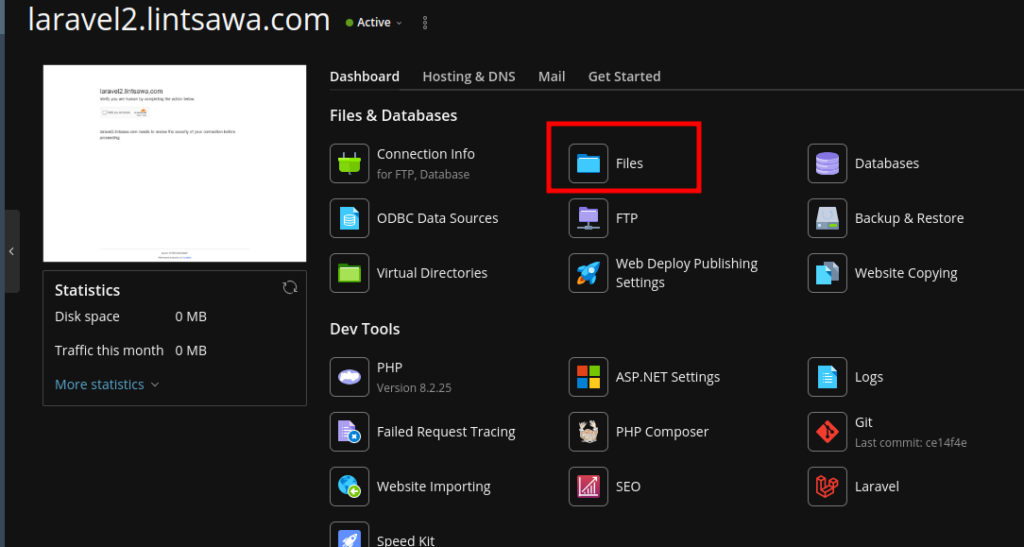
Remove Existing Skeleton Files and Upload Your Files. #
Once completed, Click on Files to Open the file manager.
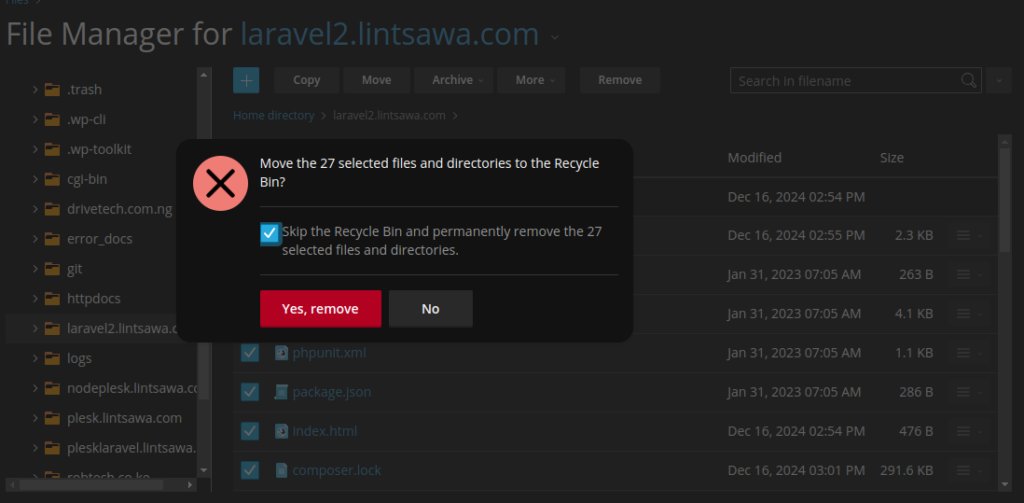
Select All files and click on Remove to delete the default ones added when the skeleton was setup.
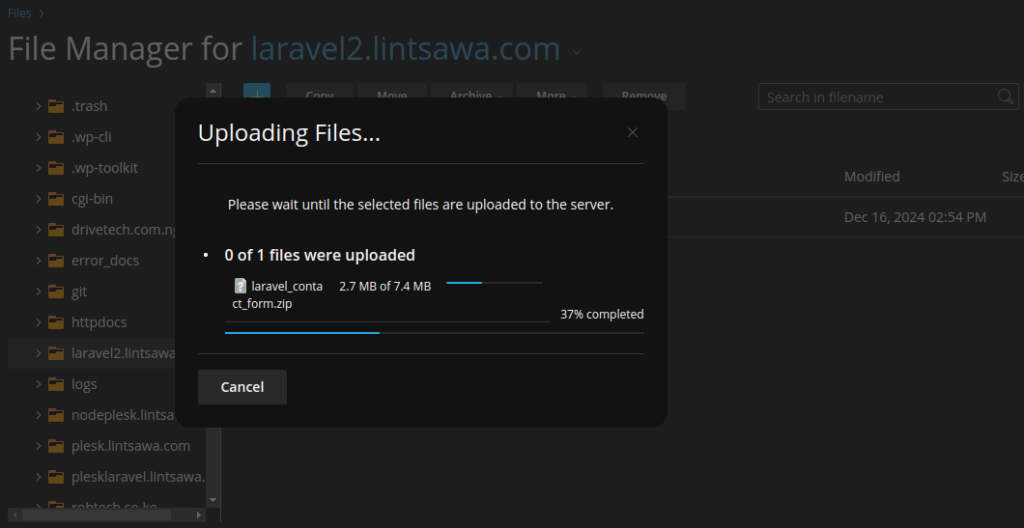
Next, Now Upload your website files on the directory.
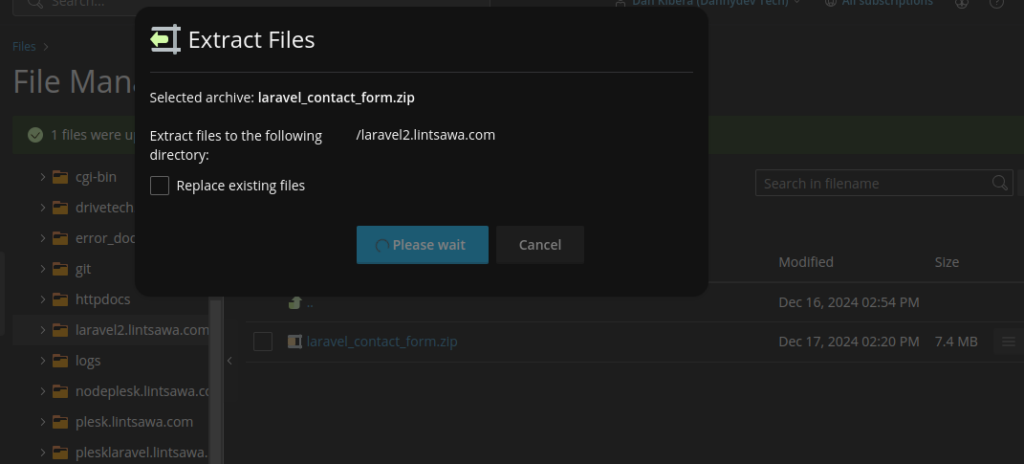
Now Extract your Uploaded files.
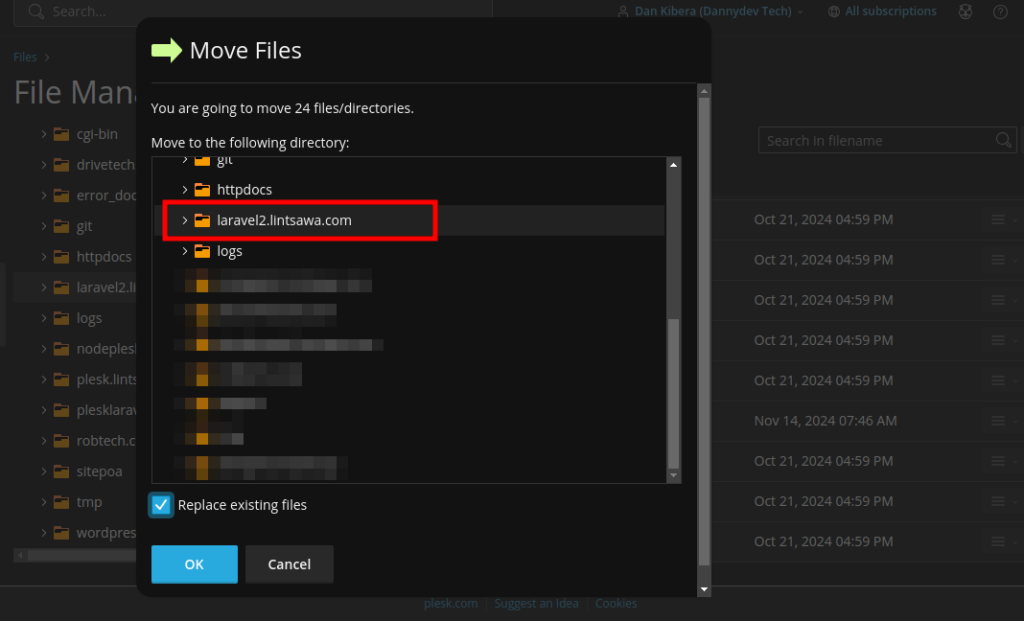
Now Move all the files to the root directory of your application.
Next Access the Laravel Toolkit. #
You should see a window as below attached.
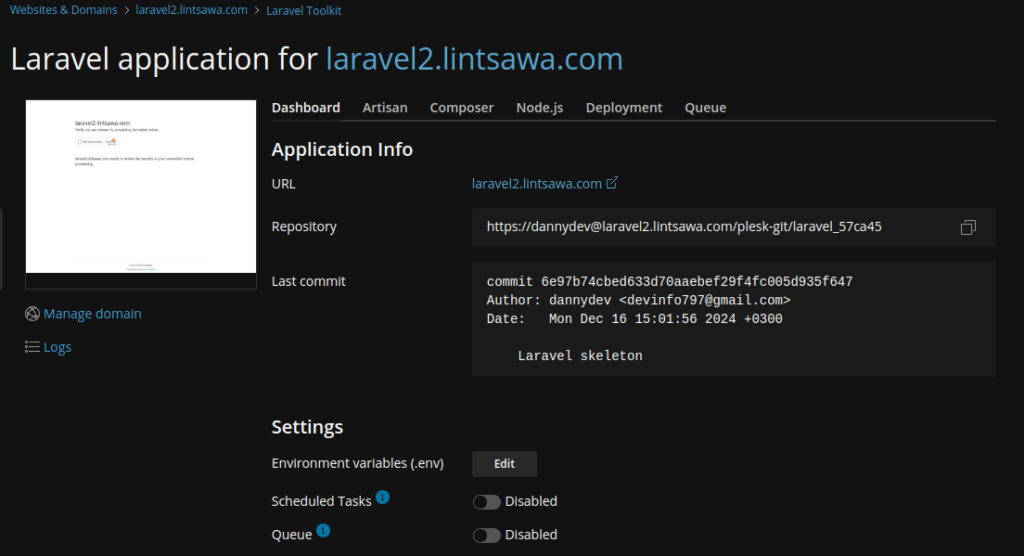
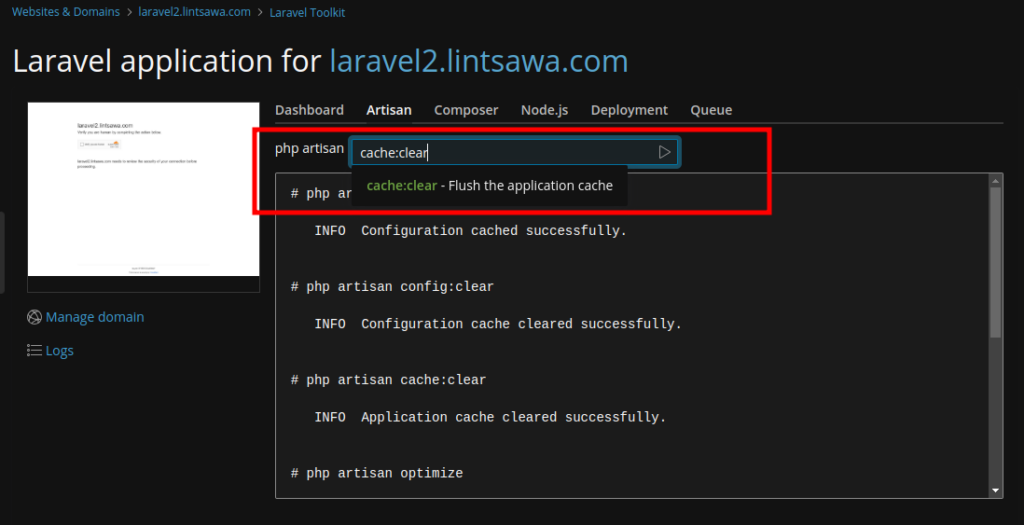
From this window, you can edit your .env file, run php artisan commands and much more.
I will now clear cache for my application to load well.
You can now load your domain and it should be accessible and loading well on the browser.
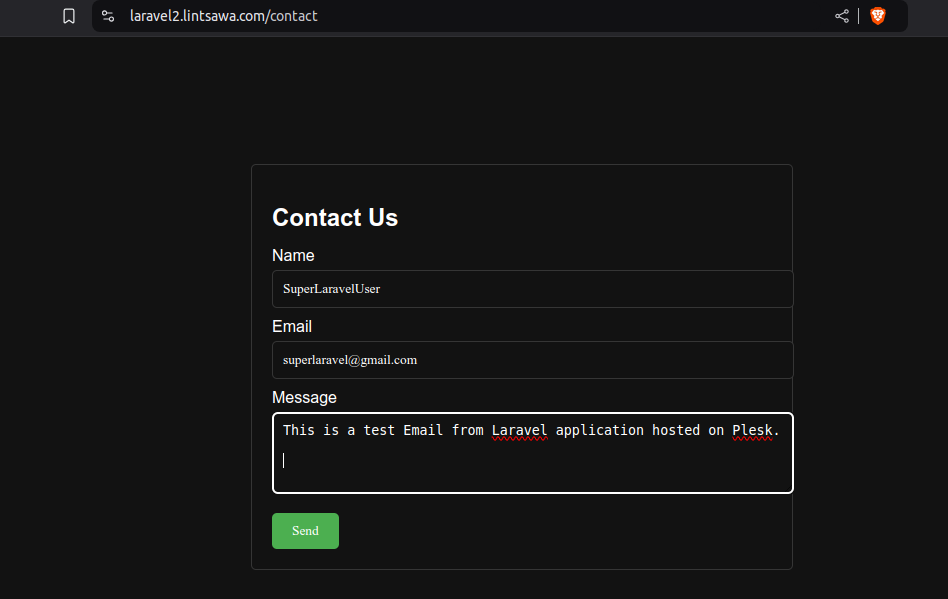
All Done. You have successfully deployed your Laravel Application Manually on the Plesk Panel on a Windows Server.
Happy Hosting!


