JetBackup simplifies the process of creating and managing backup jobs in WHM, allowing you to schedule regular backups for your cPanel accounts. Here’s a step-by-step guide to creating a backup job in WHM using JetBackup.
Step 1: Log in to WHM either with the root account. Normally you will use one of the URLs below;
http://your_server_ip:2087

https://your_server_hostname:2087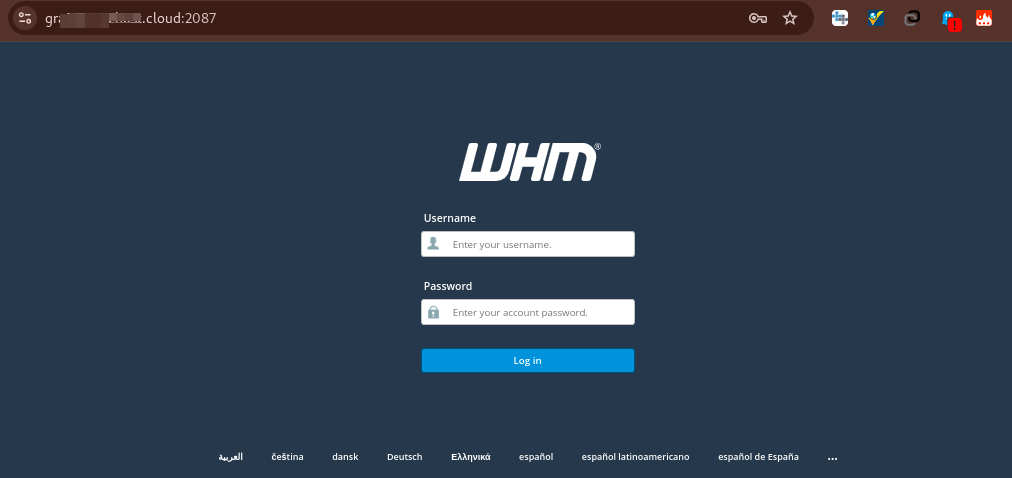
Step 2: In the WHM dashboard, search for JetBackup 5 in the search bar or Navigate to Plugins >> JetBackup5.
- Click on JetBackup 5 under the JetBackup section.

Step 3: Navigate to “Backup Jobs / Create New Backup Job.”
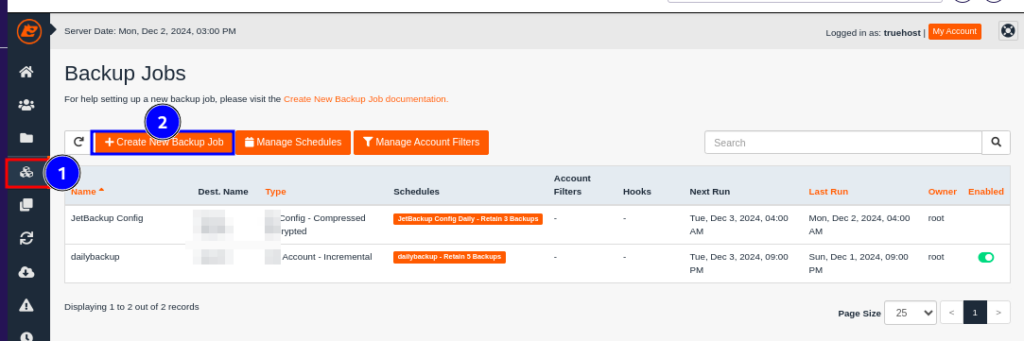
Step 3 : Set up your New Backup Job by inputting the needed details

Step 4: Once done, Click “Save” to save your changes.

Depending on your Jetbackup version, you can also refer to the Official Cpanel Documentations below, on how to create backup jobs
- JetBackup 4: Create New Backup Job
- JetBackup 5: Create New Backup Job