How to Install WordPress via Application Installer on CyberPanel VPS
CyberPanel provides us an easy way to install WordPress with LSCache. as we know CyberPanel come with the LiteSpeed webserver, it makes sense to use LSCache caching plugin with it.
Requirements for wordpress installation on cyberpanel.
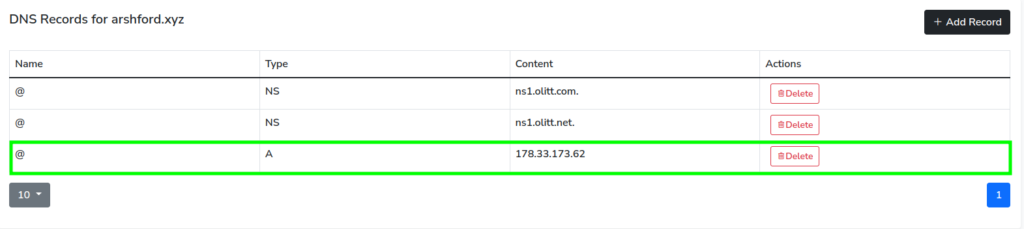
We need to have correct DNS record for the domain name or subdomain. In this guide, I will be installing WordPress on a domain arshford.xyz. I will first add an “A” record for for the domain. I am using our free dns management platform on olitt.com and the image below shows the DNS record I have added for the domain.
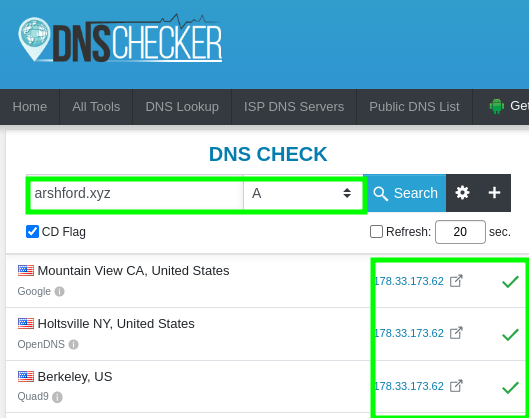
After adding the domain A record it may take time to propagate, to check propagation of the A record.
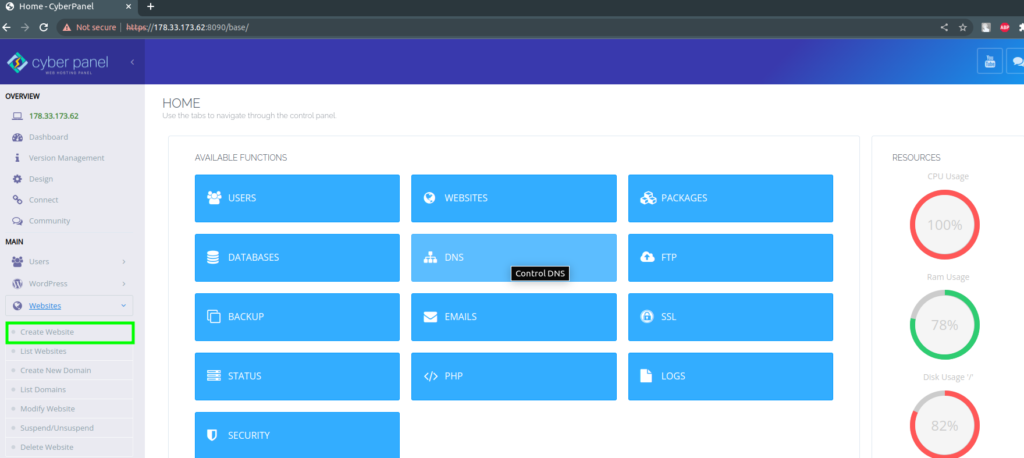
Creating website on cyberpanel.
The next step is to create a website in the cyberpanel dashboard, you can access your cyberpanel using the link https://yourseveripaddress:8090
Open Websites → Create Website .
In the next step provide the website details as below, the Domain Name field should have your wordpress site domain mine being arshford.xyz.
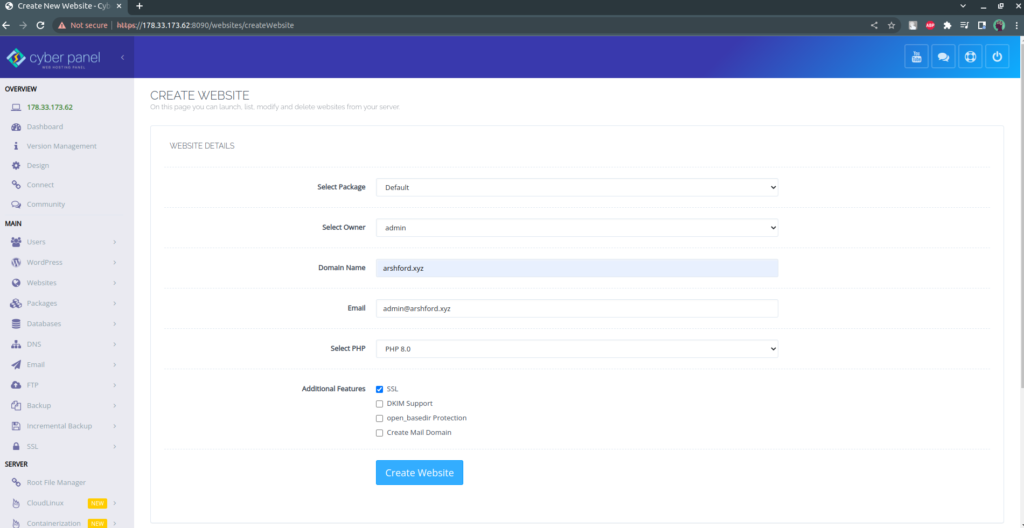
Check also the “SSL” option so that the website is secured with Let’s Encrypt SSL Certificate. Once filled all the options in the fields, click on the “Create Website” button.
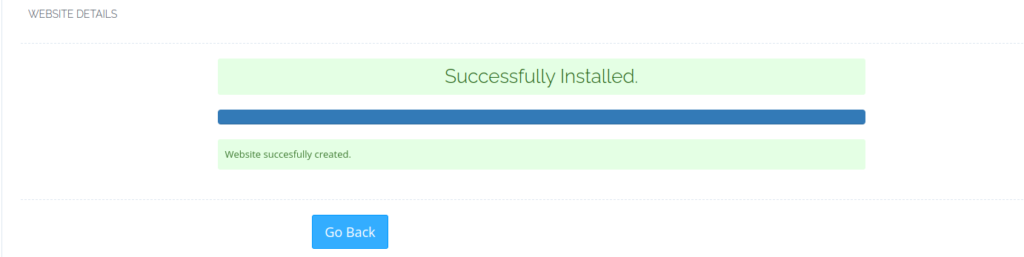
This should appear once the website is created successfully.
Installing WordPress with LSCache on the CyberPanel Website.
In the cyberpanel dashboard Go to the following section:
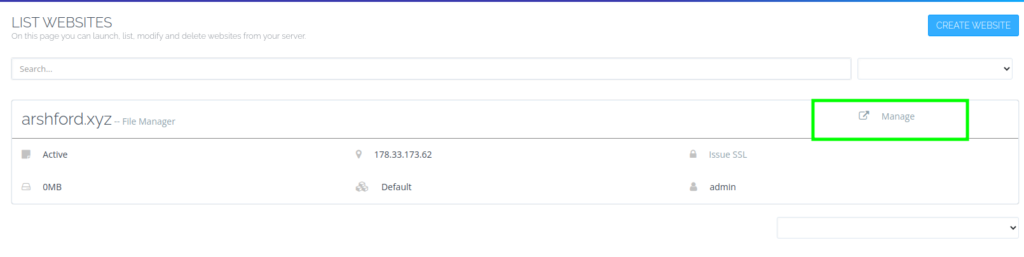
Websites > List Websites
Next, select your domain name for which you want to install the WordPress site and click on ‘Manage’.
Then scroll down to the section “Application Installer” and start the configuration by clicking the WP + LSCache icon.

We’ll then be presented with the WordPress installation wizard. Fill in the form as follows:
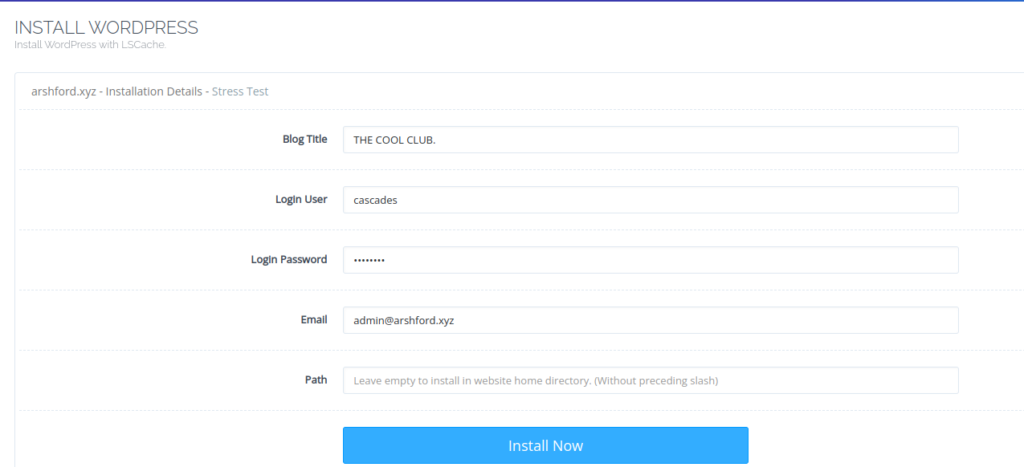
Blog Title – Your Blog title which can be your brand name.
Login user – Administrator username. Give a unique name to enhance security.
Login Password – Choose a login password for the administrator user.
Email – Administrator email address.
Path – Leave it blank.
The next window should show the WordPress successful installation message.
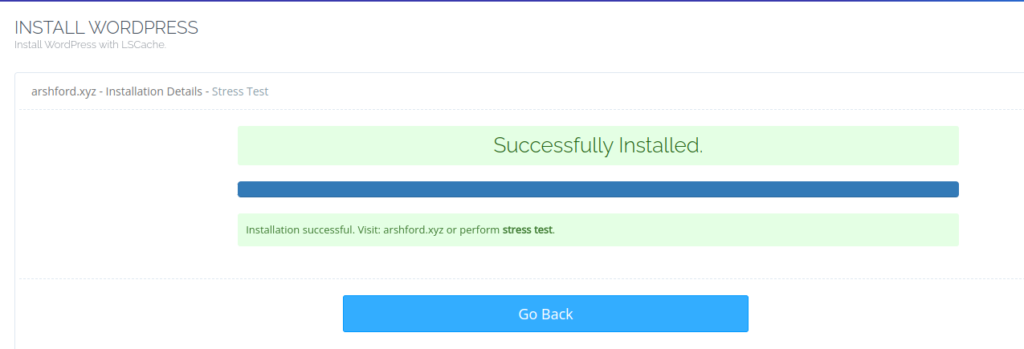
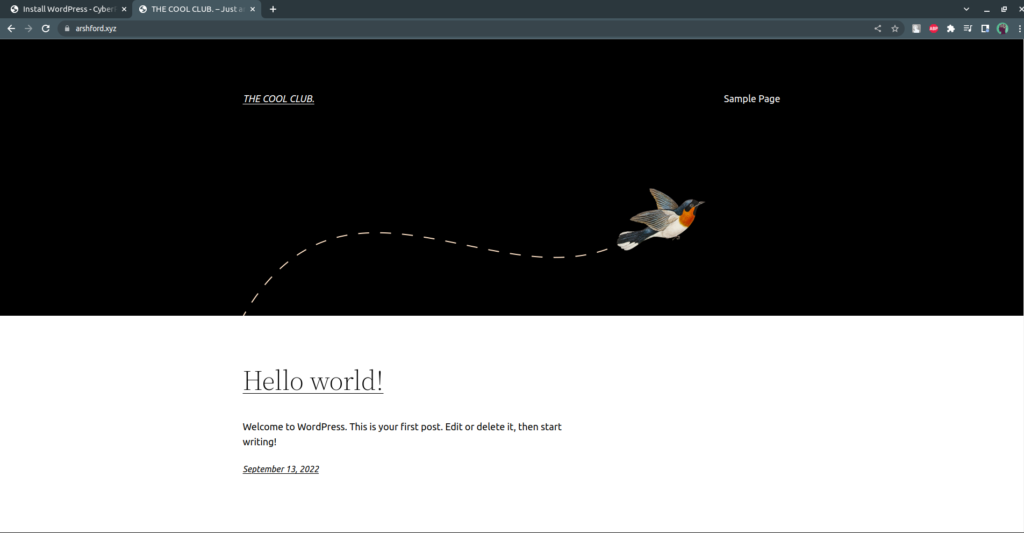
Verifying the WordPress Installation
You should now be able to visit your brand new WordPress site in your browser https://arshford.xyz and your wordpress admin dashboard being https://arshford.xyz/wp-admin.
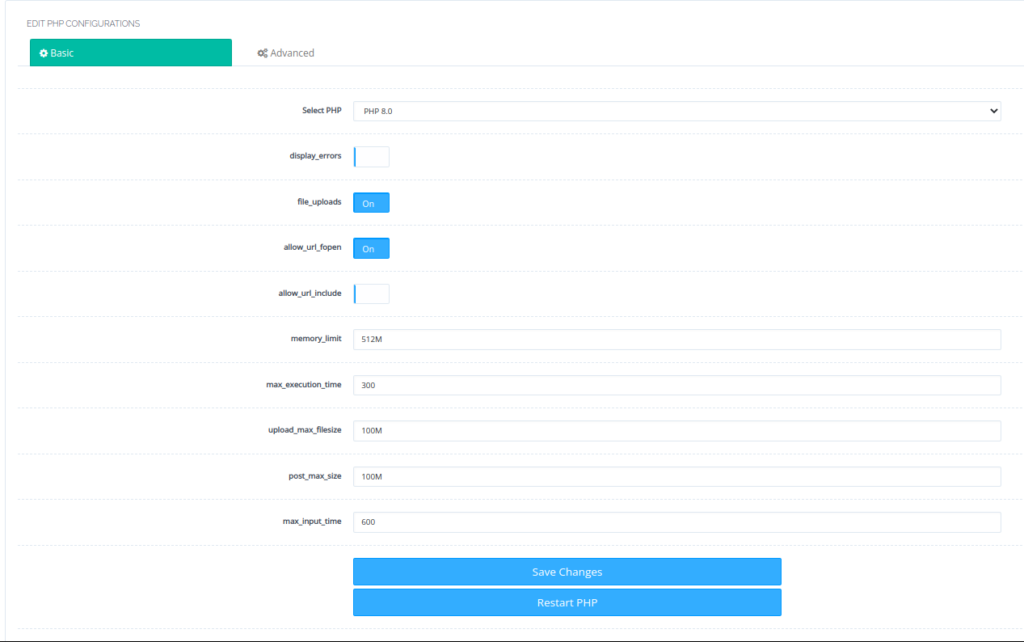
Configure PHP for uploadmaxfilesize & postmaxsize.
Go to cyberpanel home.
On left side menu > under SERVER section > PHP > edit PHP configs.
Select php version ( our wordpress install with php 8.0) so select php 8.0.
Edit as you like.
Save change
Restart PHP.