How to change the PHP version in Control Web Panel (CWP)
In this article, we will be talking about, How to change PHP version in CWP panel. Below are the steps.
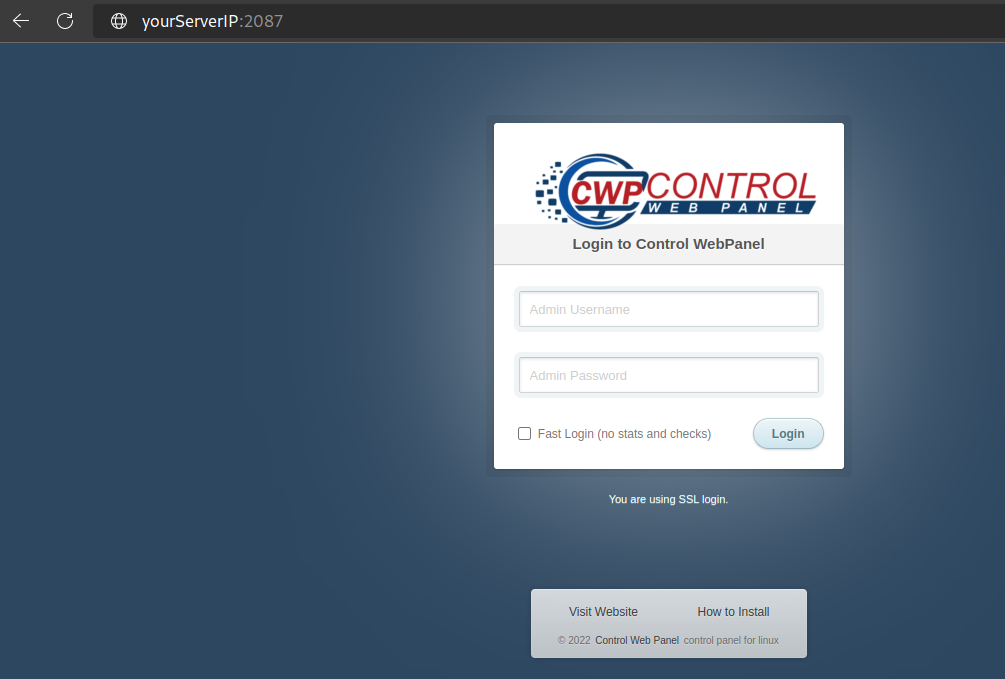
1. Log in to your CWP s WHM using your serverIP:2087. E.g if your serer IP is 1111111, then you will log in with 1111111:2087. You will then put your root credentials as provided to you.
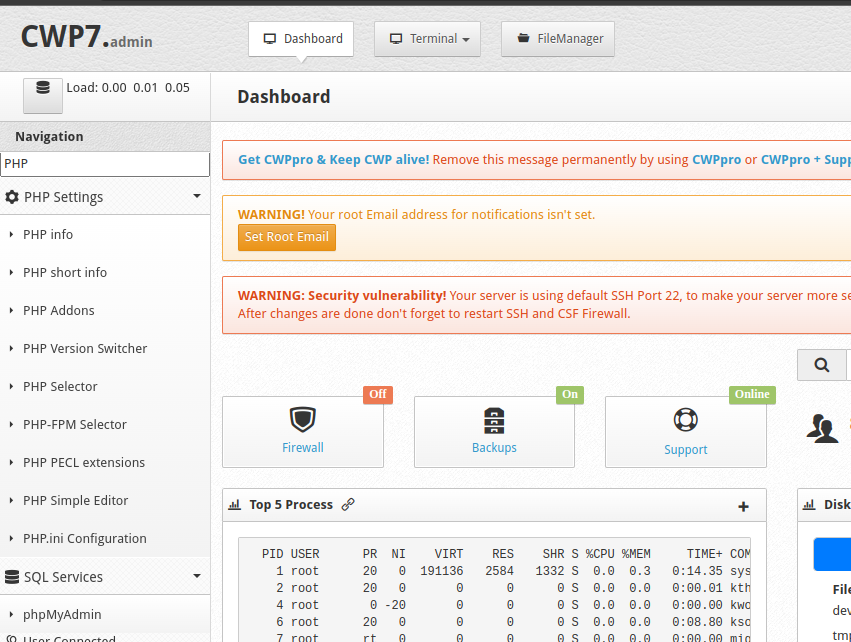
2. Once logged in, check on the left side panel. You will see a search box. Search for PHP. Then from the displayed options, click on PHP Version Switcher. See below
3. The PHP Version switcher will look as in the image below.
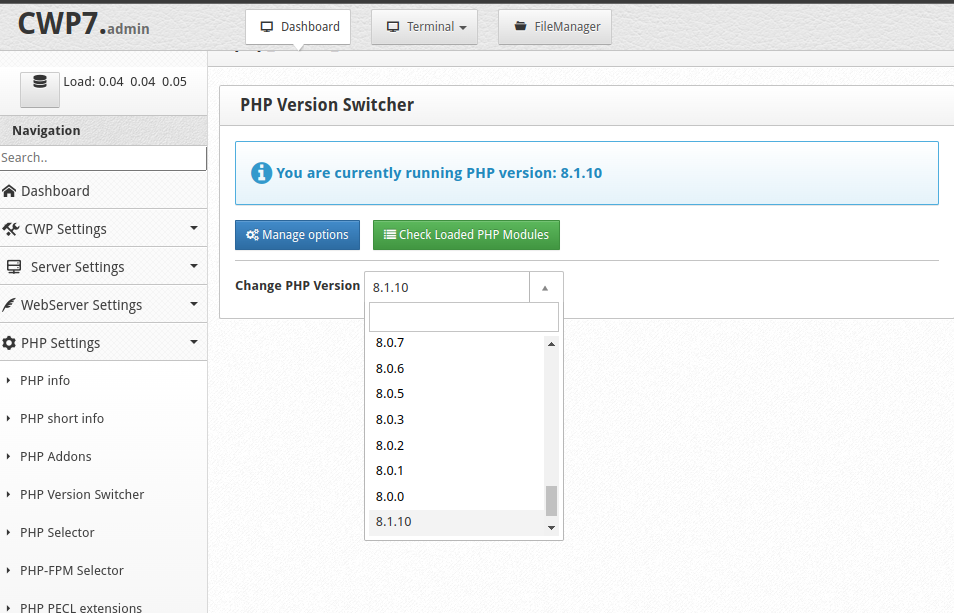
You notice that there is a label for “Change php version” It also shows the current active PHP version.
Next to the label, is a drop down arrow with more PHP versions to choose from. Click on the drop down arrow, and choose the version you want.
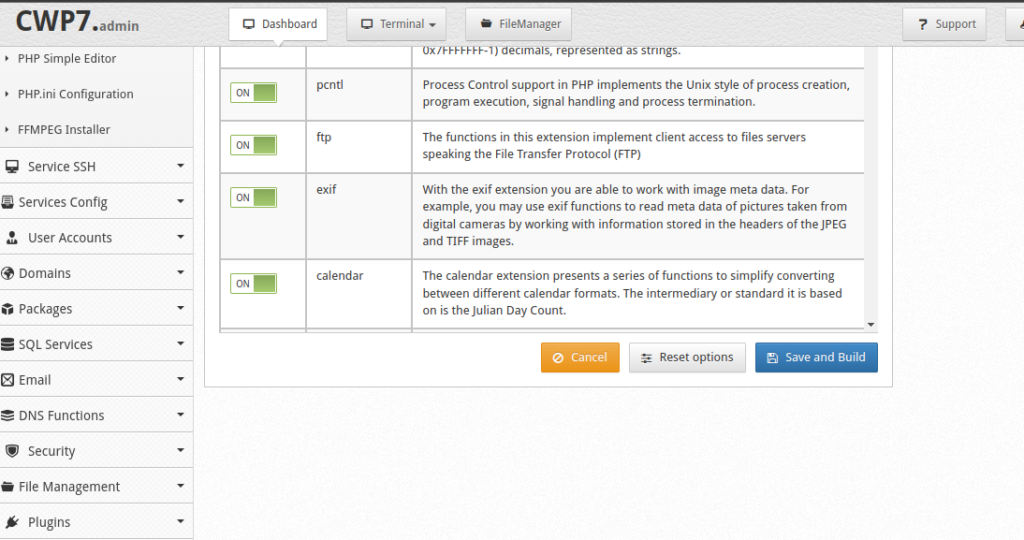
4. Once you select the desired version, the page will load and will show the PHP extensions available on the server.
You will be able to turn on off any extension as you wish, using the toggle button besides each of them. If you’re not sure of what turn on or off, just use the defaults, and and scroll down until you see a button labeled “Save and Build.” Click on the button
The build process can take up to 30 minutes. Please give it time to load. Also after the build up, the page may continue showing that it is still processing. Proceed to quit the page becasue the version wil have switched anyway.
You can check the logs of PHP installation using this command “tail -f /var/log/php-rebuild.log”