In this guide, I give a brief demonstration of Cyberpanel.
How to login #
- On your web browser, navigate to your panel e.g. https:[your ip address]:8090. This will open the login page of Cyberpanel.
- Using the credentials you were given or the credentials you obtained during installation of Cyberpanel, log into the panel.
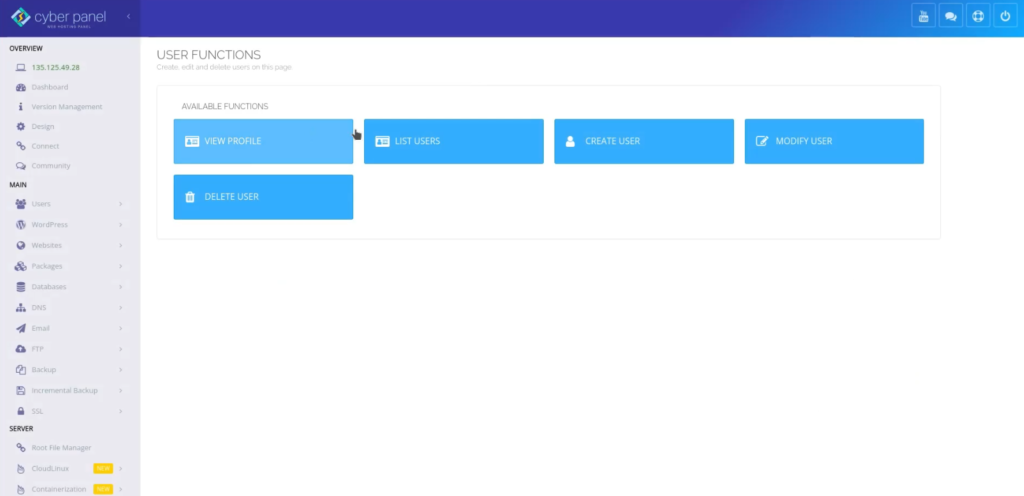
Overview of users #
Using cyberpanel, you can add multiple users to your website. Theses users can be others admins, resellers or just a regular user.
From the dashboard, click the ‘USERS’ button.
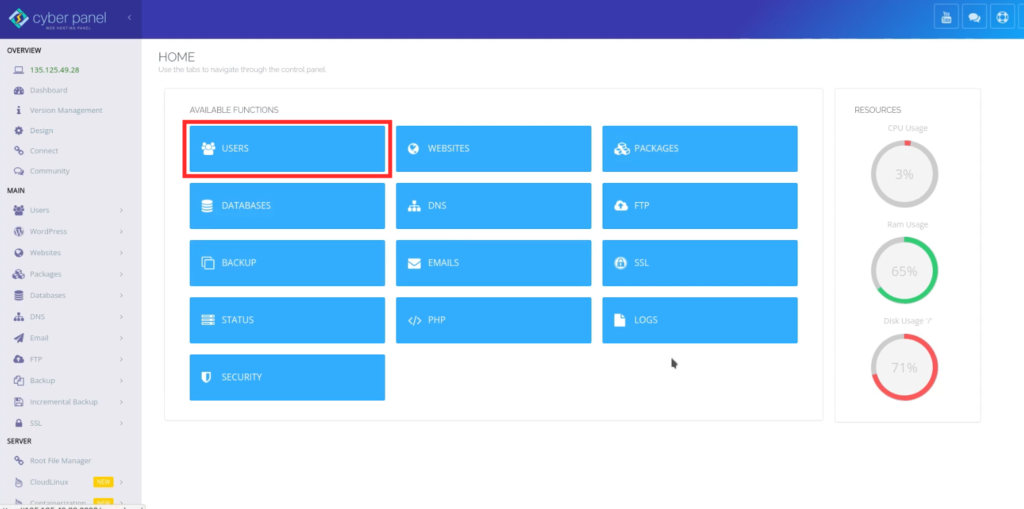
The following actions are available:
- Show list of users
- Show a single user
- Create a user
- Update a user
- Delete a user
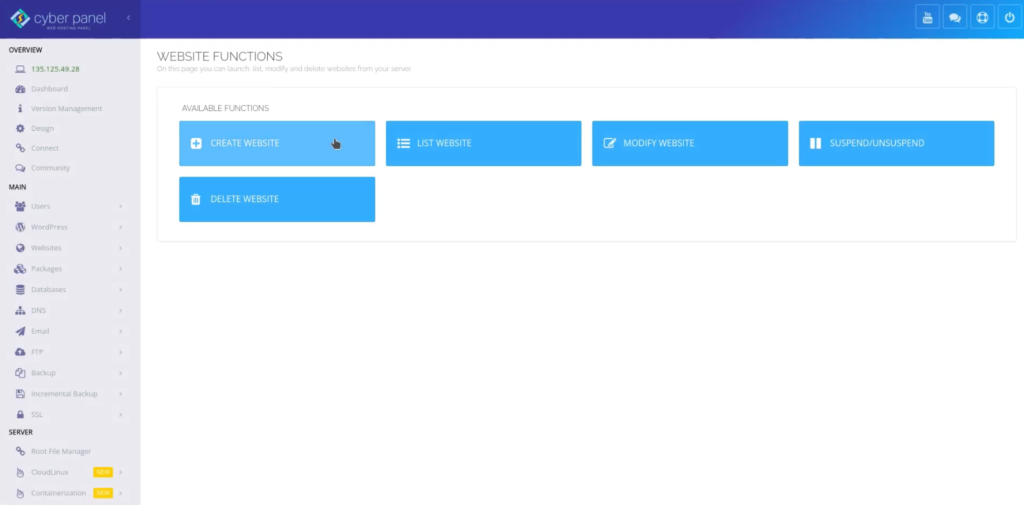
Overview of Websites #
A powerful feature of Cyberpanel is the ability of each user to add a website or multiple websites on a single server. Additionally, you (as the admin) can limit how many website each user can create.
Click on the ‘WEBSITES’ button.
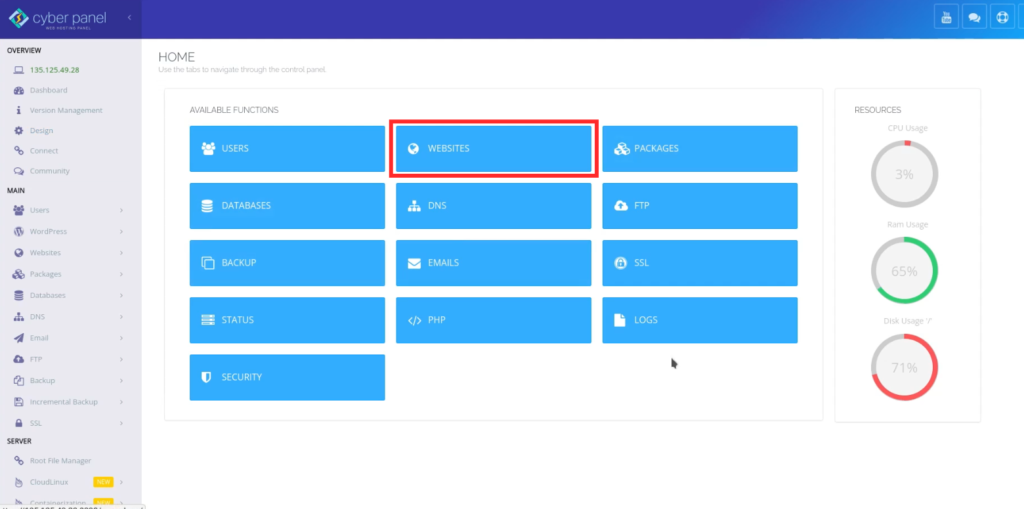
The available actions are:
- Create website
- Update website
- Show list of websites
- Suspend/Un-suspend website
- Delete website
Overview of Databases #
For each of your websites, you can create and manage a database for it. For example, for each WordPress website you create, a database is automatically created for it, and you can manage this database via the easy tools that Cyberpanel provides for you.
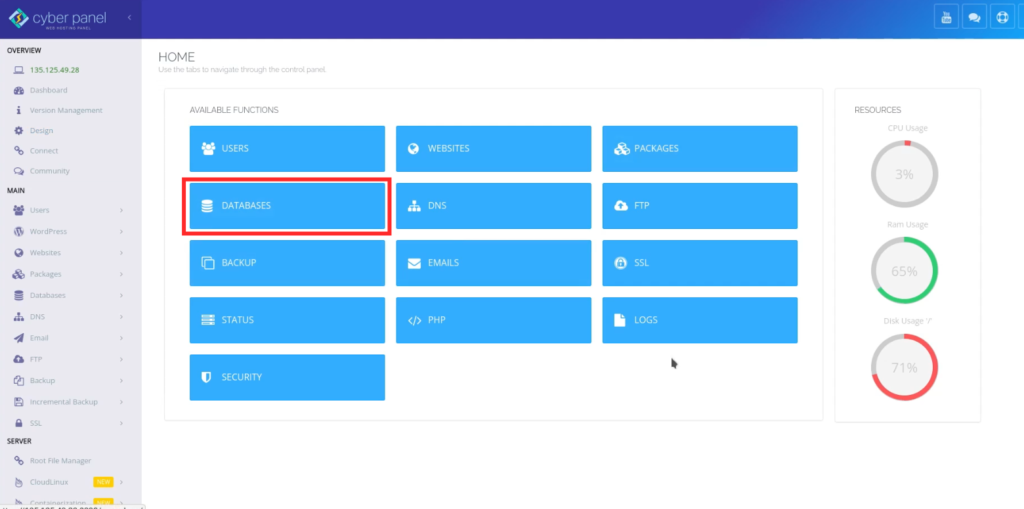
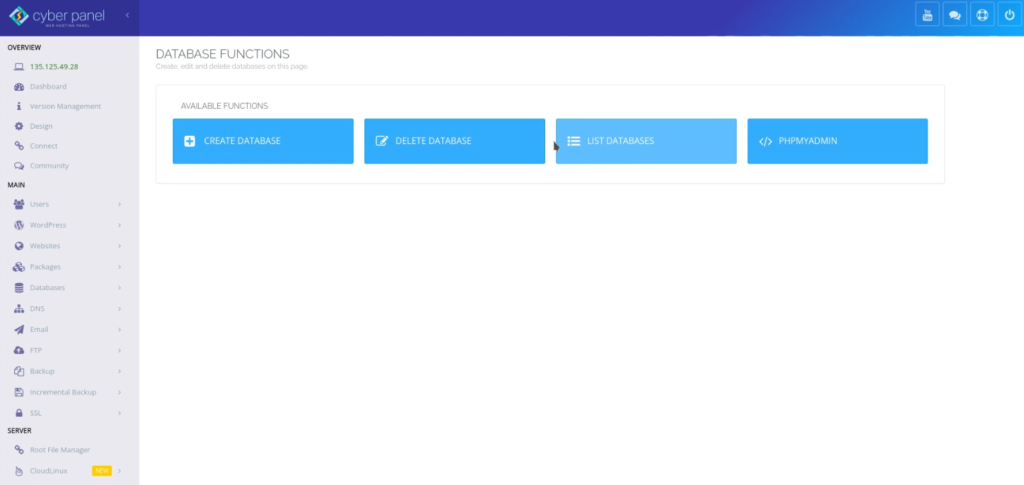
To start, click on ‘DATABASES’ button.
- Create database
- List databases
- delete database
- view database using PHPMyAdmin
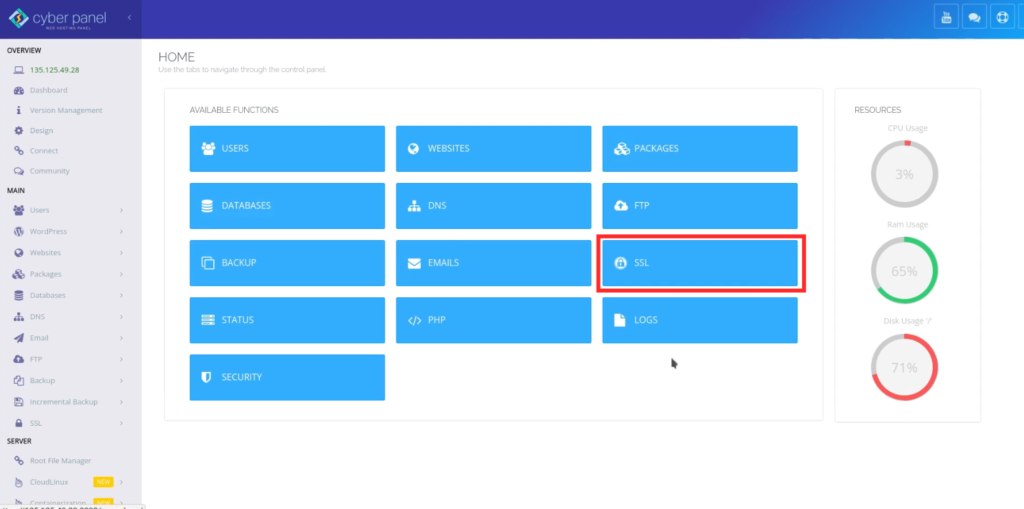
Overview of SSL #
Having an SSL on your website has become something that can really boost your SEO in recent years and Cyberpanel provides an easy way to do this. Cyberpanel either generates a self-signed SSL certificate or a Let’s Encrypt SSL certificate depending on conditions.
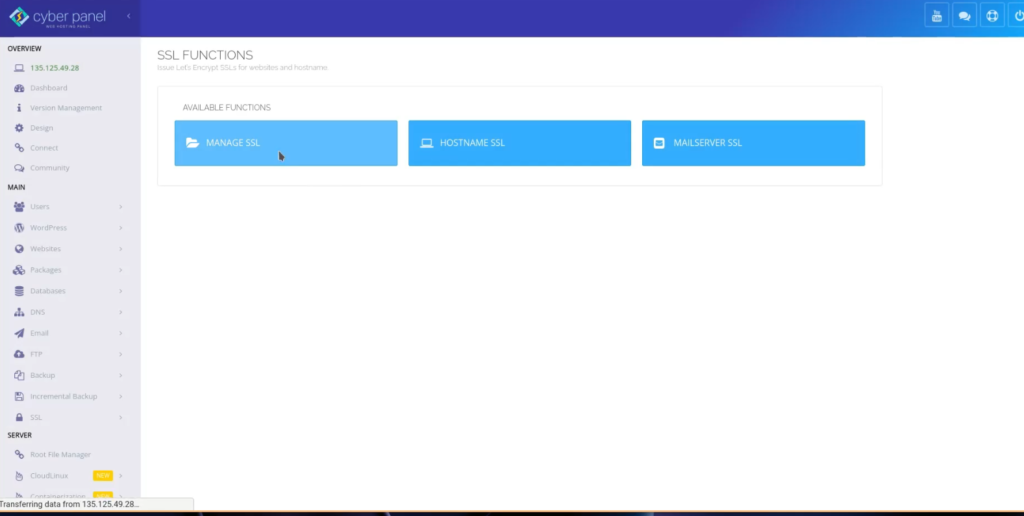
Click on ‘SSL’ button.
The Available actions are:
- Manage SSL
- Hostname SSL
- Mailserver SSL
NOTE: Let’s Encrypt only supports SSL certificates for domain names, therefore, if you haven’t added your domain name to your website, a self-signed certificate will be used (which may not be something that you want).
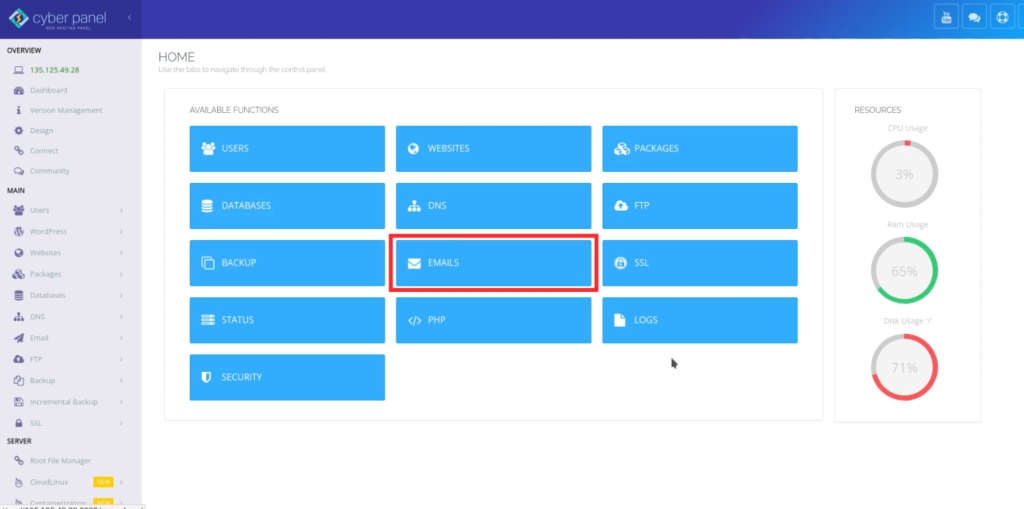
Overview of Email #
Cyberpanel allows you to create emails for your website or allows the users on your server to create emails for their websites.
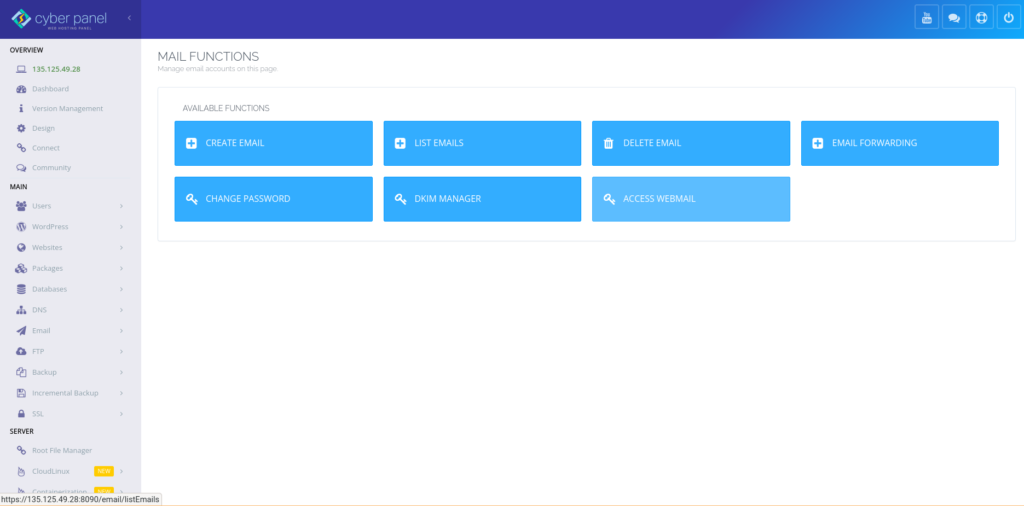
Click on ‘EMAILS’ button.
The actions available are:
- create email account
- List email accounts
- Delete email account
- Setup email forwarding
- Change email account password
- DKIM manager
- View your emails
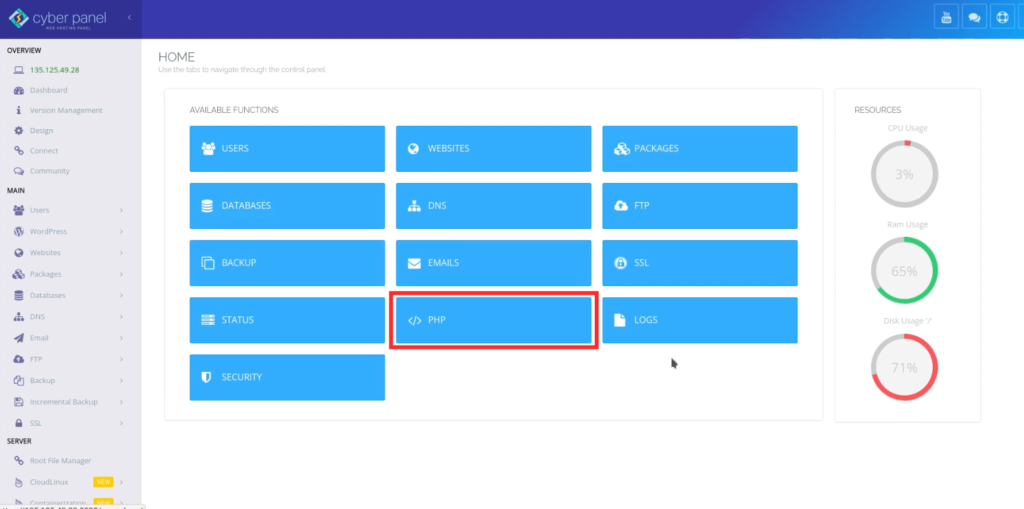
Overview of PHP #
Cyberpanel allows you to configure your PHP settings and extensions.
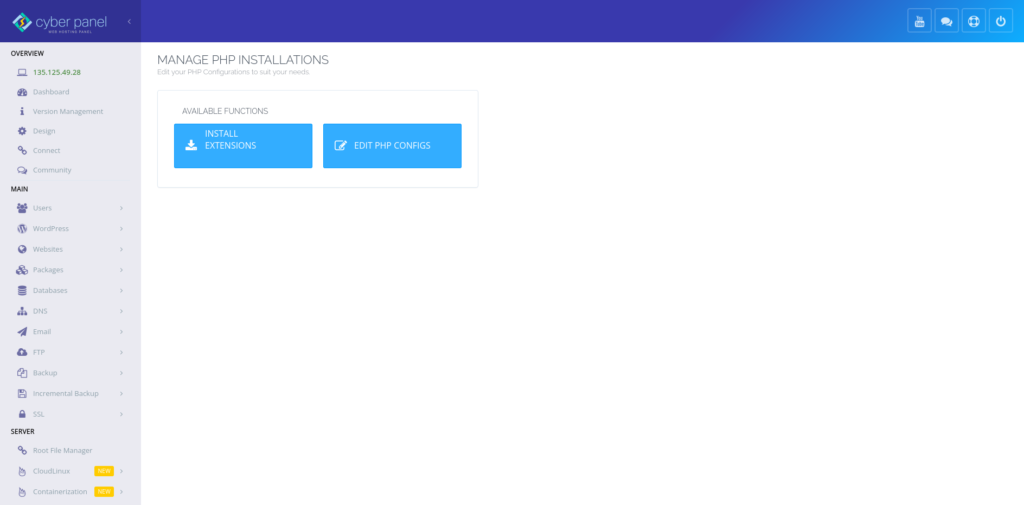
Click on ‘PHP’ button.
Available actions are:
- Install extensions
- Edit PHP configs
Conclusion #
Cyberpanel has plenty of other features. The ones highlighted above are just the main ones. We will expound further on each of the features in future articles.


