Domain RegistrationFind and register the perfect domain for your website.
 .COM DomainChoose a widely recognized domain to build global credibility.
 Domain TransferSeamless domain transfers with zero downtime and complete control.
 All TLDsFind and register your perfect domain. Choose from local and global extensions.
 SSL CertificatesKeep your website safe with reliable SSL Certificates that protect customer data and build trust.
 whoisCheck domain ownership details, expiration dates, and registrar information.
 US DomainRegister a .US domain and build trust in the USA.
 Web HostingEverything your website needs to run smoothly
 WordPress HostingWordPress hosting that just works
 Windows HostingReliable hosting for Windows environments
 Reseller HostingTurn hosting into your business
 Email HostingEmail that looks professional and works anywhere
 cPanel HostingFull control of your hosting with cPanel
 Affiliate ProgramJoin as a partner and earn commissions on every referral you send our way.
 Vps HostingScalable virtual servers that expand as you need.
 Dedicated ServersGet complete access and full control over your dedicated physical server.
 Managed vpsNot tech-savvy? We will take care of everything with our fully managed VPS hosting for you.
 AI Website BuilderCreate stunning websites in seconds with AI.
 Online ShopSet up a professional online store. No coding required.
 Web design serviceGet a tailored website designed to match your brand and support your goals.
 BlogFind helpful guides on web hosting, online selling, digital marketing, and more.
 Contact USYou can reach us anytime, day or night, through chat or email.
 SupportBrowse helpful guides and answers for all of our services.
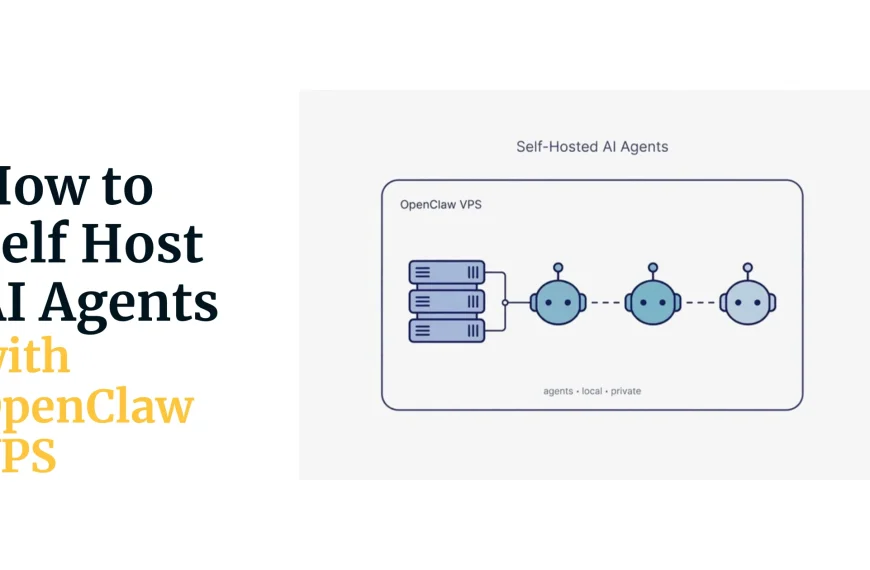
Setting up OpenClaw on a VPS buys you a solution a local installation can’t: a private AI agent that stays online around the clock.
Instead of depending on your computer being switched on, your agent runs from a dedicated server that you control, ready to respond to messages, perform automations, and complete tasks whenever you need it.
Now, before we jump into the setup, make sure you have everything ready.
A smooth setup starts with the right environment, and checking these requirements now can save you time later.
You’ll need:
- Ubuntu 22.04 or 24.04 LTS installed on your VPS.
- At least 2 GB of RAM, although 4 GB is recommended. While OpenClaw can be installed on a 2 GB server, browser automation, skills, and multiple integrations consume additional memory. A 4 GB VPS provides enough headroom for smoother performance.
- Node.js 24 or later. There’s no need to install it yourself because the official OpenClaw installer detects your system and installs the correct version automatically if it’s missing.
- An API key from your preferred AI provider, such as OpenAI, Anthropic, or Groq.
- A Telegram account, which you’ll use to connect to your OpenClaw bot.
- SSH access to your VPS so you can run the installation commands remotely.
Once you have everything in place, you’re ready to deploy your own OpenClaw agent.
So, let’s get you a live agent you can talk to from your phone, with the correct commands, in the right order.
The Fastest Way: Deploy OpenClaw on a Truehost VPS
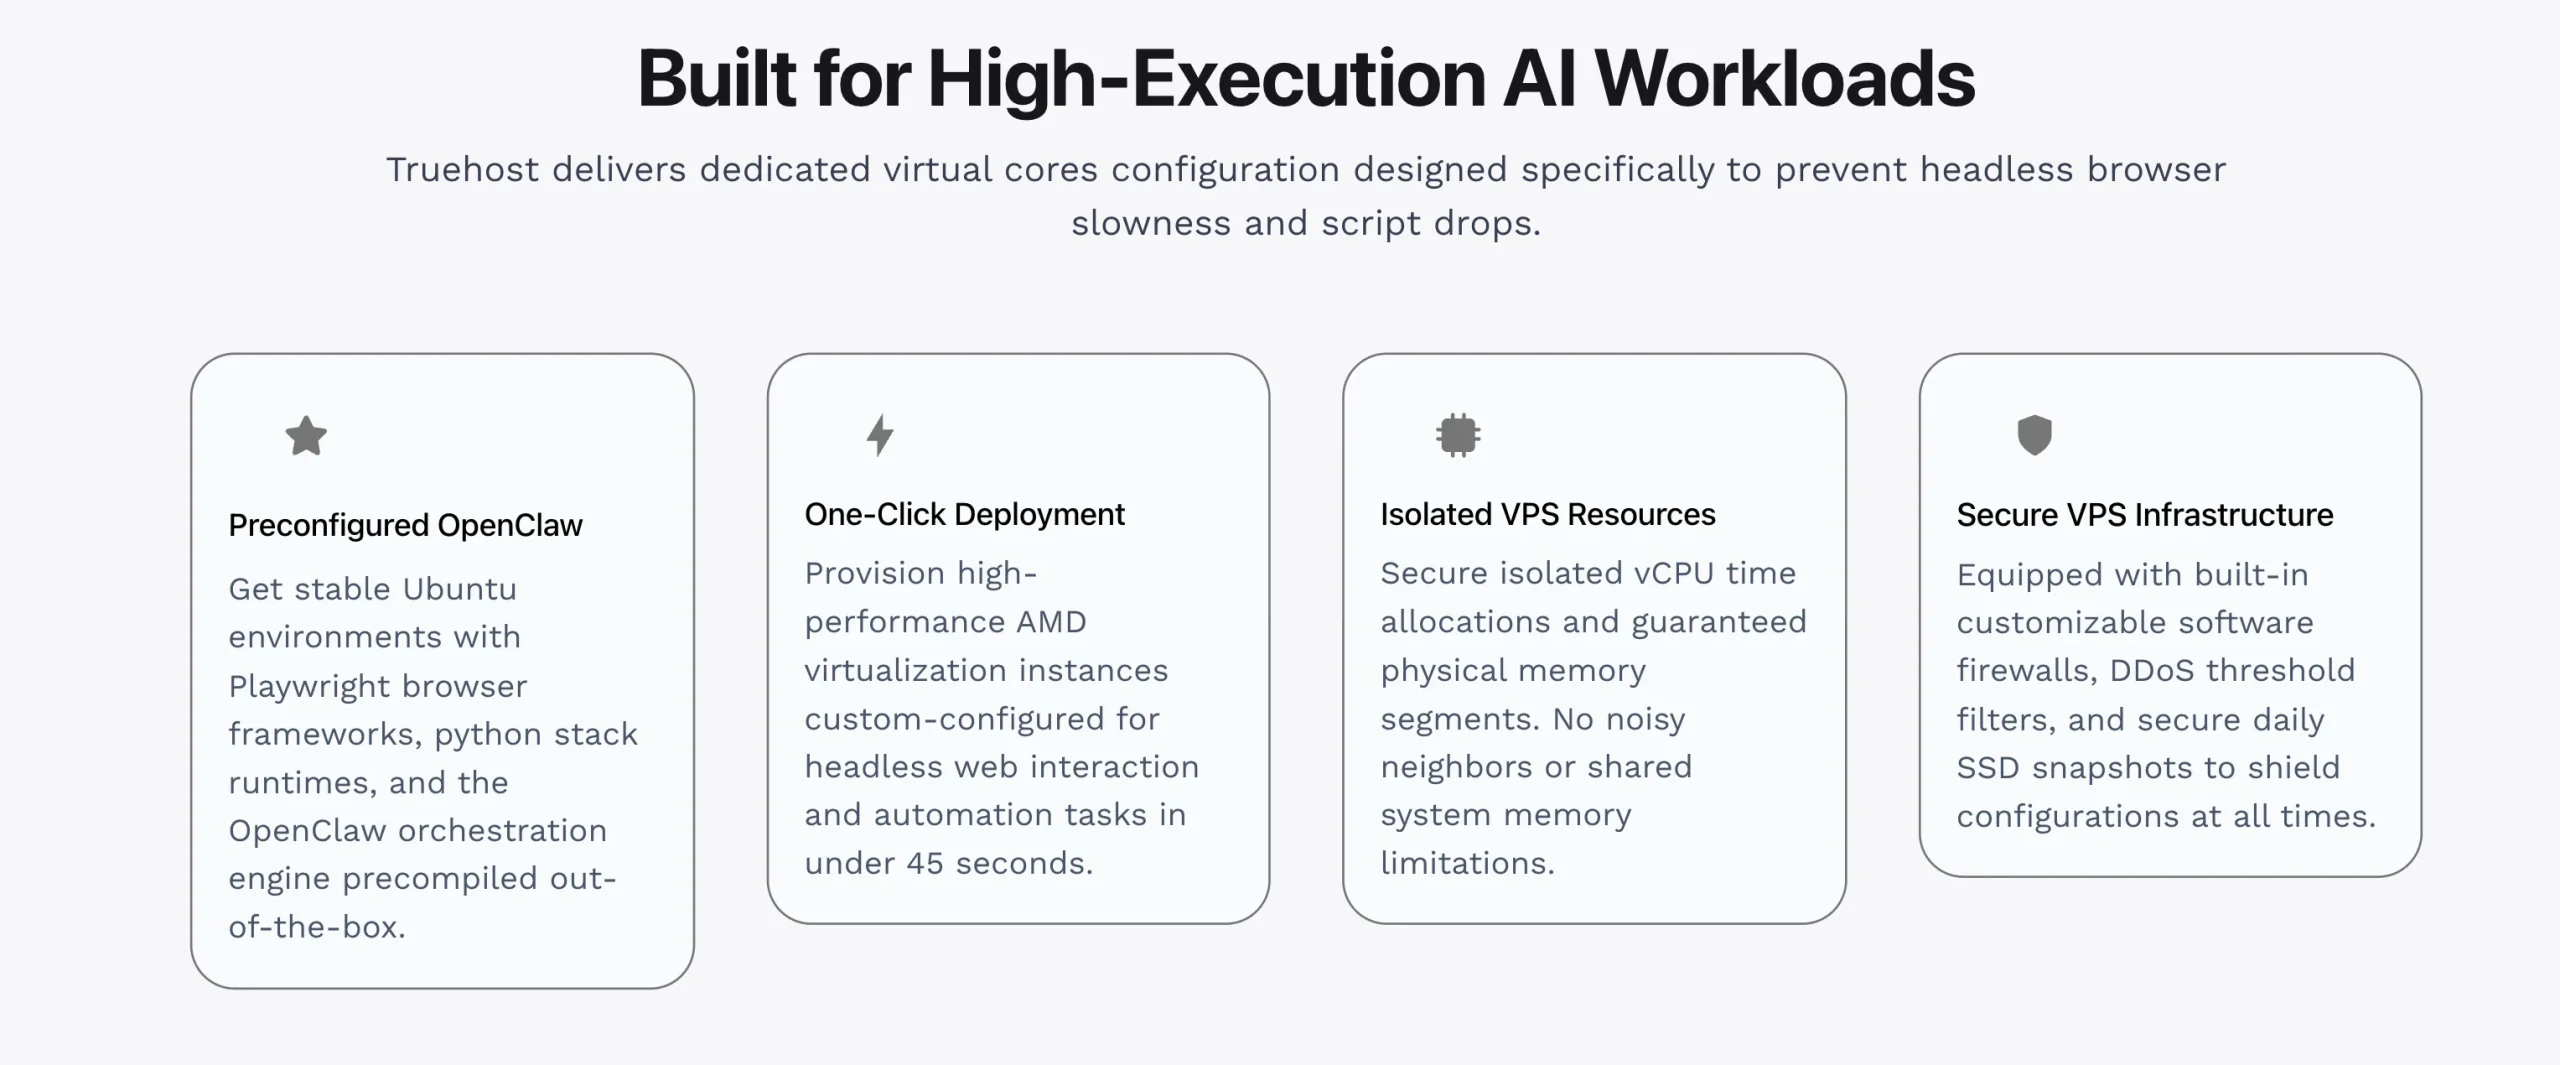
If your goal is to start using OpenClaw without spending time configuring a server from scratch, our pre-configured OpenClaw VPS is the quickest option.
Instead of installing dependencies, troubleshooting compatibility issues, and setting up the runtime yourself, you get a server that’s ready to deploy your AI agent in seconds.
Choose the plan that matches your workload:
| Plan | Price | RAM | Use Cases |
|---|---|---|---|
| Starter | $11/mo | 2 GB | Telegram bot, single agent, basic tasks |
| Pro | $17/mo | 4 GB | Multiple integrations, browser automation, skills |
| Business | $23.08/mo | 8 GB | Teams, heavy workflows, multiple agents |
“Pre-configured” means the OpenClaw engine, Playwright frameworks, and Python stack are all precompiled and ready.
You’ll also have full root SSH access, giving you complete control whenever you need to customize your environment.
Manual Setup: Install OpenClaw on Any VPS
If you already have a VPS or prefer managing every part of the installation yourself, the manual setup gives you complete control.
We’ll start by preparing the server before installing OpenClaw and configuring your agent.
From there, you’ll secure the installation and make sure it continues running even after you disconnect from your SSH session.
1) Get the Server Ready
Preparing your VPS for the OpenClaw installation involves connecting to the server, updating the operating system, and installing a small utility that the installer depends on.
Starting with a clean, fully updated server helps prevent package conflicts and ensures the installation runs as expected.
Step 1: Update your server
Connect to your VPS over SSH using the root account. Replace YOUR_SERVER_IP with your server’s public IP address.
ssh root@YOUR_SERVER_IPOnce you’re connected, update your package lists, install the latest security updates, and install curl.
sudo apt update && sudo apt upgrade -y
sudo apt install curl -y
These commands bring your Ubuntu server up to date and install curl, which you’ll use to download and run the official OpenClaw installer in the next step.
Step 2: Run the official installer
Once your server is ready, install OpenClaw using the official installation script.
curl -fsSL https://openclaw.ai/install.sh | bashThis single command takes care of almost everything for you.
It detects your operating system, installs Node.js 24 automatically if it isn’t already available, installs the latest version of OpenClaw, and launches the onboarding process when the installation is complete.
Since OpenClaw is actively developed, the installation script may occasionally change.
Before running the command, it’s good practice to check the official documentation and confirm you’re using the latest installer URL.
2) Configure Your Agent
With OpenClaw installed, it’s time to configure your AI agent. The installer will guide you through a series of onboarding prompts that determine how your agent connects to AI models and messaging platforms.
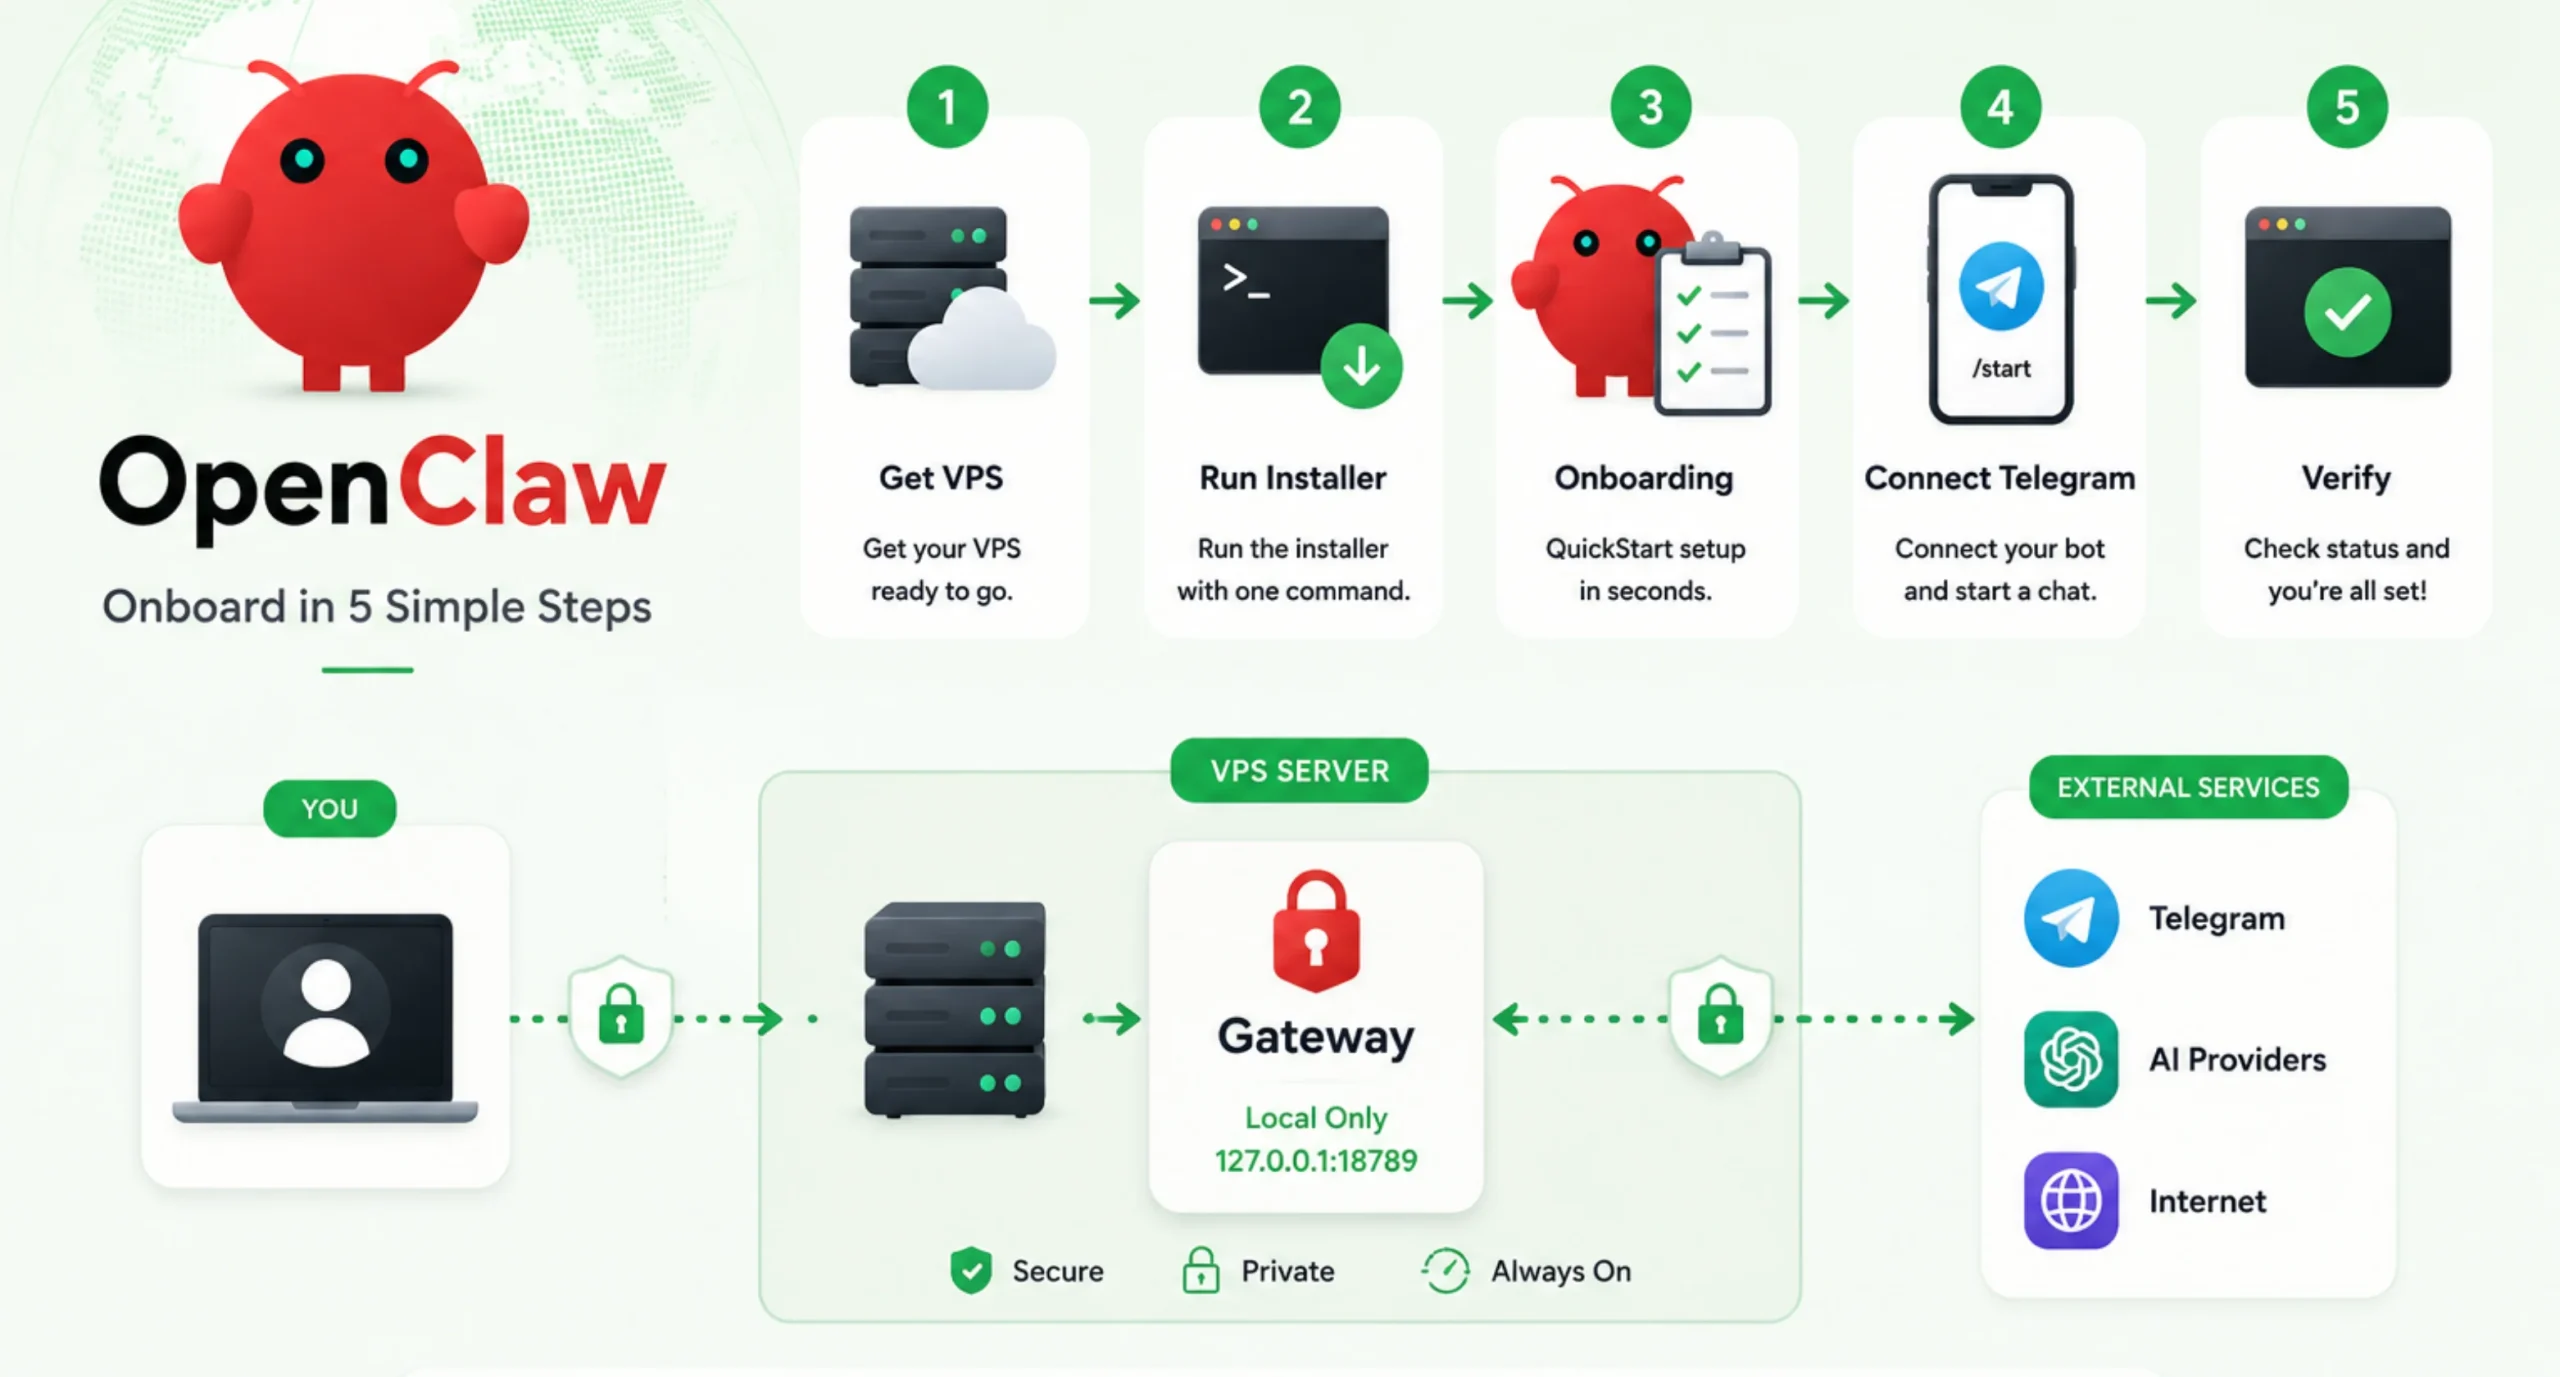
Choosing the recommended options now gives you a reliable setup that’s easy to expand later as you add more skills and integrations.
Step 3: Complete the Onboarding Prompts
During onboarding, you’ll be asked several questions.
1. Risk disclaimer: Yes
OpenClaw requires permission to perform system-level actions on your server. Accepting the disclaimer confirms that you understand the responsibilities of running an AI agent with access to your VPS.
2. Onboarding mode: QuickStart
QuickStart gets your agent running with the recommended defaults. You can always customize your installation later without reinstalling OpenClaw.
3. Model provider: OpenAI or Anthropic
Choose the AI provider like OpenAI or Anthropic or any other you want your agent to use, then paste your API key when prompted.
4. Messaging channel: Telegram
Telegram is the simplest messaging platform to configure on a VPS because it communicates using polling instead of webhooks. So you don’t have to expose additional ports or configure HTTPS certificates just to start chatting with your agent.
5. Set up your Telegram bot with BotFather
Before your agent can receive messages, you’ll need to create a Telegram bot.
- Open Telegram and search for @BotFather.
- Start a conversation and send the
/newbotcommand. - Choose a bot name and username.
- Copy the API token that BotFather generates.
- Return to the OpenClaw installer and paste the token when prompted.
Once this is complete, OpenClaw will use your bot to communicate with you through Telegram.
6. Install Skills: No
This keeps the installation simple and gets your agent online more quickly. You can add skills later when you need additional capabilities.
7. Bash completion: Yes
It allows your shell to automatically complete OpenClaw commands as you type, saving time and reducing typing errors.
8. Package manager: npm
It’s the default option and works perfectly with the official OpenClaw installation.
Step 4: Open the gateway and connect
After onboarding finishes, start the OpenClaw gateway.
openclaw open gatewayThe gateway allows your Telegram bot to communicate with your OpenClaw agent.
Next, open Telegram, find the bot you created with BotFather, and send /start. If everything has been configured correctly, your agent will reply, confirming that the connection is working.
This is the first sign that your OpenClaw installation is live and ready to accept requests. From here, you can begin chatting with your agent directly from Telegram.
3) Secure and Stabilize
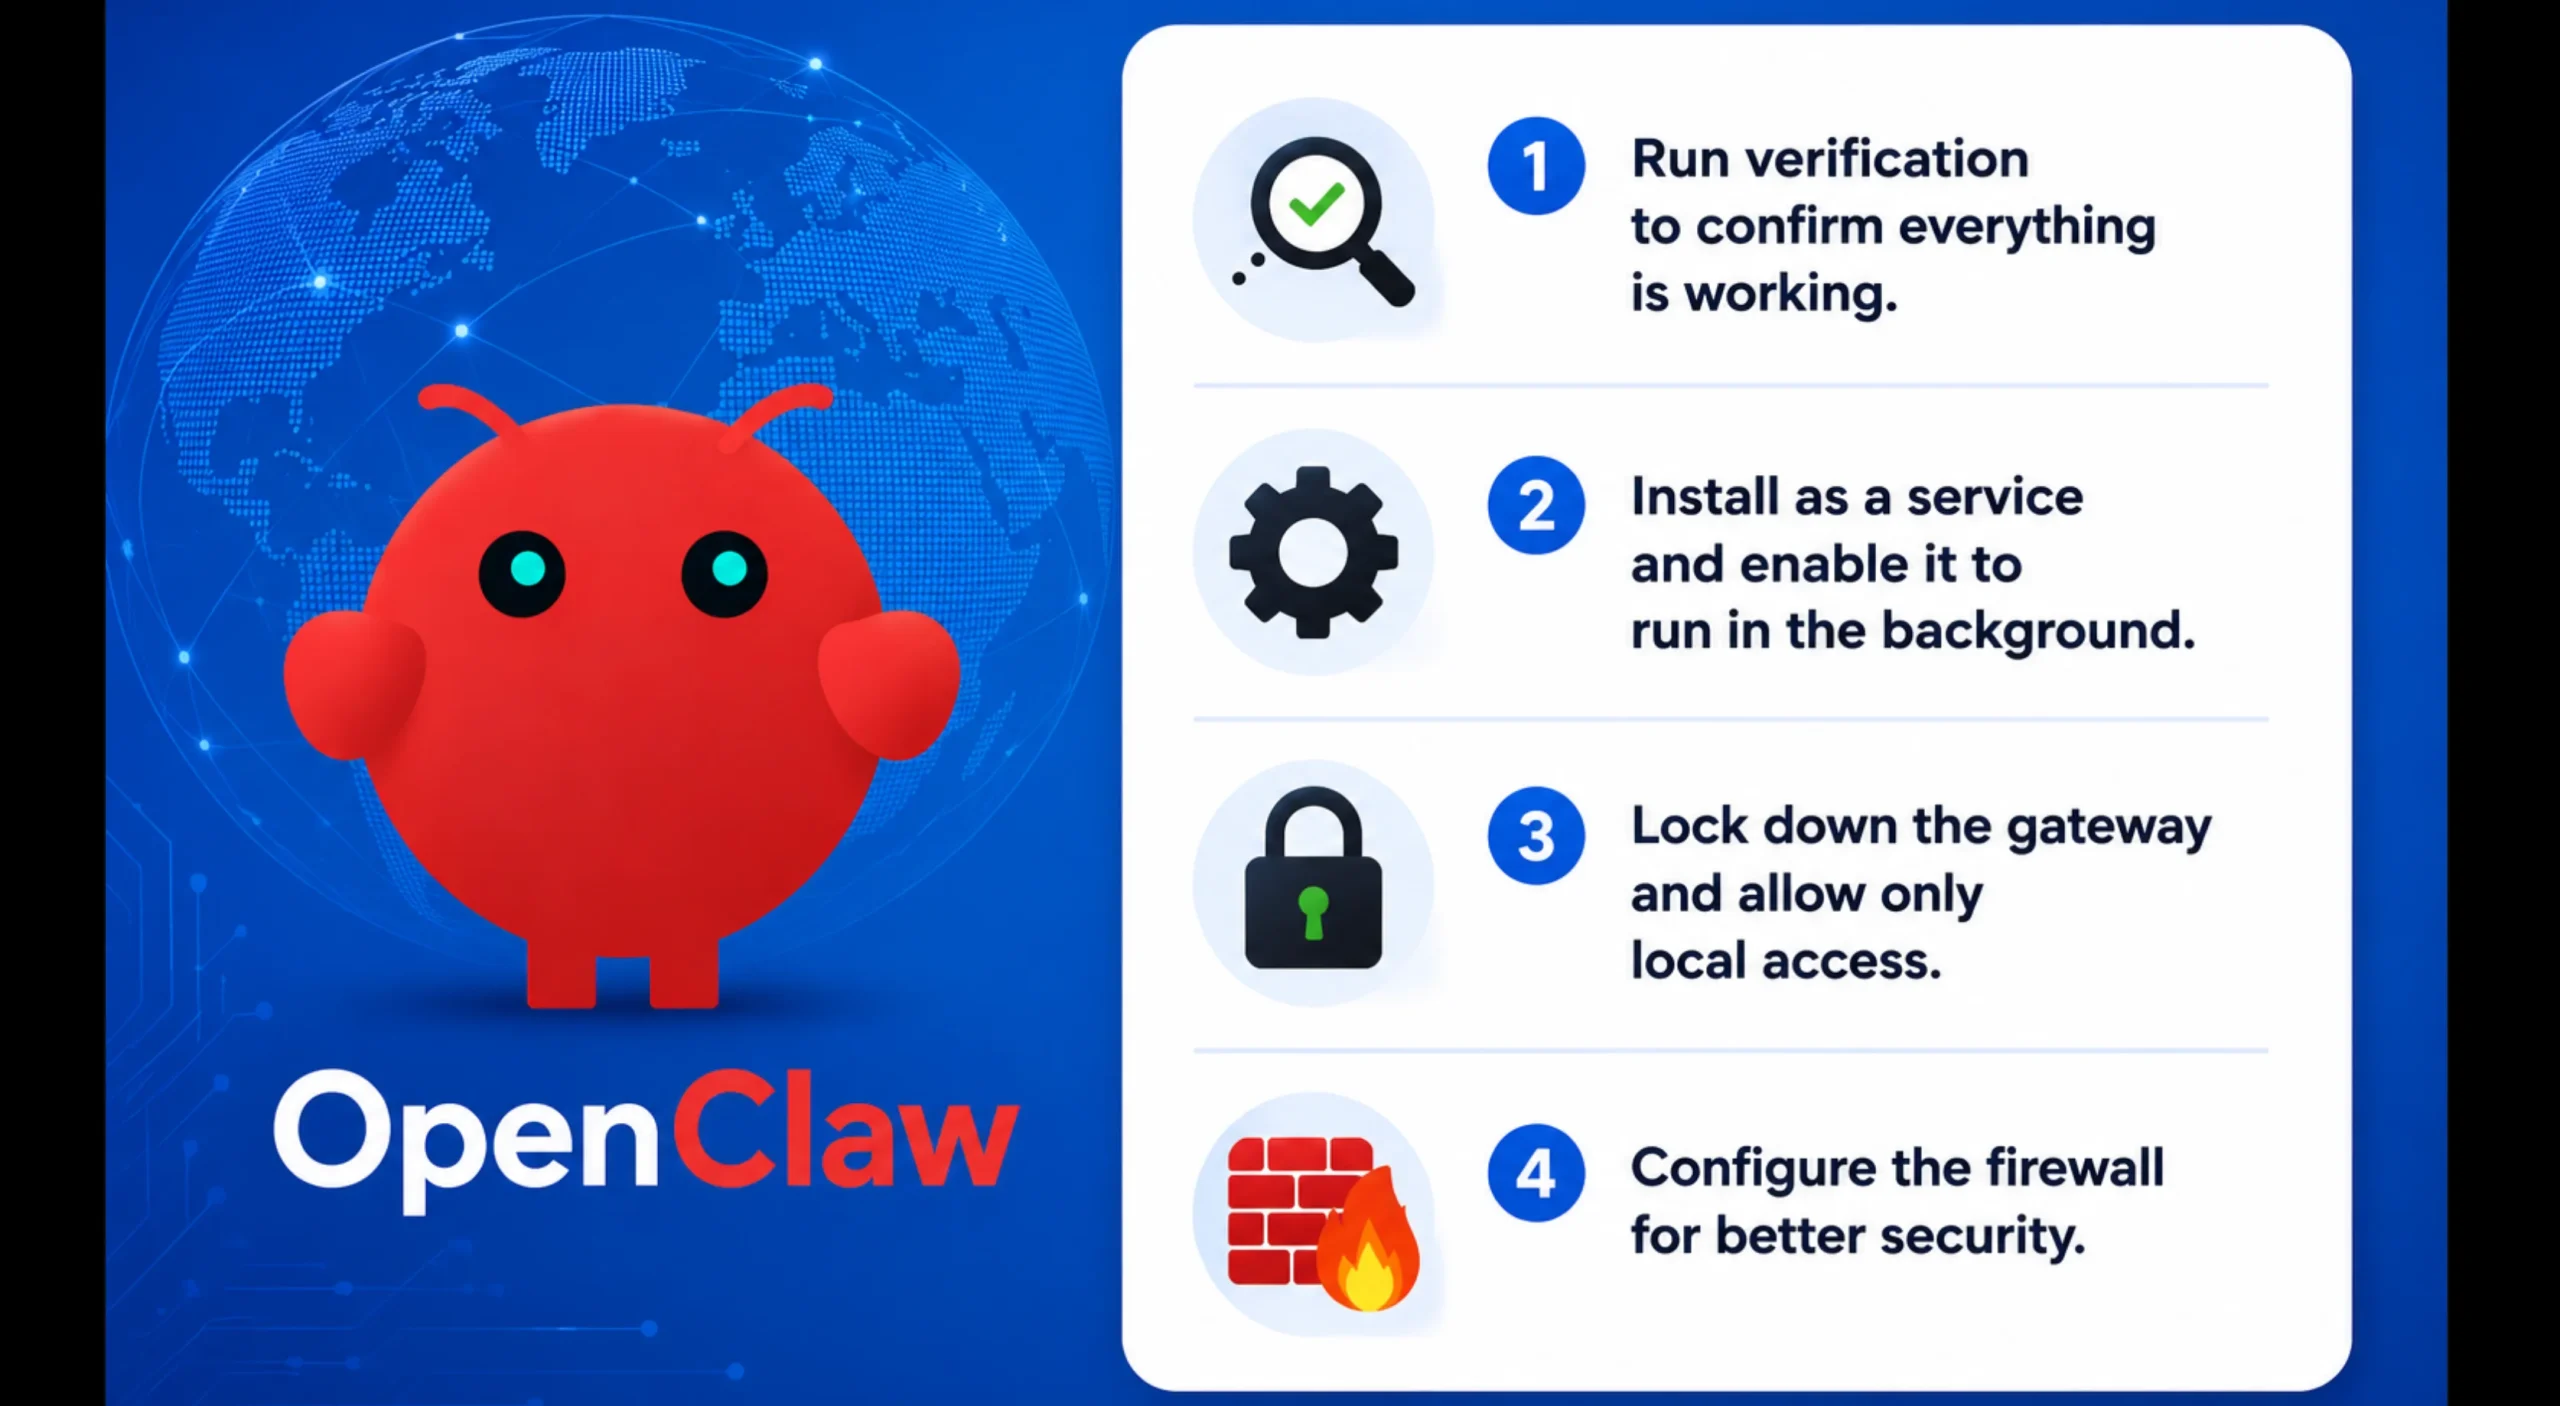
Your OpenClaw agent is now up and running, but there are a few important steps left before it’s ready for everyday use.
These checks help confirm that everything is working correctly, keep your agent running after you disconnect from SSH, and reduce unnecessary security risks.
Step 5: Run verification
Before you start creating automations, verify that the installation completed successfully by running the three official diagnostic commands.
openclaw --version
openclaw doctor
openclaw gateway status
Each command serves a different purpose:
openclaw --versionconfirms that the OpenClaw CLI is installed and accessible from your terminal.openclaw doctoris OpenClaw’s built-in diagnostic tool. It checks your installation, configuration, and dependencies for potential issues. It often catches problems before they affect your agent, so it’s important.openclaw gateway statusverifies that the gateway is running and ready to communicate with your messaging platform.
If all three commands complete successfully, your installation is healthy and you’re ready to make it more reliable.
Step 6: Set up as a persistent service
To keep your OpenClaw agent running in the background, install the built-in daemon.
openclaw onboard --install-daemonThis registers OpenClaw as a systemd user service, allowing it to be managed automatically instead of relying on your active terminal session.
Next, run the following command:
loginctl enable-linger $USERThis step is crucial. Without enabling lingering, the user service stops as soon as you close your SSH session, causing your OpenClaw agent to go offline.
Enabling lingering allows the service to continue running after you log out, giving your agent the persistent uptime expected from a VPS deployment.
Step 7: Lock down the gateway
By default, you should ensure that the OpenClaw gateway is only accessible from your local server. This prevents it from being exposed to the public internet.
Start the configuration tool:
openclaw configure
# Select: Local (this machine)
After saving the configuration, verify that the gateway is listening only on the localhost interface.
ss -tulpn | grep 18789
# Must show 127.0.0.1:18789, NOT 0.0.0.0:18789
If it shows 0.0.0.0:18789, your gateway is exposed to the internet, and your API keys are at risk. Run the configure step again.
Step 8: Configure the firewall
The final security step is configuring your firewall. OpenClaw communicates with Telegram and your AI provider through outbound connections, so there’s no need to expose additional inbound ports beyond SSH.
If you’re using UFW (Uncomplicated Firewall) on Ubuntu, run the following commands:
sudo ufw default deny incoming
sudo ufw default allow outgoing
sudo ufw allow 22/tcp
sudo ufw limit 22/tcp
sudo ufw enable
This is what each command does:
- Deny all incoming connections by default to minimize your server’s attack surface.
- Allow all outgoing connections so OpenClaw can communicate with Telegram, OpenAI, Anthropic, Groq, and other services.
- Allow SSH (port 22) so you can continue managing your VPS remotely.
- Rate-limit SSH connections to help reduce automated brute-force login attempts.
- Enable the firewall to apply the rules.
With these rules in place, your VPS is better protected while still allowing OpenClaw to function normally.
Your First Three Automations
Your agent is live. So you can start here:
1. Daily weather report:
Ask your agent to send a weather update to Telegram every morning at 8am.
It sets up the recurring task and confirms. You’ll get a message the next morning without touching anything. This shows recurring automation working.
2. Web search via a skill:
Next, extend your agent’s capabilities by installing the web search skill. Once it’s available, ask a question that requires current information, such as the latest news, exchange rates, or today’s weather.
This demonstrates how skills enable OpenClaw to retrieve live data instead of relying only on its language model.
3. Create a sub-agent:
Finally, create a dedicated sub-agent with a specific role, such as a research assistant.
Assign it tasks like summarizing articles, gathering information, or answering research questions.
Routing these requests to a specialized sub-agent showcases OpenClaw’s multi-agent architecture and makes it easier to organize different types of work as your automations become more advanced.
When Something Goes Wrong
Use the table below as a quick reference before heading into more advanced troubleshooting.
| Problem | Solution |
|---|---|
openclaw not found after installation | This is usually a PATH issue. Follow the troubleshooting steps in the official Node installation documentation: docs.openclaw.ai/install/node. |
| The agent stops responding after you disconnect from SSH | Run loginctl enable-linger $USER to allow the OpenClaw systemd user service to continue running after you log out. |
Gateway is listening on 0.0.0.0 | Run openclaw configure again and select Local (this machine). Then verify that the gateway is bound to 127.0.0.1:18789. |
| API key errors | Check your .env file for extra spaces, quotation marks, or an incorrect API key. After making changes, restart the service. |
| Telegram bot isn’t responding | Confirm that you copied the correct BotFather token and send /start to your bot to activate the conversation. |
| High memory usage on a 2 GB VPS | If you’re using browser automation or several skills, consider upgrading to the Pro plan with 4 GB RAM or disable resource-intensive browser skills. |
Most installation issues can be resolved in just a few minutes, especially if you verify your setup with openclaw doctor and follow the recommended configuration steps in this guide.
You’re Set – Now Keep It Running
Congratulations! Your OpenClaw agent is now running on a VPS that’s designed to stay online 24/7.
Unlike a local installation, it won’t stop working when your computer goes to sleep or you close your terminal.
Plus, you have full control over your server, your API keys, and your data, while your agent remains ready to respond whenever you need it.
From here, you can continue expanding your setup by installing additional skills, creating specialized sub-agents, connecting more messaging platforms, and building automations that save you time every day.
If you’d rather skip the server preparation and manual installation altogether, our Truehost OpenClaw VPS hosting gets you started in seconds with OpenClaw, Playwright, and the required Python stack already pre-configured.
Simply complete the onboarding process, connect your Telegram bot, and begin using your AI agent right away.