How to Manage DNS Zones in Your Client Area
Prerequisites
Before proceeding, ensure the following:
- You have a registered and active domain in your account.
- The domain’s nameservers are correctly pointed to:
ns1.cloudoon.com
ns2.cloudoon.net
ns3.cloudoon.org
3. You can access the client area where the domain was registered.
Accessing the DNS Manager
- Log in to your client area.
- Navigate to:
Domains → Manage DNS
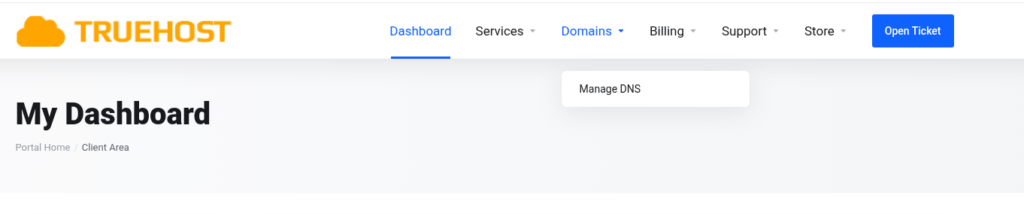
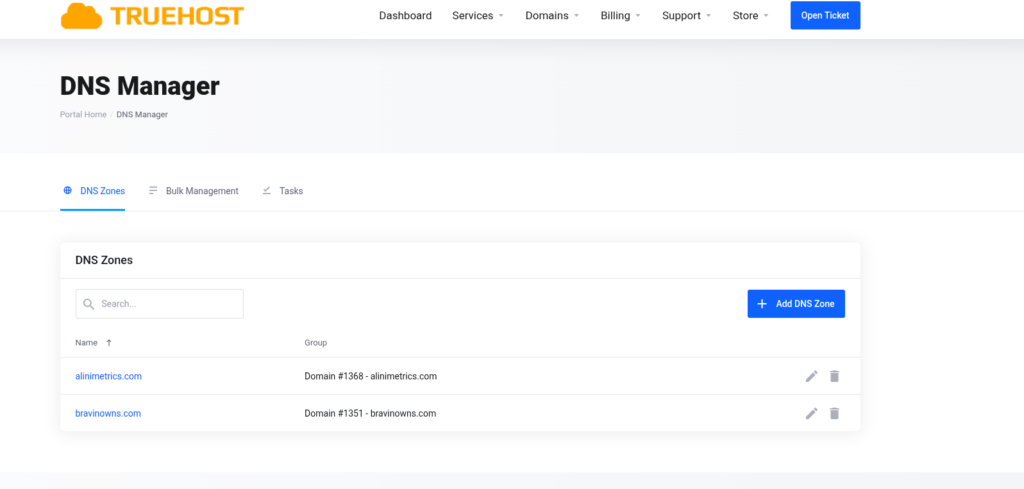
You should now see the DNS Manager page that lists all existing zones associated with your account.
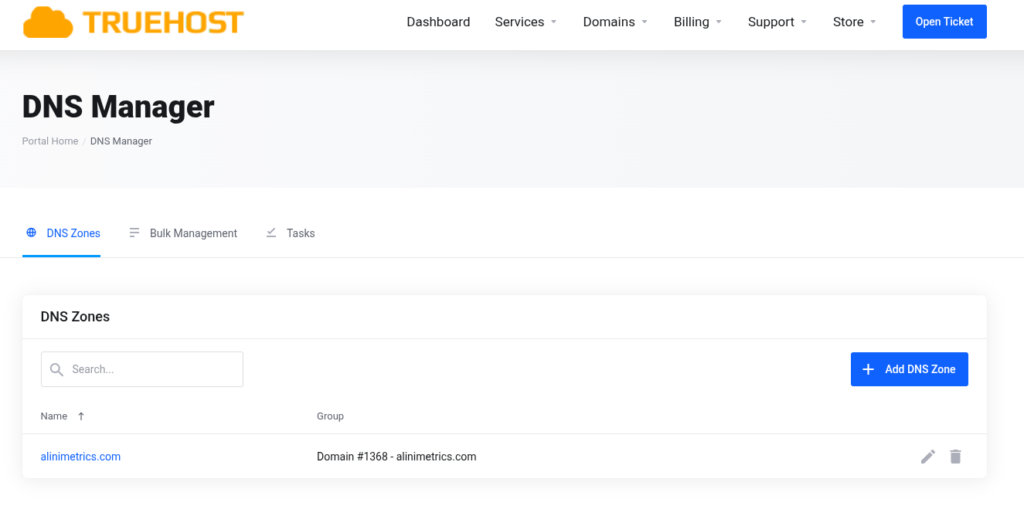
Adding a New DNS Zone
If you need to create a new DNS zone:
- On the DNS Manager page, click Add DNS Zone.
2. A pop-up window will appear.
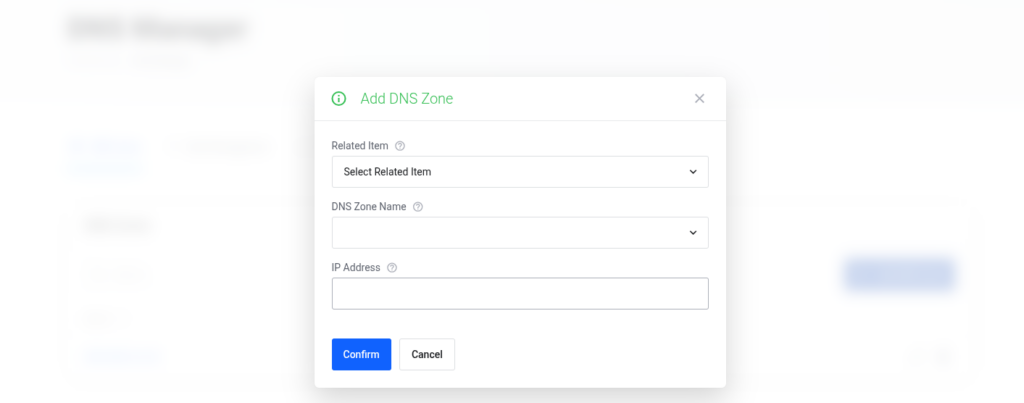
In the pop-up:
- Related Item:
Select the domain you want to manage. Only domains registered and active under your current account will appear in this dropdown.
If no domain is active, the list will be empty. - DNS Zone Template:
- Default Template: Includes minimal essential records.
- Workplace Template: Recommended if you are using our business email suite.
- Additional templates will be added for management simplicity
Most fields are pre-filled automatically to simplify the process.

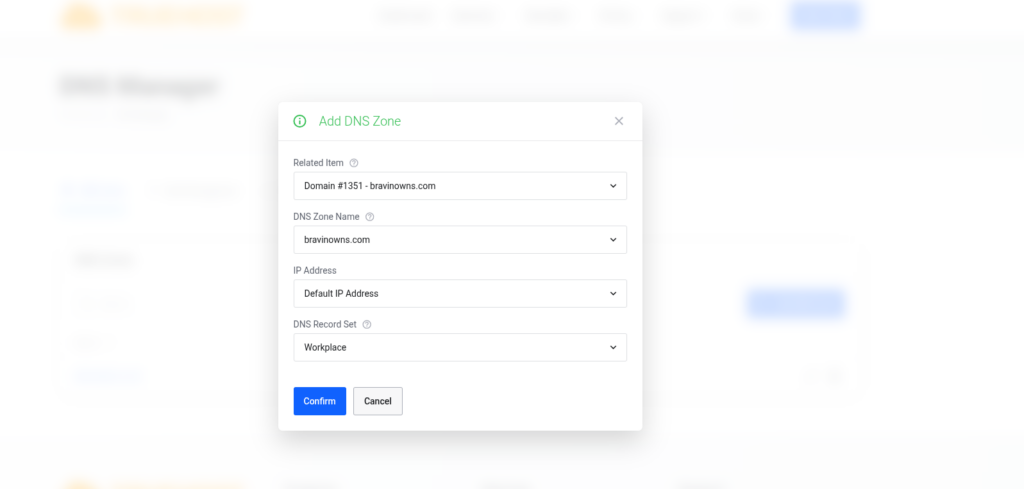
- Once ready, click Confirm and wait a few seconds for the zone to be created.
After successful creation, the new DNS zone will appear in your DNS zone list(refresh the page if needed).
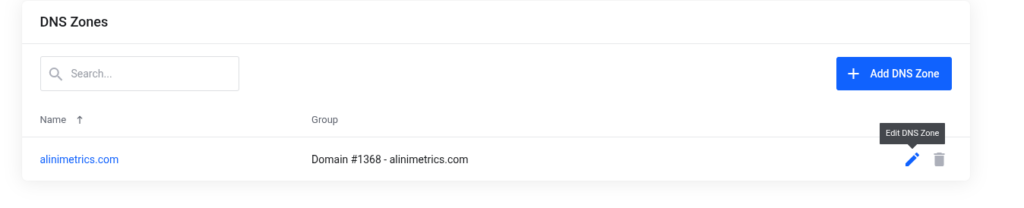
Managing DNS Records
To manage records:
- Click the Edit DNS Zone (✏️) icon next to the desired domain. You should now see a page like this:
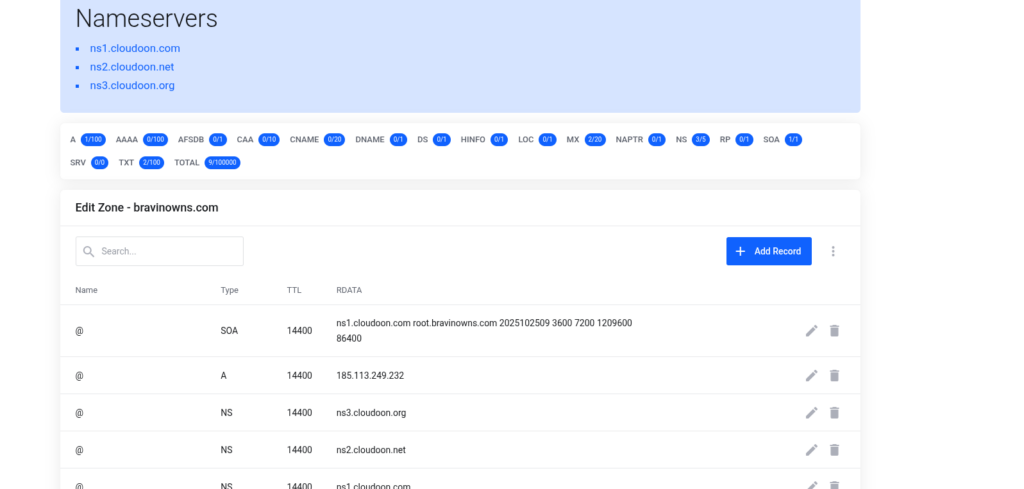
You can then add, remove, or modify DNS records as needed.
Important:
Do not delete or alter the NS records for your domain. These must remain as:ns1.cloudoon.com ns2.cloudoon.net ns3.cloudoon.org
