Domain RegistrationFind and register the perfect domain for your website.
 .COM DomainChoose a widely recognized domain to build global credibility.
 Domain TransferSeamless domain transfers with zero downtime and complete control.
 All TLDsFind and register your perfect domain. Choose from local and global extensions.
 SSL CertificatesKeep your website safe with reliable SSL Certificates that protect customer data and build trust.
 whoisCheck domain ownership details, expiration dates, and registrar information.
 US DomainRegister a .US domain and build trust in the USA.
 Web HostingEverything your website needs to run smoothly
 WordPress HostingWordPress hosting that just works
 Windows HostingReliable hosting for Windows environments
 Reseller HostingTurn hosting into your business
 Email HostingEmail that looks professional and works anywhere
 cPanel HostingFull control of your hosting with cPanel
 Affiliate ProgramJoin as a partner and earn commissions on every referral you send our way.
 Vps HostingScalable virtual servers that expand as you need.
 Dedicated ServersGet complete access and full control over your dedicated physical server.
 Managed vpsNot tech-savvy? We will take care of everything with our fully managed VPS hosting for you.
 AI Website BuilderCreate stunning websites in seconds with AI.
 Online ShopSet up a professional online store. No coding required.
 Web design serviceGet a tailored website designed to match your brand and support your goals.
 BlogFind helpful guides on web hosting, online selling, digital marketing, and more.
 Contact USYou can reach us anytime, day or night, through chat or email.
 SupportBrowse helpful guides and answers for all of our services.
You don’t necessarily need a separate hosting account for every domain you own.
If your hosting plan allows multiple websites or domains, you can add another domain to a hosting account you already have.
And give it its own website files and configuration without starting from scratch.
There are two common setups worth knowing about before you start.
- An addon domain gives the additional domain its own website, completely separate from your primary site.
- An alias, on the other hand, simply points another domain to the same website as your primary domain, so both addresses show identical content.
Deciding between the two upfront saves a bit of back and forth later, since the setup steps differ slightly depending on which one you’re actually after.
If you’re not sure yet, it usually helps to think about whether the new domain needs entirely separate content, or if it’s simply meant to catch visitors typing in a different address for the same site.
This guide walks through both approaches, along with the DNS side of things and the common problems people run into along the way.
Whichever setup fits your situation, the process is more approachable than it might sound at first.
Most of the steps happen entirely within your hosting control panel, without needing any specialized tools beyond what’s already available to you.
What You Need Before Adding Another Domain
Before diving into the actual steps, it helps to have a few things sorted first.
1) A Hosting Plan That Supports Multiple Domains
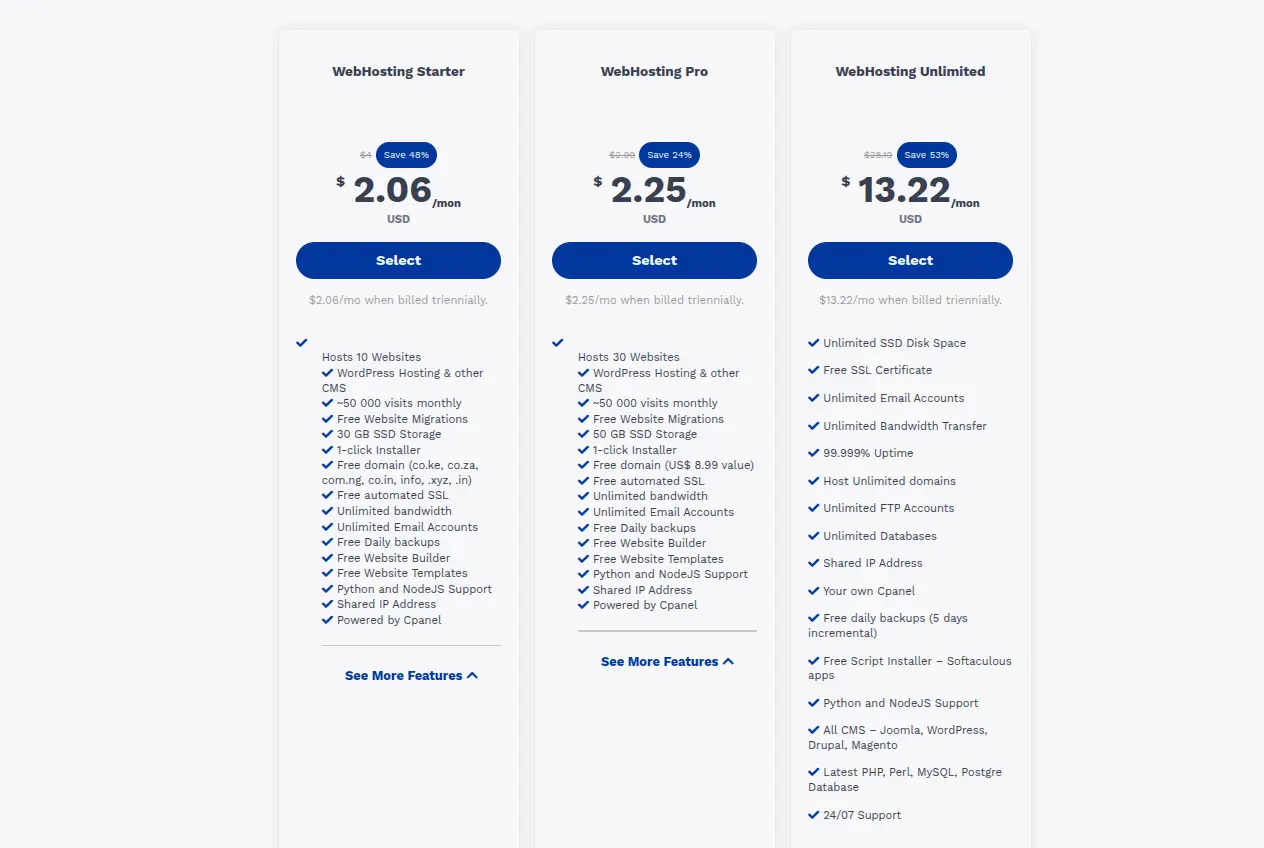
Not every hosting plan allows this.
Some accounts are limited to a single website, so it’s worth confirming your plan actually supports addon domains before assuming the option will be there.
2) A Registered Domain
You’ll need the domain already registered, whether through your hosting provider or elsewhere, before you can point it anywhere.
3) Access to Your Hosting Control Panel
You’ll need your cPanel login details ready, since this is where the actual domain addition happens.
4) The Domain’s DNS Details
Knowing your domain’s current nameservers or DNS records ahead of time makes the pointing step much smoother later on.
5) Enough Hosting Resources
Adding another website means sharing your existing storage, CPU and RAM across more than one site, so it’s worth confirming your plan has the headroom for it.
If you’re already running close to your current limits with a single website, adding a second one is likely to push things further rather than leave much breathing room.
Checking your current usage before adding anything new can save you from running into resource warnings shortly after the new domain goes live.
6) A Plan for the New Website
Decide upfront whether the new domain will have
- its own website,
- its own database,
- its own email,
- its own SSL certificate,
- and separate files from your existing site
Since this shapes exactly how you’ll configure it in the next section.
How to Add Another Domain to a Hosting Account
Here’s the full process for setting up an addon domain with its own independent website.
1) Point the Domain to Your Hosting
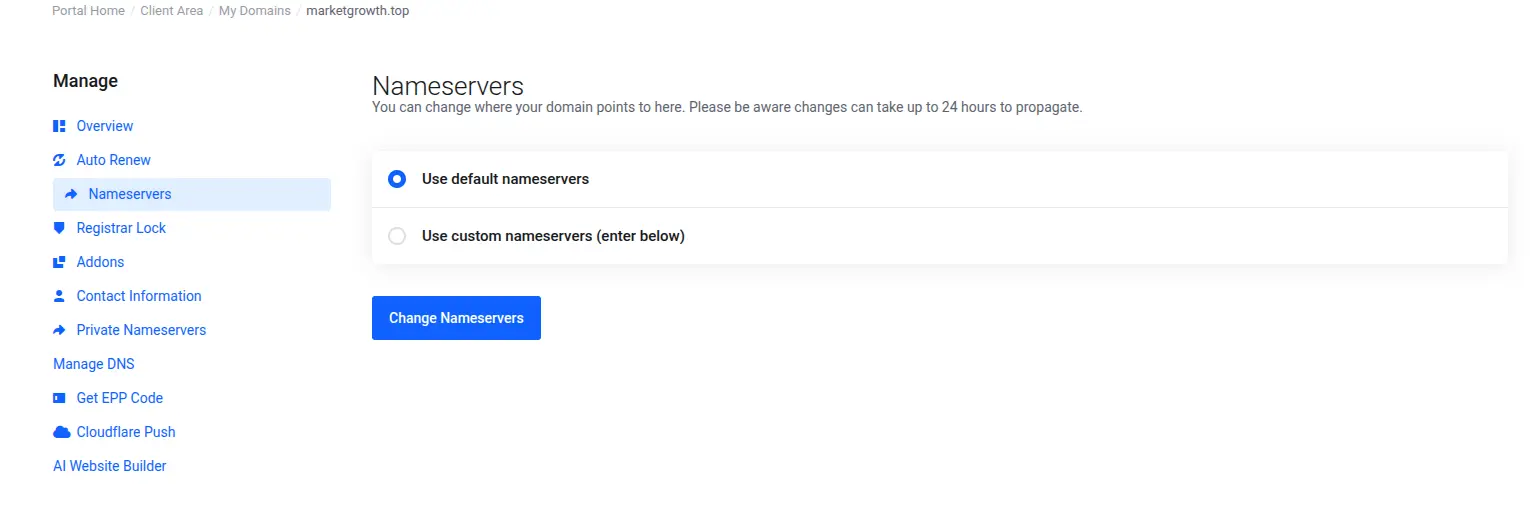
There are two common approaches here.
You can change the domain’s nameservers to match your hosting provider, or point the relevant DNS records directly to your hosting server instead.
Either way, keep in mind that DNS changes can take some time to propagate before they fully take effect.
2) Log In to Your Hosting Control Panel
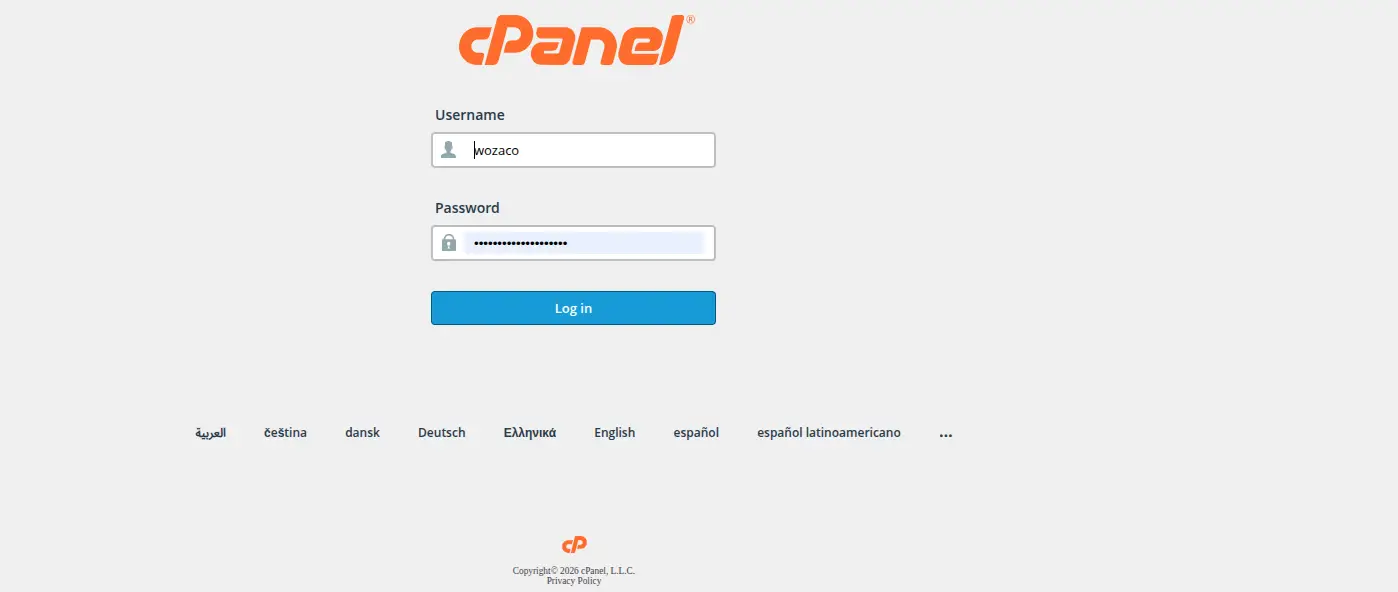
Access your cPanel login and enter your credentials.
From there, the domain management area is usually easy enough to spot once you’re inside the dashboard.
3) Open the Domains Section
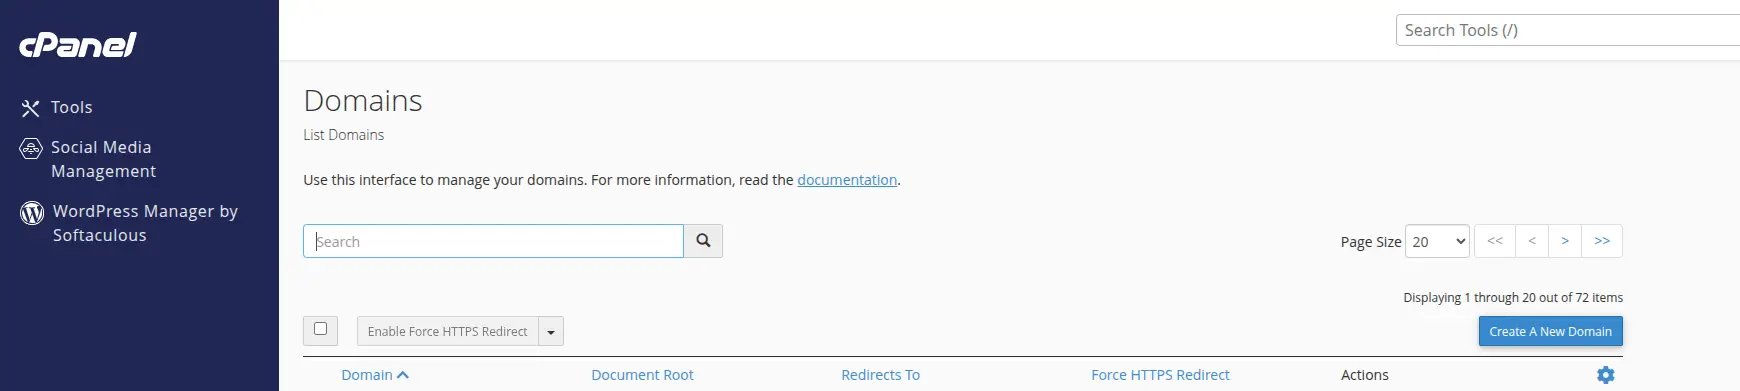
Modern cPanel versions typically use Domains → Create a New Domain, though the exact interface can vary a little depending on your provider and account configuration.
4) Enter the New Domain
You’ll be asked for the domain name itself, whether it should be a separate website or an alias, the document root it should use, and any other available settings specific to your hosting setup.
5) Choose the Website Directory
It’s worth giving the new website its own document root rather than accidentally letting it share files with your primary website.
For example, example.com might live at /public_html/example, while secondsite.com lives separately at /public_html/secondsite.
Keeping these clearly separated avoids a lot of confusion later.
This separation counts for more once you have more than two domains running, since a tangled folder structure becomes genuinely difficult to untangle after the fact.
Setting up a clear, consistent naming pattern from the start makes managing several sites at once far less error prone down the line.
6) Create the Domain
Once you confirm the setup,
- the domain appears inside cPanel,
- its website directory gets created and configured automatically,
- DNS configuration becomes manageable from within the panel,
- and SSL can be set up for it going forward.
7) Upload the New Website
From here, you can upload files through File Manager, FTP, or Git where supported.
This is also where you’d run a WordPress installation for the new domain, or migrate an existing website over if you’re moving it from somewhere else.
8) Create a Database if Needed
If the new website needs one, create a MySQL or MariaDB database, set up a database user, assign the appropriate permissions, and connect the website to that database through its configuration file.
9) Configure SSL
Set up HTTPS and install an SSL certificate for the new domain, and consider forcing HTTPS so visitors aren’t left on an insecure connection.
Check both domain.com and www.domain.com to confirm SSL is working correctly on each version.
How to Point the New Domain to the Correct Website
Getting the domain to actually reach the right website involves a few DNS specific steps worth knowing on their own.
1) Nameservers
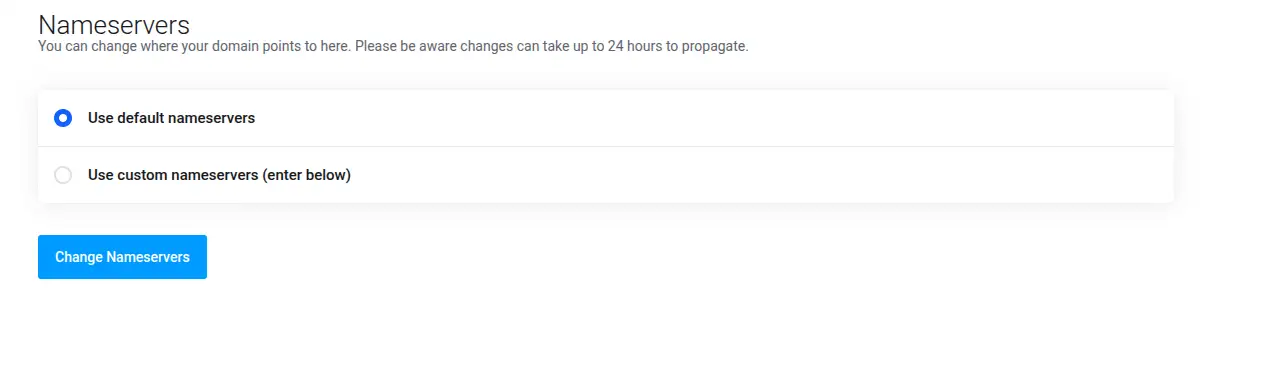
Changing nameservers points the entire domain to your hosting provider’s infrastructure, handing over DNS management to them directly.
2) A Records
An A record points a domain or subdomain to a specific server IP address, which is useful when you want to manage DNS yourself rather than changing nameservers entirely.
3) CNAME Records
CNAME records point one domain or subdomain to another domain name instead of an IP address directly.
Which is commonly used for subdomains or services that need to reference another hostname.
4) DNS Propagation
Once records are updated, it can take some time for the change to fully spread across DNS servers worldwide.
This delay is normal and generally resolves on its own within a reasonable window.
5) Checking Whether the Domain Points to the Correct Server
Using an online DNS lookup tool lets you confirm whether your domain is actually resolving to the correct server before assuming something is broken.
cPanel’s Zone Editor is also worth knowing about here, since it’s used to create and manage DNS records directly when your hosting setup allows it.
How to Add Another Domain Without Creating a Separate Website
If you just want a second domain to display the same content as your primary site, rather than running its own independent website, the alias approach is what you’re after.
1) Open Domains in cPanel
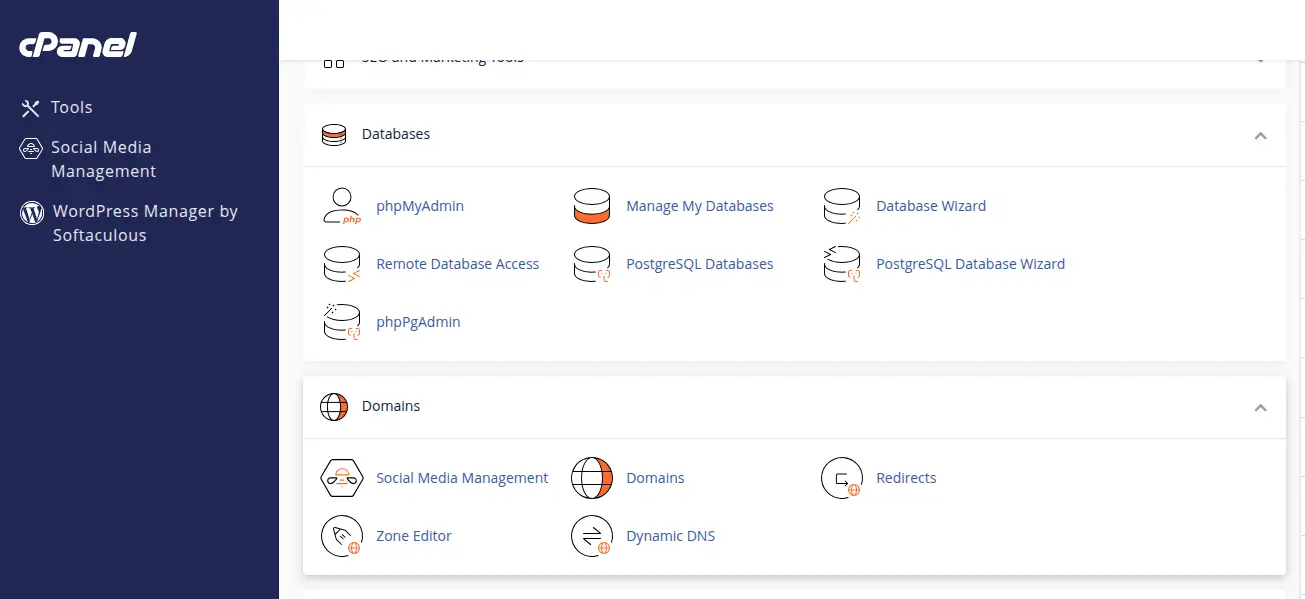
Head into the same domains area used for addon domains.
2) Choose the Alias or Appropriate Domain Option
Select the option for adding an alias rather than a full addon domain, since this keeps the setup pointed at your existing site instead of creating a new one.
3) Enter the Additional Domain
Add the domain you want to use as the alias, following the same basic entry process as before.
4) Point Its DNS to the Hosting
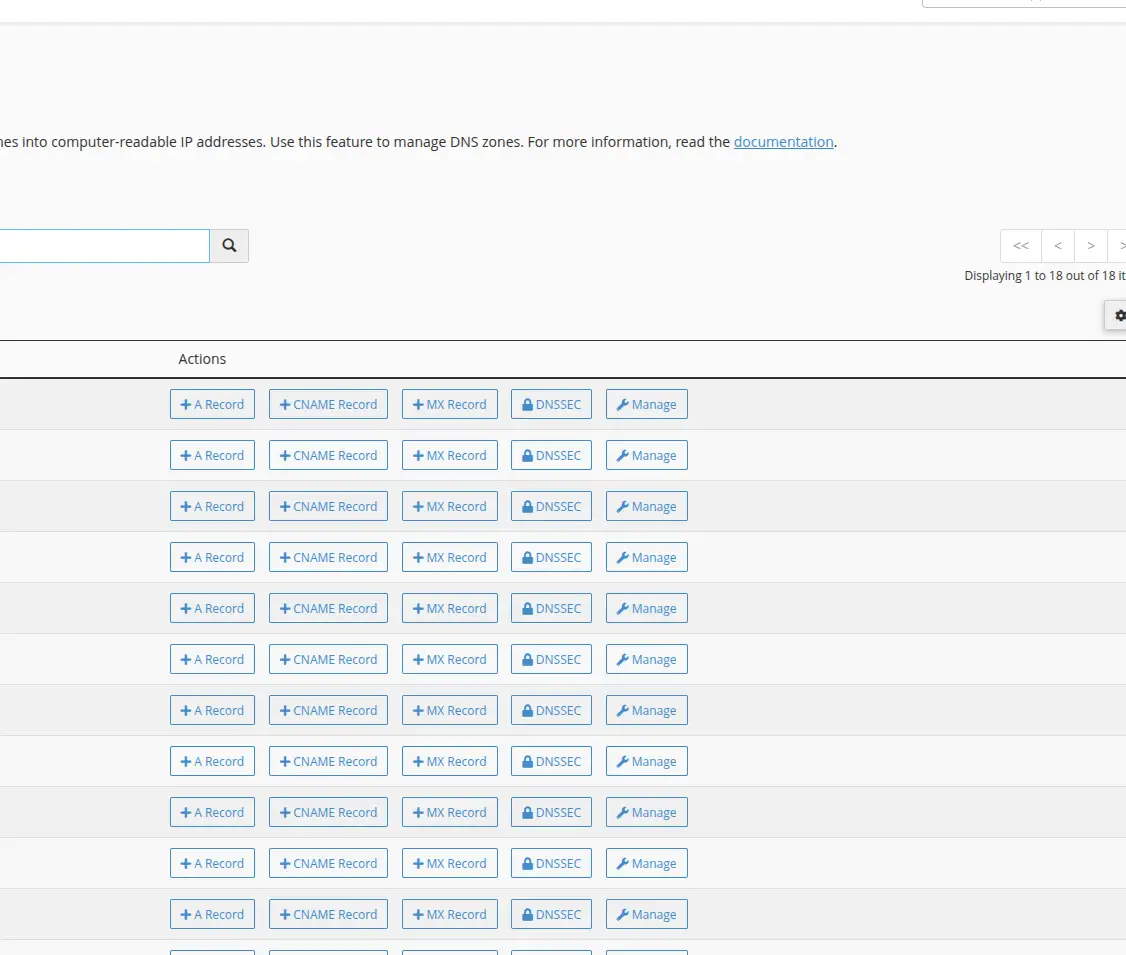
Update the domain’s nameservers or DNS records so it resolves to the same hosting server as your primary domain.
5) Test the Domain
Confirm that visiting the additional domain actually displays the same website as your primary domain, rather than showing its own separate document root or a blank page.
Common Problems When Adding Another Domain
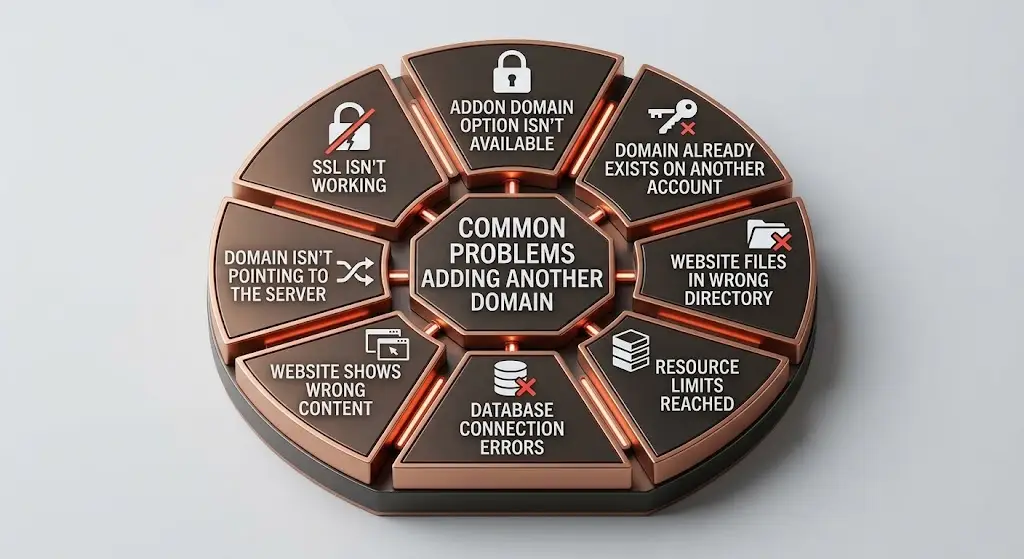
1) Addon Domain Option Isn’t Available
This usually comes down to the hosting plan not supporting multiple domains in the first place, so it’s worth checking your plan’s limits before assuming something is misconfigured.
2) Domain Isn’t Pointing to the Server
Check your nameservers or DNS records, since an incorrect or outdated setting here is the most common cause.
3) Website Shows the Wrong Content
Check the document root and domain configuration, since this often points to files being uploaded into the wrong directory.
4) SSL Isn’t Working
Check DNS, SSL issuance status and HTTPS configuration, since SSL certificates typically depend on the domain resolving correctly first.
5) Domain Already Exists on Another Account
The domain may already be configured elsewhere on the same server, which prevents it from being added again until that conflict is resolved.
6) Website Files Are in the Wrong Directory
Check the domain’s document root directly, since files uploaded to the wrong folder will show either the wrong site or nothing at all.
7) Database Connection Errors
Check the database name, username, password and privileges, since a mismatch here is one of the more common causes of a broken connection.
8) Resource Limits Are Being Reached
Running multiple websites on one account means they’re sharing the same overall resources, so a resource limit notification might mean it’s time to review usage across all your sites rather than just the newest one.
Truehost’s own documentation specifically notes that an addon domain can fail when the domain already exists on another hosting account on the same server, or when the hosting package simply doesn’t permit addons in the first place.
It’s worth checking usage across every domain on the account periodically, rather than only when something starts acting up.
A site that was fine on its own can quietly tip a shared account over its limits once a second or third domain gets added alongside it, and catching that early is a lot less stressful than troubleshooting it after visitors start noticing problems.
Add Another Domain to Your Hosting With Truehost
Knowing how to add another domain to a hosting account opens up a lot of flexibility, whether you’re managing a handful of personal projects or running several client sites from one place.
- Hosting Multiple Websites: run more than one site from a single hosting account rather than paying for separate plans.
- cPanel Management: manage every domain, file and setting from one familiar dashboard.
- Domain Management: add, configure and organize domains without needing separate tools.
- Website Migration: bring existing sites over as you consolidate them under one account.
- Storage and Resource Limits: check how much room you have before adding more sites to a single plan.
- Upgrading When Your Websites Grow: move to a higher tier plan once your current resources start feeling tight.
Truehost’s current cPanel hosting plans support multiple websites on applicable tiers.
Its WebHosting Pro plan currently advertises support for 30 websites, while WebHosting Unlimited advertises unlimited domains for accounts that need more room to grow.
Rather than jumping straight to the biggest plan available, it’s worth choosing based on how many websites you actually need to host and the resources those sites genuinely require. Explore Truehost’s current cPanel hosting plans and pick the one that matches your actual setup.