Domain RegistrationFind and register the perfect domain for your website.
 .COM DomainChoose a widely recognized domain to build global credibility.
 Domain TransferSeamless domain transfers with zero downtime and complete control.
 All TLDsFind and register your perfect domain. Choose from local and global extensions.
 SSL CertificatesKeep your website safe with reliable SSL Certificates that protect customer data and build trust.
 whoisCheck domain ownership details, expiration dates, and registrar information.
 US DomainRegister a .US domain and build trust in the USA.
 Web HostingEverything your website needs to run smoothly
 WordPress HostingWordPress hosting that just works
 Windows HostingReliable hosting for Windows environments
 Reseller HostingTurn hosting into your business
 Email HostingEmail that looks professional and works anywhere
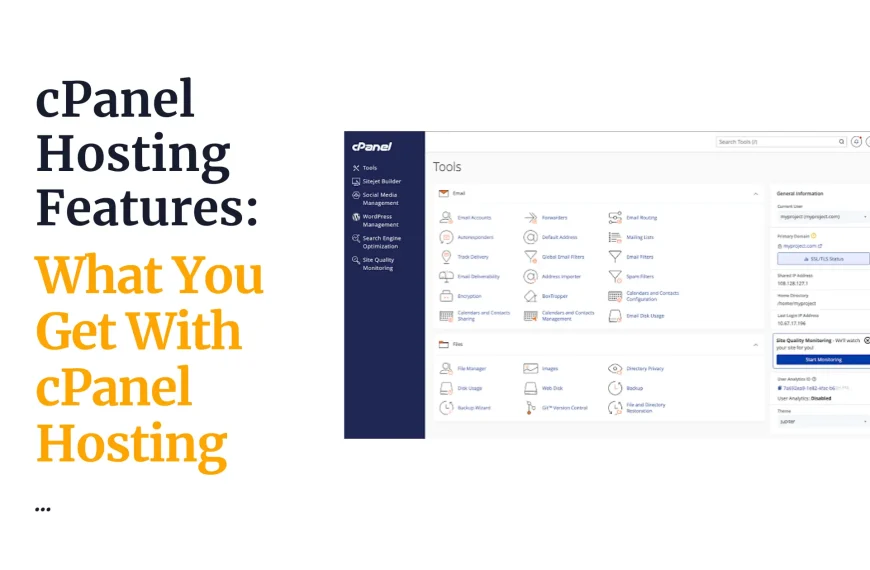
 cPanel HostingFull control of your hosting with cPanel
 Affiliate ProgramJoin as a partner and earn commissions on every referral you send our way.
 Vps HostingScalable virtual servers that expand as you need.
 Dedicated ServersGet complete access and full control over your dedicated physical server.
 Managed vpsNot tech-savvy? We will take care of everything with our fully managed VPS hosting for you.
 AI Website BuilderCreate stunning websites in seconds with AI.
 Online ShopSet up a professional online store. No coding required.
 Web design serviceGet a tailored website designed to match your brand and support your goals.
 BlogFind helpful guides on web hosting, online selling, digital marketing, and more.
 Contact USYou can reach us anytime, day or night, through chat or email.
 SupportBrowse helpful guides and answers for all of our services.
A staging site is a private copy of your website.
It lives away from your live domain, and it lets you test changes before your visitors ever see them.
This is a real risk, since plugin updates, theme changes, custom code and even PHP version changes can break a live WordPress website without warning.
In simple terms, a staging site is a safe testing ground.
You get an identical copy of your site, and you can experiment on it freely. If something breaks, your actual website stays untouched.
This guide walks through how to create a WordPress staging site in cPanel, using both automated and manual methods.
The exact process depends on the tools available in your specific cPanel hosting account, so we will cover both paths in detail.
What You Need Before Creating a WordPress Staging Site in cPanel
Before you start, a few things need to be in place.
- You will need access to cPanel itself, along with WordPress administrator access for your live site.
- You should already have a working WordPress website, since staging is meant to mirror something that exists.
- Your hosting account also needs enough storage space to hold a second copy of your site, since staging effectively duplicates your files and database.
- A recent backup of your live website is essential too. Even though staging is meant to be a safe space, mistakes during setup can still affect your live site if you are not careful.
- You will also need a subdomain or a separate directory to host the staging copy, plus SSL for that staging URL so the site loads securely.
- Taking a backup before you begin is worth repeating.
If anything goes wrong while setting up staging, whether through a misconfigured database or an accidental file overwrite, a recent backup gives you a way back to a working state.
How to Create a WordPress Staging Site in cPanel
There are two common approaches here, and which one applies to you depends on what your hosting provider includes in their cPanel setup.
Method 1: Create a WordPress Staging Site Using Softaculous or WordPress Manager
This is the easier method, where your hosting account supports it.
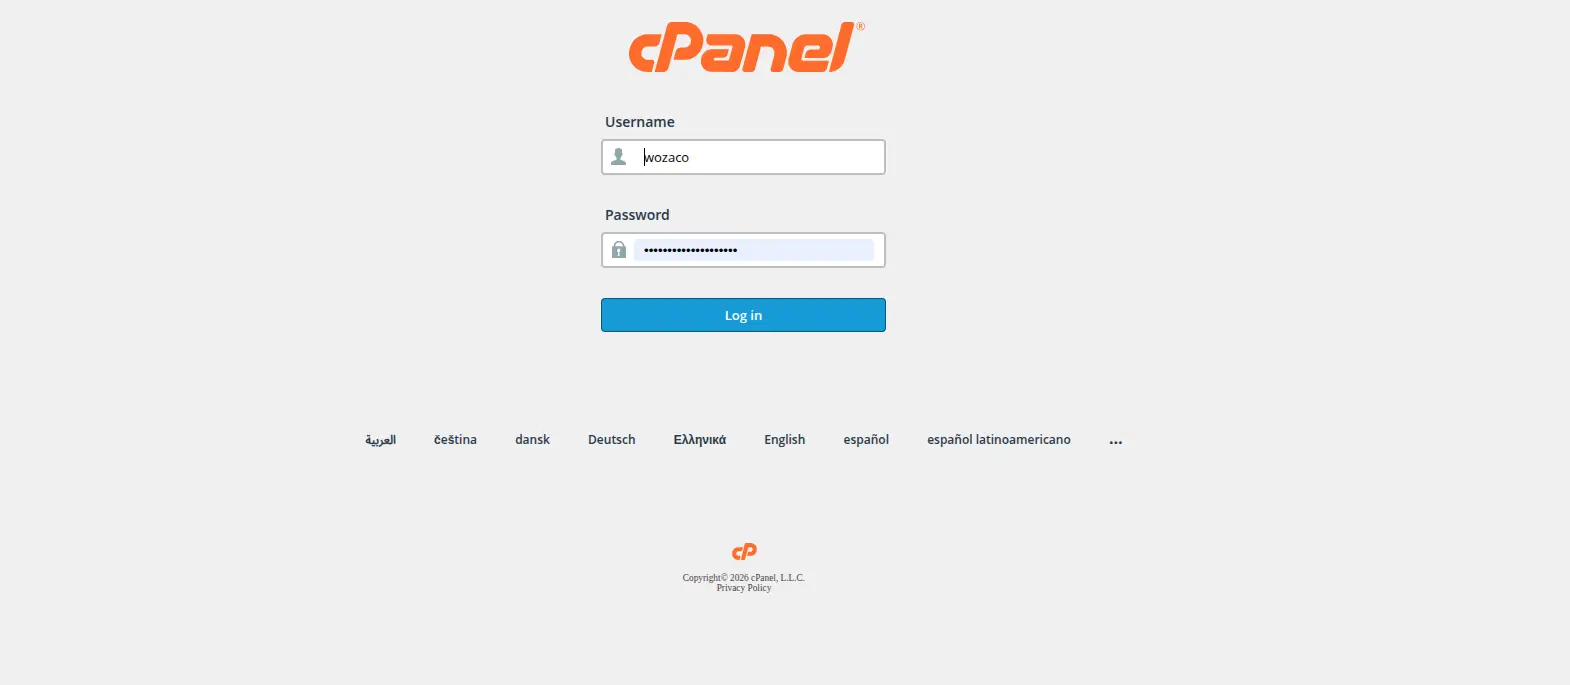
- Log in to cPanel. Start by accessing your cPanel dashboard using the login details provided by your host.
- Open Softaculous or WordPress Manager. Look for either tool in your cPanel dashboard. Many hosting providers include one of these by default.
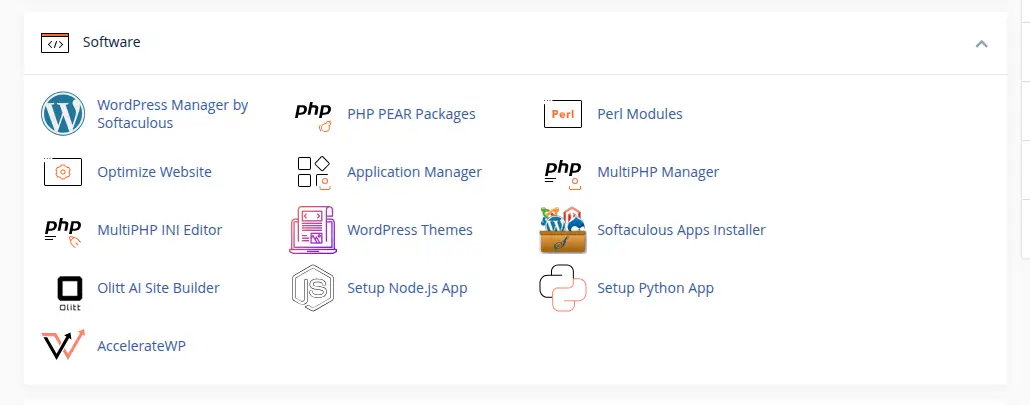
- Locate the existing WordPress installation. Inside the tool, find the live WordPress site you want to create a staging copy of.
- Choose the staging or clone option. Most tools present this as a clearly labeled button or menu item next to your installation.
- Select the staging domain or subdomain. You will usually be asked to pick or create a subdomain, such as staging.example.com, for the copy to live on.
- Choose the destination directory. This is where the staging files will be stored on your server, separate from your live site’s directory.
- Start the cloning process. Once you confirm your settings, the tool copies your files and database automatically. This can take a few minutes depending on your site’s size.
- Enable SSL for the staging site. Once cloning finishes, make sure SSL is active on the staging URL so it loads securely, just like your live site.
- Log in to the new WordPress installation and verify that it works. Check that you can access the staging dashboard and that the site loads correctly before making any changes.
It is worth being clear that staging and clone features depend entirely on the hosting setup and software available in your cPanel account.
Not every host includes Softaculous or a dedicated WordPress Manager, so if you do not see either option, the manual method below is your alternative.
Method 2: Manually Create a WordPress Staging Site in cPanel
If your hosting account does not include a one-click staging tool, you can still build one manually.
It takes more steps, but the result works the same way.
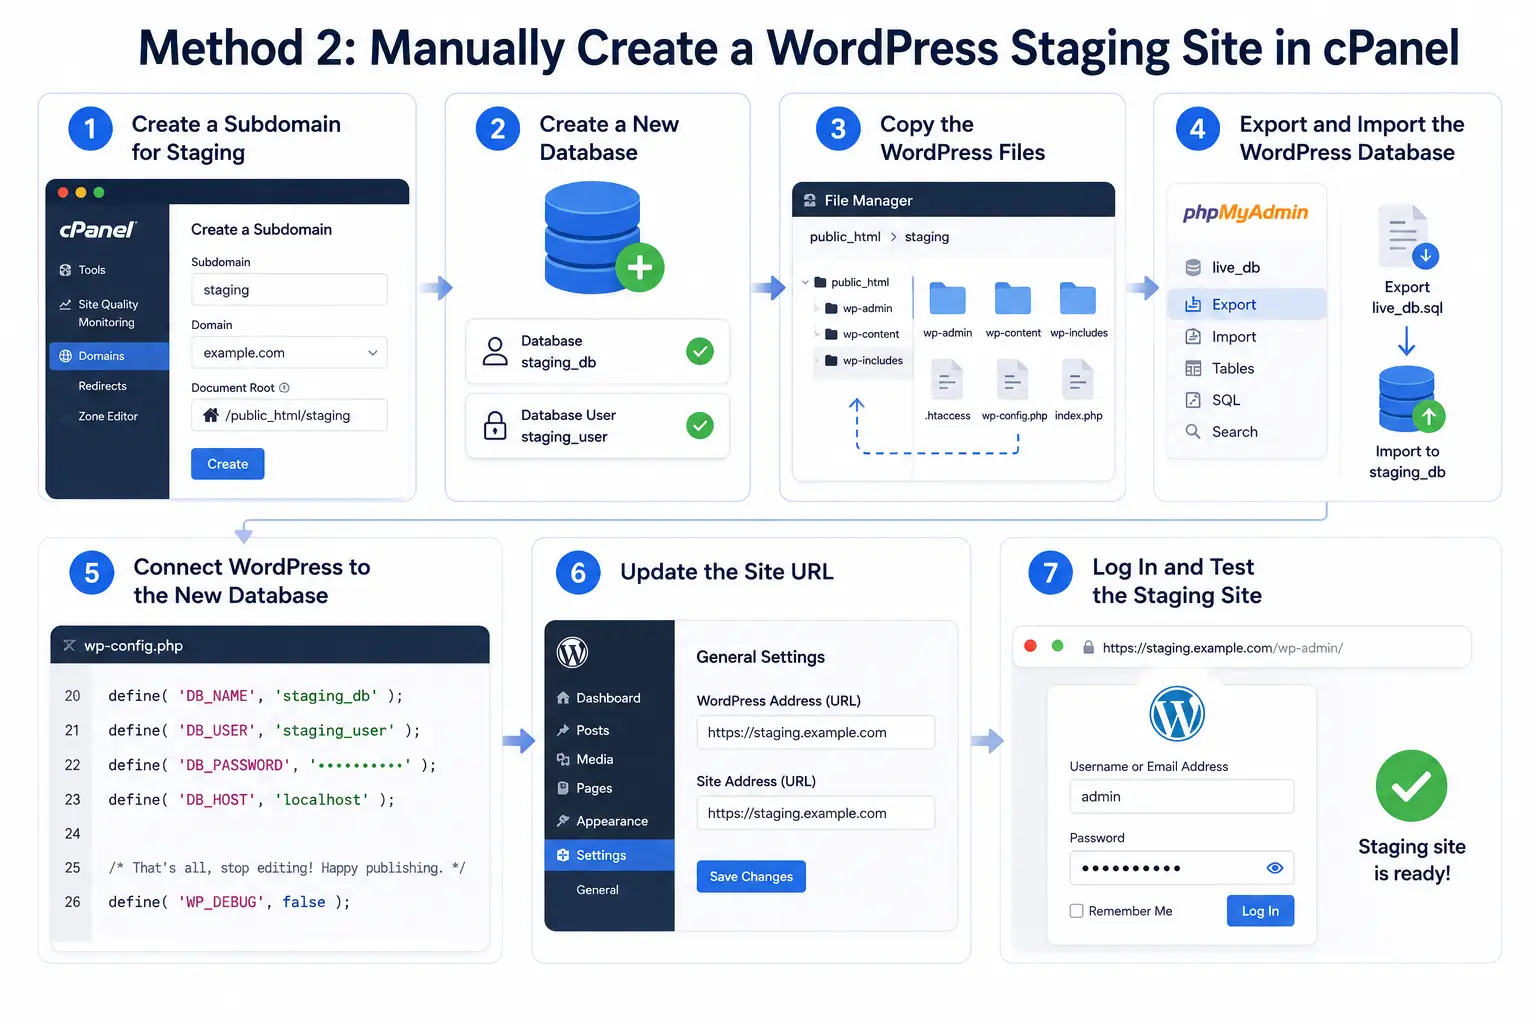
1) Create a Subdomain for Staging
Start by creating a subdomain such as staging.example.com through your cPanel domains section.
Point this subdomain to a separate directory on your server, away from your live site’s files.
2) Create a New Database
Next, create a new database and a new database user specifically for staging. Your staging site should never share a database with your live site.
If it did, any changes you made during testing would affect your live content immediately, which defeats the entire purpose of staging.
3) Copy the WordPress Files
Using File Manager, copy your live site’s WordPress files into the new staging directory you created earlier.
This includes your themes, plugins, uploads and core WordPress files.
4) Export and Import the WordPress Database
Open phpMyAdmin and export your live website’s database.
Once the export is complete, import that same file into the new staging database you created in step two.
5) Connect WordPress to the New Database
Open the wp-config.php file inside your staging directory.
Update the database name, database user and password so they match the new staging database rather than your live one.
6) Update the Site URL
This step is critical. Make sure WordPress points to your staging domain instead of your live domain.
If you skip this, you may run into redirects that send visitors back to your live site, broken links throughout the staging copy, or a staging site that stubbornly keeps loading your live domain’s content instead of its own.
7) Log In and Test the Staging Site
Finally, confirm that your WordPress dashboard loads correctly on the staging URL.
Check that pages, images, menus and plugins all display properly, and confirm that every link stays within the staging environment rather than pointing back to your live site.
How to Stop Search Engines From Indexing Your Staging Site
This step gets forgotten often, and it deserves more attention than people give it.
- Start by enabling WordPress’s built-in search engine visibility setting, found under Settings, then Reading.
- Checking the box to discourage search engines from indexing the site sends a signal that helps keep it out of search results.
- Where appropriate, you can also add a noindex tag directly to the staging site’s pages for extra reinforcement.
- Password-protecting your staging environment adds another useful layer, especially if your hosting account makes this easy to set up through cPanel.
- Avoid sharing your staging URL publicly, whether on social media, in emails, or anywhere search engines or bots might pick it up.
It is worth being honest here. Noindex settings alone are not real security.
They ask search engines nicely not to index your content, but they do not stop someone who already has the link from visiting your staging site.
Combining noindex with password protection gives you a much stronger setup.
Staging sites should not appear in search results, since duplicate content can confuse search engines, and an unfinished or broken page could end up representing your brand if someone stumbles across it.
How to Test Changes on Your WordPress Staging Site
Once your staging site is ready, it helps to have a simple, repeatable testing process rather than tackling everything at once.
1) Test the WordPress Front End
Check your pages, navigation menus and images to confirm everything displays correctly.
Take a moment to check the mobile layout too, since issues here are easy to miss on desktop.
2) Test Plugins and Themes
Activate or update the plugin or theme you are testing, then check carefully for conflicts or errors. This is often the entire reason a staging site exists in the first place.
3) Test Forms and Interactive Features
Run through your contact forms, search functionality and login process. Test any other interactive features your site relies on to make sure they still work as expected.
4) Test Performance and Errors
Check how quickly pages load, and keep an eye out for broken links, PHP errors or console errors that might indicate a deeper problem.
5) Check Important Business Functions
If you run an ecommerce site, test the full shopping experience on staging, from browsing to checkout, without accidentally processing any real transactions or charges.
How to Move Your WordPress Staging Site to Live
Pushing staging changes to production is not always as simple as copying files back over. This step deserves careful attention.
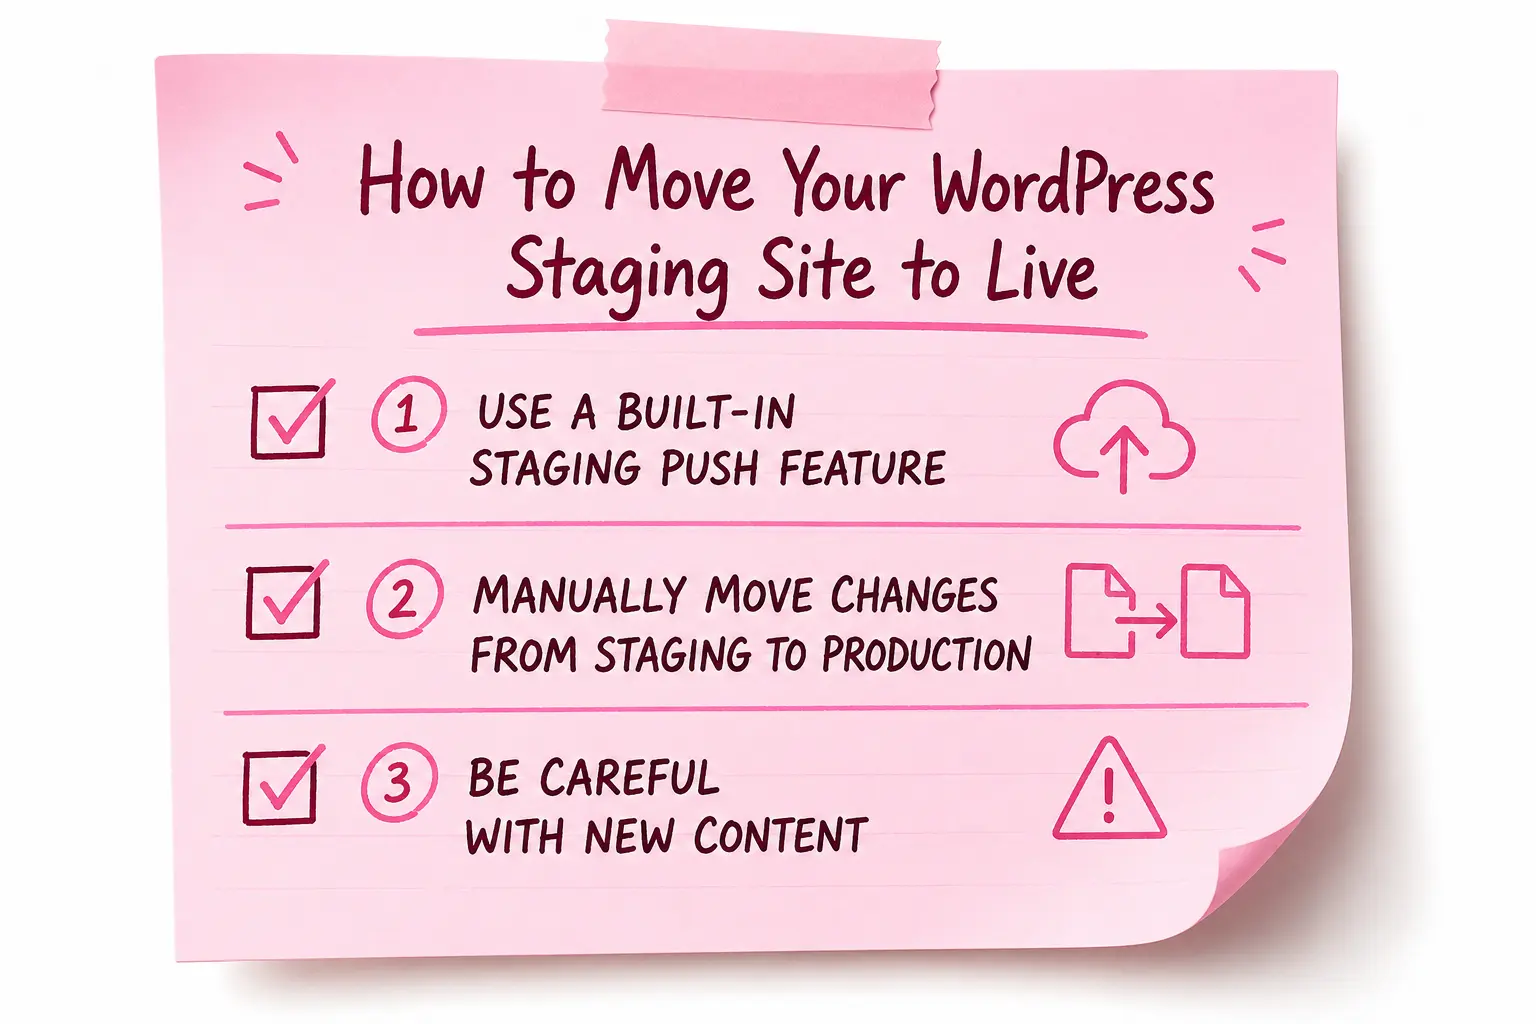
1) Use a Built-In Staging Push Feature
If your hosting provider or staging tool includes a push feature, this is usually the safest option.
It helps to know the difference between pushing files and pushing the database, since some tools only move one or the other by default, and mixing that up can undo work on either side.
2) Manually Move Changes From Staging to Production
If you are working manually, back up your production site first.
Then move the relevant files and database changes carefully, rather than overwriting everything at once.
Update URLs back to your production domain, and test the live website thoroughly after the migration completes.
3) Be Careful With New Content
This is where many people run into trouble.
If your live site received new posts, orders, comments or customer data while you were working on staging, pushing the staging database over your live one can wipe that new content out completely.
Never overwrite your production database without a clear picture of what will be lost in the process.
In many cases, it makes more sense to move specific changes rather than the entire database.
Common Problems When Creating a WordPress Staging Site in cPanel
A few issues come up often enough that they are worth knowing in advance.
1) Staging Site Shows the Live Website
This usually points to incorrect URLs or database configuration, often left over from an incomplete setup step.
2) Database Connection Error
This typically means the database name, username or credentials in wp-config.php do not match what was actually created in cPanel.
3) Images or Links Are Broken
Broken images and links are often caused by URLs that still point back to your production site instead of the staging domain.
4) HTTPS or Mixed Content Problems
These issues generally trace back to SSL configuration or a mismatch between HTTP and HTTPS URLs within the site’s settings.
5) Plugins Behave Differently on Staging
Plugin conflicts, caching differences or general environment differences between staging and production can cause plugins to behave unexpectedly.
6) Staging Site Is Slow
A slow staging site often comes down to limited hosting resources, duplicated workloads running alongside your live site, caching issues, or simply working with a large website that takes time to load in any environment.
Create a WordPress Staging Site in cPanel
Staging gives WordPress users a safe way to test potentially risky changes without touching their live website.
Whether you choose to create a WordPress staging site in cPanel manually or use a one-click staging tool depends entirely on what your specific hosting setup includes.
The overall process comes down to a simple sequence worth remembering: back up your site, create your staging environment, test your changes thoroughly, verify everything works as expected, then deploy carefully to production.
Skipping any one of these steps is usually where things go wrong.
If your current hosting setup makes this process more difficult than it needs to be, cPanel hosting with the right WordPress management tools built in can make the entire workflow far smoother.
Truehost’s cPanel hosting plans are worth a look if you want staging and cloning tools available right from your dashboard, rather than piecing everything together manually every time.