Domain RegistrationFind and register the perfect domain for your website.
 .COM DomainChoose a widely recognized domain to build global credibility.
 Domain TransferSeamless domain transfers with zero downtime and complete control.
 All TLDsFind and register your perfect domain. Choose from local and global extensions.
 SSL CertificatesKeep your website safe with reliable SSL Certificates that protect customer data and build trust.
 whoisCheck domain ownership details, expiration dates, and registrar information.
 US DomainRegister a .US domain and build trust in the USA.
 Web HostingEverything your website needs to run smoothly
 WordPress HostingWordPress hosting that just works
 Windows HostingReliable hosting for Windows environments
 Reseller HostingTurn hosting into your business
 Email HostingEmail that looks professional and works anywhere
 cPanel HostingFull control of your hosting with cPanel
 Affiliate ProgramJoin as a partner and earn commissions on every referral you send our way.
 Vps HostingScalable virtual servers that expand as you need.
 Dedicated ServersGet complete access and full control over your dedicated physical server.
 Managed vpsNot tech-savvy? We will take care of everything with our fully managed VPS hosting for you.
 AI Website BuilderCreate stunning websites in seconds with AI.
 Online ShopSet up a professional online store. No coding required.
 Web design serviceGet a tailored website designed to match your brand and support your goals.
 BlogFind helpful guides on web hosting, online selling, digital marketing, and more.
 Contact USYou can reach us anytime, day or night, through chat or email.
 SupportBrowse helpful guides and answers for all of our services.
OpenClaw has become one of the most talked-about AI agent platforms since it launched as Clawdbot in late 2025, before rebranding.
It lets you run an AI agent on your own hardware, connect it to your preferred AI model, and interact with it through messaging apps like WhatsApp, Telegram, Discord, and Slack.
So, OpenClaw was built for Linux. You can try running it directly on Windows through PowerShell, but you’ll run into frustrating differences in file paths, shell behavior, and service management.
That’s why the OpenClaw community and official documentation point to WSL2 as the most reliable way to run OpenClaw on Windows.
WSL2 gives you a real Linux kernel running inside Windows, so systemd, Linux file paths, and background services behave exactly as they should.
This guide is for Windows users who are comfortable with basic terminal commands and want to set up OpenClaw properly on their machine.
You’ll learn how to install WSL2, set up Ubuntu, deploy OpenClaw, and get it running in the background so your agent stays online even after you close the terminal.
What You Need to Get Started
- Operating System: Windows 10 Build 19041, or any version of Windows 11. Check by pressing Win + R, typing winver, and pressing Enter.
- RAM: 4 GB is the technical minimum, and 8 GB is the comfortable baseline for everyday use. If you plan to run a local model through Ollama alongside OpenClaw, 16 GB is the practical floor.
- Storage: WSL2, Ubuntu, Node.js, and OpenClaw’s dependencies together consume roughly 3-4 GB. Reserve at least 4 GB before you begin, and 10 GB if you expect to expand your setup later.
- Virtualization: WSL2 requires hardware virtualization to be enabled in the BIOS. Look for Intel VT-x, AMD-V, or SVM Mode. Most modern machines have it on by default, but it’s the one setting that consistently trips up first-time users.
- Internet connection: OpenClaw pulls several large AI-related dependencies during install. A stable connection counts more at this step than any other.
- API key: You’ll need one from Anthropic, OpenAI, Google, or MiniMax before starting. The onboarding wizard will ask for it and cannot complete without one.
- Windows Terminal (optional but recommended): Install it from the Microsoft Store for a tabbed interface, proper Unicode rendering, and easy switching between PowerShell and Ubuntu.
Set Up and Run OpenClaw on WSL in 6 Steps
Step 1: Install WSL2 and Ubuntu
Open PowerShell as Administrator. Right-click the Start menu and select Terminal (Admin) or Windows PowerShell (Admin). Then run:
powershell
wsl --install
That command enables the necessary Windows features, installs the WSL2 Linux kernel, and downloads Ubuntu.
When it finishes, restart your PC. The kernel components genuinely do not load until after a reboot, so don’t skip it.
After restarting, Ubuntu will launch on its own and ask you to create a username and password.
Your UNIX username has nothing to do with your Windows login, so pick whatever you like.
Choose a password you’ll remember. Ubuntu asks for it every time you use sudo, and recovering it means reinstalling the whole distribution.
Once setup is done, confirm you’re on WSL2 and not WSL1 by running:
powershell
wsl --list --verbose
You should see VERSION 2 next to Ubuntu. If it says 1, run:
powershell
wsl --set-default-version 2
wsl --set-version Ubuntu 2
Then reopen Ubuntu. This distinction counts: WSL1 translates Linux system calls rather than running a real kernel, and several of OpenClaw’s dependencies won’t behave correctly under it.
Step 2: Configure WSL (Enable systemd, Set Resource Limits)
The OpenClaw Gateway relies on systemd to run as a background service. Since WSL doesn’t enable systemd by default, you need to turn it on before installing OpenClaw.
Inside your Ubuntu terminal, run:
bash
sudo tee /etc/wsl.conf >/dev/null <<'EOF'
[boot]
systemd=true
EOF
Next, return to PowerShell and restart WSL so the new setting applies:
powershell
wsl --shutdown
Open Ubuntu again. From this point forward, WSL will start with systemd enabled, giving the OpenClaw Gateway the Linux service management it needs to run reliably in the background.
Resource limits: A default WSL2 installation can quietly consume up to 80% of your system RAM if left unchecked.
Create a .wslconfig file in your Windows user folder (C:\Users\YourName) and set a memory cap; half your total RAM is a good rule of thumb.
For a 16 GB machine, that would be memory=8GB, with processors=2 and swap=2GB alongside it. Run wsl --shutdown in PowerShell to apply, then reopen Ubuntu.
Step 3: Install Node.js and OpenClaw
This step is where a lot of installations quietly go wrong.
Ubuntu’s built-in package repositories ship an outdated version of Node.js, sometimes as old as v12, and installing it without specifying a version will leave you with a runtime OpenClaw simply cannot use.
You need at least v22.19; v24 is recommended.
The cleanest approach is NVM, which lets you install the right version and switch between versions easily if you ever need to. In your Ubuntu terminal:
bash
curl -o- https://raw.githubusercontent.com/nvm-sh/nvm/v0.40.1/install.sh | bash
Close and reopen your terminal to activate NVM, then run:
bash
nvm install 24
nvm alias default 24
After that, node -v should confirm you’re on v24.
Now install OpenClaw. Run the official install script:
bash
curl -fsSL https://openclaw.ai/install.sh | bash
Or install it as a global npm package:
bash
npm install -g openclaw@latest
Both work. The install script is slightly more guided; the npm method will feel familiar if you’ve worked with Node.js before.
When the installer shows a security advisory, read it; it explains what the agent can do and what permissions it needs. Select QuickStart for safe, recommended defaults.
Step 4: Run Onboarding and Configure OpenClaw (model provider, API key, gateway)
Run the onboarding wizard to get OpenClaw configured:
bash
openclaw onboard
The wizard will ask which AI model to use.
Claude (Anthropic) is the strongest all-around choice for agent tasks; Gemini Flash is a good option if you want a free tier to experiment with first.
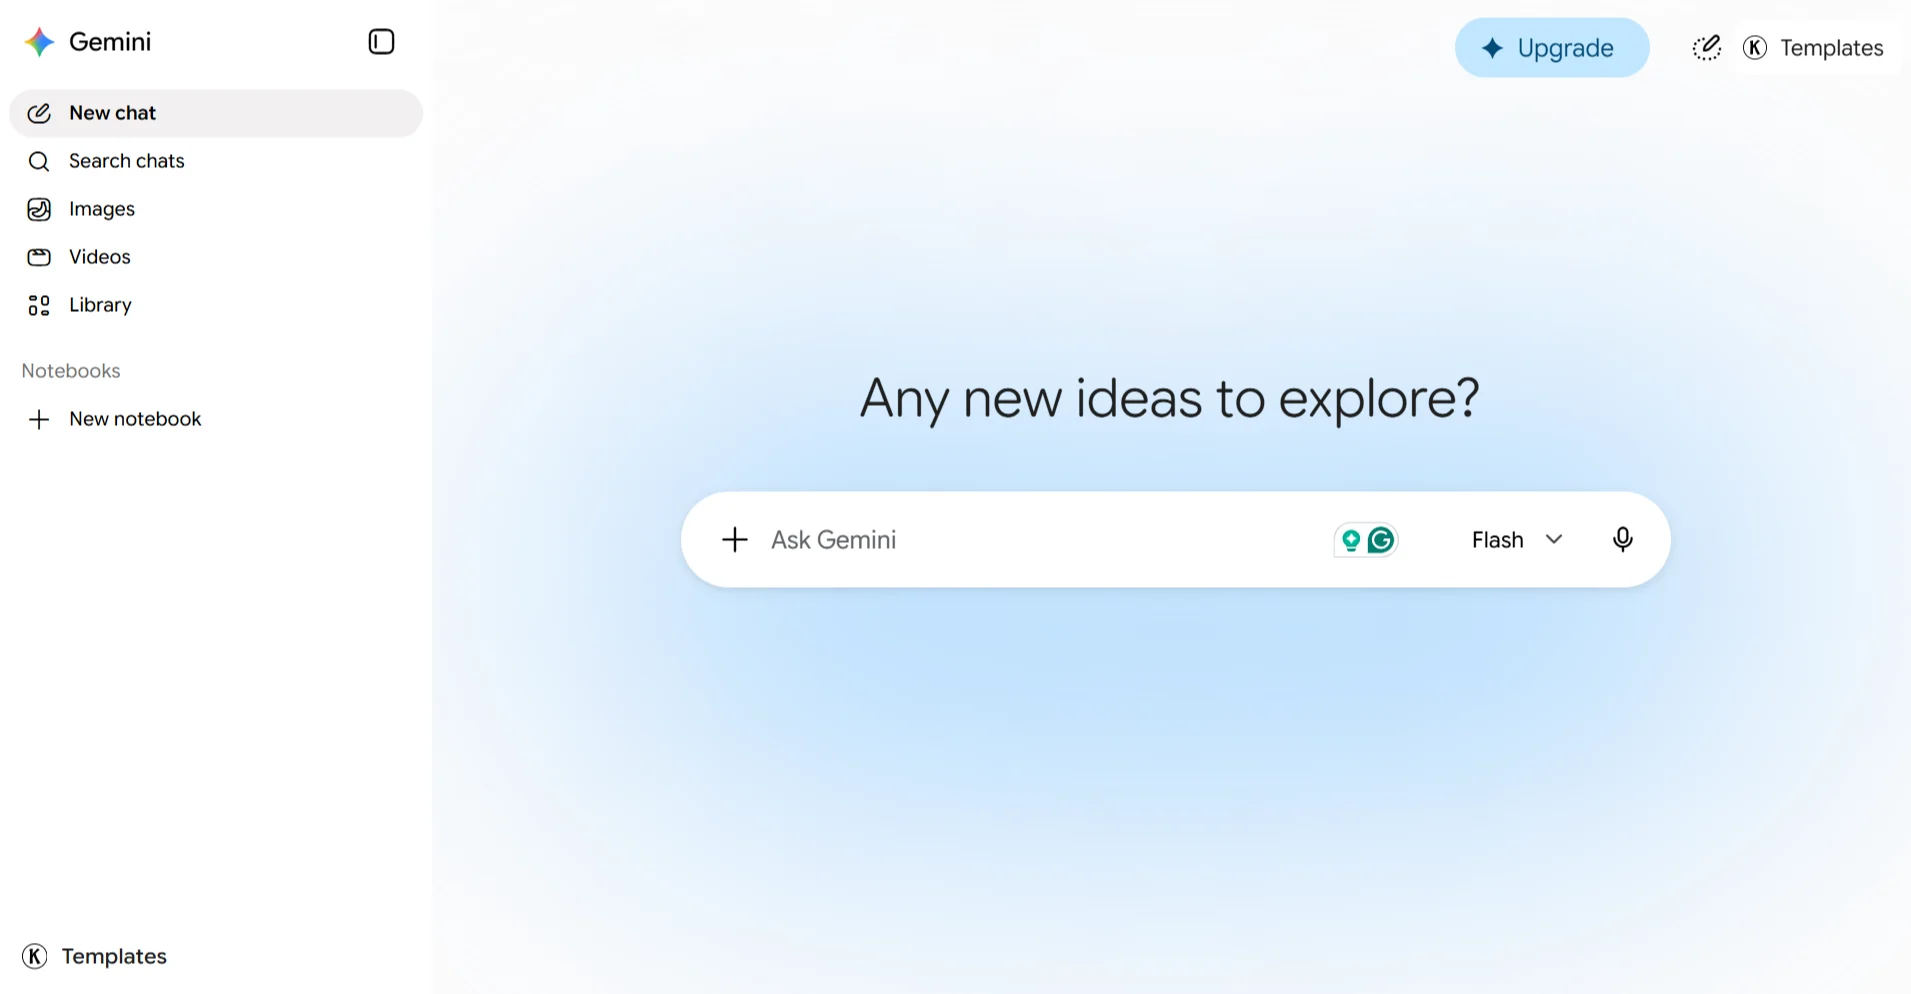
It’s better not to start with the most powerful model available. Claude Sonnet and Gemini Flash handle the vast majority of everyday tasks well, at a fraction of the cost of top-tier models.
You can always upgrade later.
Enter your API key when prompted. The wizard takes about two minutes from start to finish.
When it’s done, check that the Gateway is actually running:
bash
openclaw gateway status
If it reports as running, open http://localhost:18789 in your browser. Important: don’t just type localhost:18789 directly, you’ll get an “Unauthorized” message. Instead, run:
bash
openclaw dashboard
This opens the Control UI with a proper authentication token attached.
Step 5: Configure Windows Firewall
In the default NAT mode, WSL2 has its own IP address, and external network traffic can’t directly reach your WSL2 applications.
But if you switch to mirrored mode, WSL2 shares your Windows host’s network interface, and your OpenClaw service becomes directly accessible.
To use mirrored mode, create or edit .wslconfig in your Windows user folder (C:\Users\YourName):
ini
[wsl2]
networkingMode=mirrored
dnsTunneling=true
autoProxy=true
firewall=true

[experimental]
autoMemoryReclaim=gradual
hostAddressLoopback=true
Then run wsl --shutdown in PowerShell and reopen Ubuntu.
With mirrored mode, you need to configure Windows Firewall to allow traffic to OpenClaw’s port. Open PowerShell as Administrator and run:
powershell
New-NetFirewallRule -DisplayName "OpenClaw-Service" -Direction Inbound -Action Allow -Protocol TCP -LocalPort 18789
Verify the rule was created:
powershell
Get-NetFirewallRule -DisplayName "OpenClaw-Service" | Format-Table
Test that the port is open:
powershell
Test-NetConnection -ComputerName localhost -Port 18789
Step 6: Set Up Browser Automation
OpenClaw uses Playwright for browser automation tasks. The installation script should have handled the browser dependencies, but you can verify and install them manually if needed.
Inside your Ubuntu terminal, run:
bash
npx playwright install
npx playwright install-deps
If you run into a Chrome sandbox error, the issue is typically related to how WSL handles the browser’s sandboxing mechanisms.
One common fix is to disable the sandbox by launching Chromium with the --no-sandbox flag.
However, be aware that this reduces security. The more robust approach is to ensure your WSL kernel supports the required user namespace features.
Test that browser automation works:
bash
npx playwright test
If the test fails, run openclaw doctor to diagnose configuration issues.
How to Troubleshoot Common Issues During Set Up
OpenClaw on WSL FAQs
Can I run OpenClaw on Windows?
Yes, you can run OpenClaw on Windows through WSL2, which provides a full Linux environment. WSL2 is the recommended approach because it offers the best compatibility and stability. A native Windows Hub app is also available, but WSL2 gives you the closest match to a standard Linux deployment.
Can I run OpenClaw without a GPU?
Yes. OpenClaw can run using cloud-based AI providers like Anthropic, OpenAI, or Google. If you want to run a local model through Ollama alongside OpenClaw, 16 GB of RAM is recommended. The setup described in this guide works with API-based models.
Which Linux is best for OpenClaw?
Ubuntu is the recommended distribution for running OpenClaw on WSL. The installation commands in this guide are specifically for Ubuntu, and it’s the most well-tested option.
What browser is best for OpenClaw?
OpenClaw uses Playwright’s Chromium browser for automation tasks. The browser is installed automatically as part of the Playwright setup. For accessing the OpenClaw dashboard, any modern browser works.
Get Started with OpenClaw on Truehost
Running OpenClaw on your Windows machine through WSL is great for development, testing, and personal projects.
But if your agent needs to stay online 24/7, serving users around the clock, responding to messages while you’re asleep, keeping it on your personal PC has one big limitation: your computer has to be on.
With Truehost’s OpenClaw VPS Hosting, you get the same Linux-based environment OpenClaw was built for, but without relying on your personal machine.
We deliver dedicated virtual cores designed specifically to prevent headless browser slowness and script drops.
Our preconfigured OpenClaw environments come with Playwright browser frameworks, Python stack runtimes, and the OpenClaw orchestration engine ready out of the box.
Deployment takes under 45 seconds; you select your plan, the system spins up your VPS automatically, and you connect via SSH.
Plus, every plan comes with isolated vCPU time allocations, guaranteed physical memory segments, and built-in software firewalls with DDoS protection.