Domain RegistrationFind and register the perfect domain for your website.
 .COM DomainChoose a widely recognized domain to build global credibility.
 Domain TransferSeamless domain transfers with zero downtime and complete control.
 All TLDsFind and register your perfect domain. Choose from local and global extensions.
 SSL CertificatesKeep your website safe with reliable SSL Certificates that protect customer data and build trust.
 whoisCheck domain ownership details, expiration dates, and registrar information.
 US DomainRegister a .US domain and build trust in the USA.
 Web HostingEverything your website needs to run smoothly
 WordPress HostingWordPress hosting that just works
 Windows HostingReliable hosting for Windows environments
 Reseller HostingTurn hosting into your business
 Email HostingEmail that looks professional and works anywhere
 cPanel HostingFull control of your hosting with cPanel
 Affiliate ProgramJoin as a partner and earn commissions on every referral you send our way.
 Vps HostingScalable virtual servers that expand as you need.
 Dedicated ServersGet complete access and full control over your dedicated physical server.
 Managed vpsNot tech-savvy? We will take care of everything with our fully managed VPS hosting for you.
 AI Website BuilderCreate stunning websites in seconds with AI.
 Online ShopSet up a professional online store. No coding required.
 Web design serviceGet a tailored website designed to match your brand and support your goals.
 BlogFind helpful guides on web hosting, online selling, digital marketing, and more.
 Contact USYou can reach us anytime, day or night, through chat or email.
 SupportBrowse helpful guides and answers for all of our services.
OpenClaw (formerly Clawdbot, then Moltbot) is a self-hosted, open-source gateway that connects AI agents to the messaging apps you already use: Telegram, WhatsApp, Discord, Slack, Signal, iMessage, and over twenty more. It’s not just a chatbot. It runs shell commands, browses the web, reads and writes files, manages your calendar, and can act on its own schedule, all triggered by a text from your phone.
Arch Linux pairs well with it. Rolling releases mean Node.js stays current without waiting on a distro upgrade, the official repos already carry a supported version, and systemd- Arch’s native init system- keeps the background service alive and reachable.
Prerequisites:
- A current Arch Linux installation, fully updated
- An API key from a supported model provider (Anthropic, OpenAI, Google Gemini, or a local runtime via Ollama)
- At least one messaging account to use as a channel (Telegram is the fastest to set up)
- Basic comfort with the terminal
Step 1: Prepare Your Arch Linux Environment
Update your system first
Arch is a rolling-release distribution, so package versions shift frequently. Updating before installing anything avoids dependency mismatches that would otherwise surface mid-install.
sudo pacman -Syu
Install the required packages
OpenClaw needs Node.js, npm, and git at minimum. Pull them straight from the official repositories:
sudo pacman -S nodejs npm git
Arch ships recent Node.js builds directly through pacman, so no PPA-equivalent or third-party repository is required. If you’d rather pin a specific LTS line instead of the rolling nodejs package, Arch also packages nodejs-lts-jod and nodejs-lts-krypton for that purpose.
Optional: install from the AUR
Community-maintained AUR packages such as openclaw-git exist, but the ArchWiki and AUR comment threads both flag them as inconsistent, broken prepare() patches, incomplete installs, and orphaned maintainership have all been reported. AUR packages are unofficial, unvetted user submissions; use at your own risk, and expect to troubleshoot the PKGBUILD yourself if something breaks.
The official installer is the better default for most users:
- It receives upstream updates immediately.
- It’s the installation path the OpenClaw Foundation (the project’s maintainers) actively supports.
- It won’t lag behind new releases the way an unmaintained AUR package can.
Step 2: Confirm Your Node.js Installation
Check installed versions
node --version
npm --version
Both commands should return version numbers. Once OpenClaw itself is installed, three built-in commands confirm the rest of the environment:
openclaw --version          # confirms the CLI is installed
openclaw doctor             # full environment check: Node version, port availability, config syntax, API keys
openclaw gateway status     # confirms the gateway service is running and reachable
Confirm you’re on a supported release
OpenClaw’s current supported ranges are Node.js 22.22.3+, 24.15+, or 25.9+. Node 23 is explicitly unsupported, and older Node 22.x builds below 22.22.3 will fail at runtime rather than at install time, which is why checking the version first is the standard first troubleshooting step. Node 24 (moving toward Node 26 in newer installer builds) is the recommended default target.
Using nvm instead (optional)
If you juggle multiple Node.js projects with different version requirements, a version manager like nvm or fnm avoids touching your system-wide Node install and sidesteps global-package permission issues. If you go this route, initialize the version manager in your shell startup file (~/.zshrc or ~/.bashrc); skipping this step is the most common reason OpenClaw becomes “not found” in new terminal sessions, since the manager’s shim directory never makes it onto PATH.
Step 3: Install OpenClaw
Run the official installer
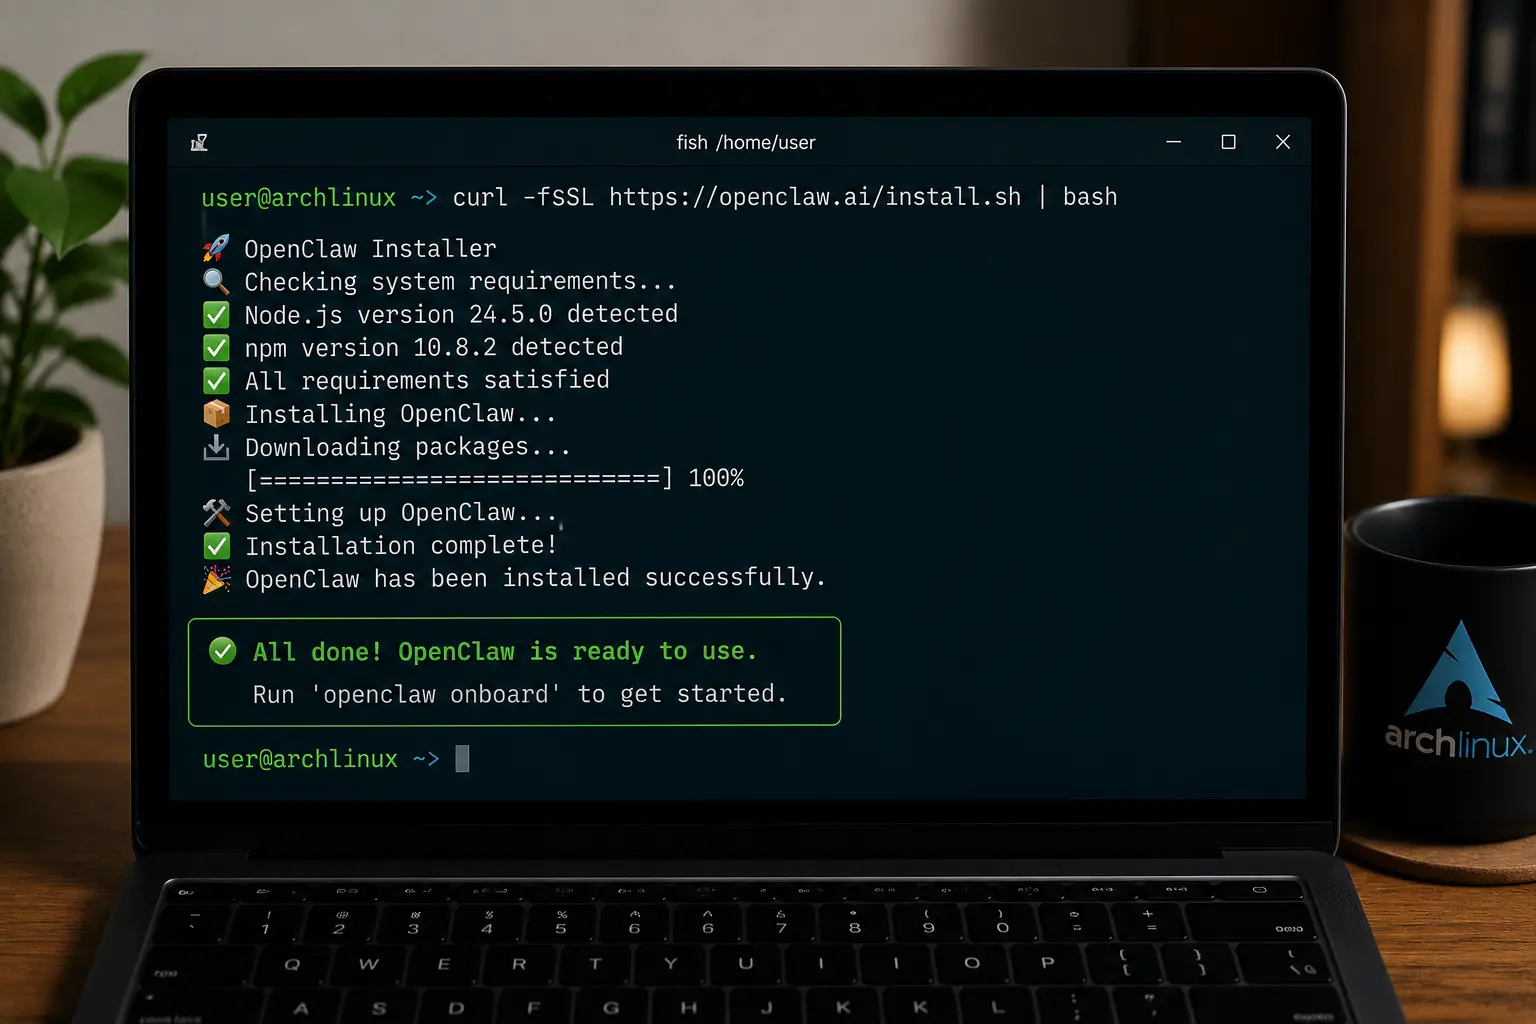
curl -fsSL https://openclaw.ai/install.sh | bash
This script detects your OS, checks (and if necessary provisions) a supported Node.js version, installs OpenClaw globally, and launches the onboarding wizard, all in one pass. By default, it installs to ~/.openclaw/.
If you’d rather run each step by hand:
npm install -g openclaw@latest
openclaw onboard --install-daemon
The –install-daemon flag counts: without it, the gateway only runs in your current terminal session and disappears the moment you close it or reboot.
Verify the installation
openclaw --version
openclaw doctor
doctor is the fastest way to confirm the CLI is on PATH, the correct Node version is active, and no configuration is missing.
If the command isn’t recognized
This is almost always a PATH issue: npm’s global bin directory isn’t loaded into your shell yet.
npm prefix -g # shows where npm installed the global binary
echo $PATH # confirm that directory is listed
Reload your shell (source ~/.bashrc or open a new terminal) or add the missing directory to PATH manually. Avoid running the install with sudo on a personal workstation; fixing the npm prefix is the recommended approach instead of forcing a root-owned global install.
Step 4: Improve Security with a Dedicated User (Optional)
Running OpenClaw as your own user is fine for casual desktop use, since the agent then inherits your normal permissions. For servers or always-on deployments, a dedicated Linux user limits the blast radius if a channel, plugin, or agent misbehaves.
sudo useradd -m -s /bin/bash openclaw
sudo passwd openclaw
sudo mkdir -p /home/openclaw/workspace
sudo chown -R openclaw:openclaw /home/openclaw
Then switch to that account and run onboarding under it, keeping application state fully isolated from your personal files:
sudo -iu openclaw
Step 5: Complete the Initial Setup
Launch the onboarding wizard
openclaw onboard
The wizard will ask which model provider to use and prompt for your API key, which is stored locally (in ~/.openclaw/openclaw.json or as an environment variable) and never transmitted anywhere except that provider.
Connect an AI model
Supported providers include Anthropic (Claude), OpenAI (GPT), Google (Gemini), Ollama for local inference, and any OpenAI-compatible custom endpoint. You can mix providers across agents later.
Configure your first integration
Pick one messaging platform, add its credentials (a bot token for Telegram/Discord, a QR-code pairing for WhatsApp), and save. Start with a single integration before adding more; it’s the fastest path to confirming the whole pipeline works end to end.
Secure your installation
The Gateway’s WebSocket listener binds to 127.0.0.1:18789 by default, loopback only, not exposed to the network. Keep it that way unless you specifically need remote access, and if you do, use an SSH tunnel or VPN rather than binding to 0.0.0.0 and opening the port on your firewall. If remote access to the Gateway is unavoidable, OpenClaw’s remote mode supports token-, password-, or trusted-proxy-based authentication; configure one of these before exposing the port at all.
Additional baseline practices:
- Allow only trusted senders per channel via each channel’s allowFrom list; unknown senders default to a pairing-code flow rather than immediate access.
- Run openclaw doctor after any config change; it specifically flags risky or misconfigured DM policies.
- Rotate API keys and tokens immediately if they’re ever exposed.
Explore OpenClaw’s integrations
Beyond messaging channels, OpenClaw supports AI provider plugins, productivity tool integrations, smart-home platforms, and automation services through a community skill system (SKILL.md files distributed via ClawHub). Add one integration at a time.
Step 6: Run OpenClaw as a Background Service
Arch’s native init system, systemd, is the natural choice: it starts OpenClaw automatically after reboot and restarts it if it crashes.
Create a user service
The onboarding wizard can install this for you (openclaw onboard --install-daemon), or you can do it explicitly:
openclaw gateway install
This creates a systemd –user unit rather than a system-wide one. A manual unit, if you need a custom binary path, looks like this:
[Unit]
Description=OpenClaw Gateway
After=network-online.target
Wants=network-online.target

[Service]
ExecStart=/usr/local/bin/openclaw gateway --port 18789
Restart=always
RestartSec=5
TimeoutStopSec=30
TimeoutStartSec=30
SuccessExitStatus=0 143
KillMode=control-group

[Install]
WantedBy=default.target
Enable automatic startup
systemctl --user daemon-reload
systemctl --user enable openclaw
systemctl --user start openclaw
Note the –user flag throughout; this is a per-user service, and root-level systemctl commands won’t find it.
Keep it running after logout
By default, systemd-logind kills user processes (including user services) when your session ends; KillUserProcesses=yes is the default. For a server or SSH-managed box, this means the Gateway dies the moment you disconnect unless lingering is enabled:
sudo loginctl enable-linger $(whoami)
Onboarding attempts to enable this automatically (it may prompt for a sudo password); if it didn’t, run the command above. This step is essential for any remote or always-on deployment, VPS, home server, or Raspberry Pi. For multi-user or production servers where lingering feels like the wrong tool, install a system-level unit instead (under /etc/systemd/system/), which doesn’t depend on a login session at all.
Step 7: Test Everything
Check the gateway
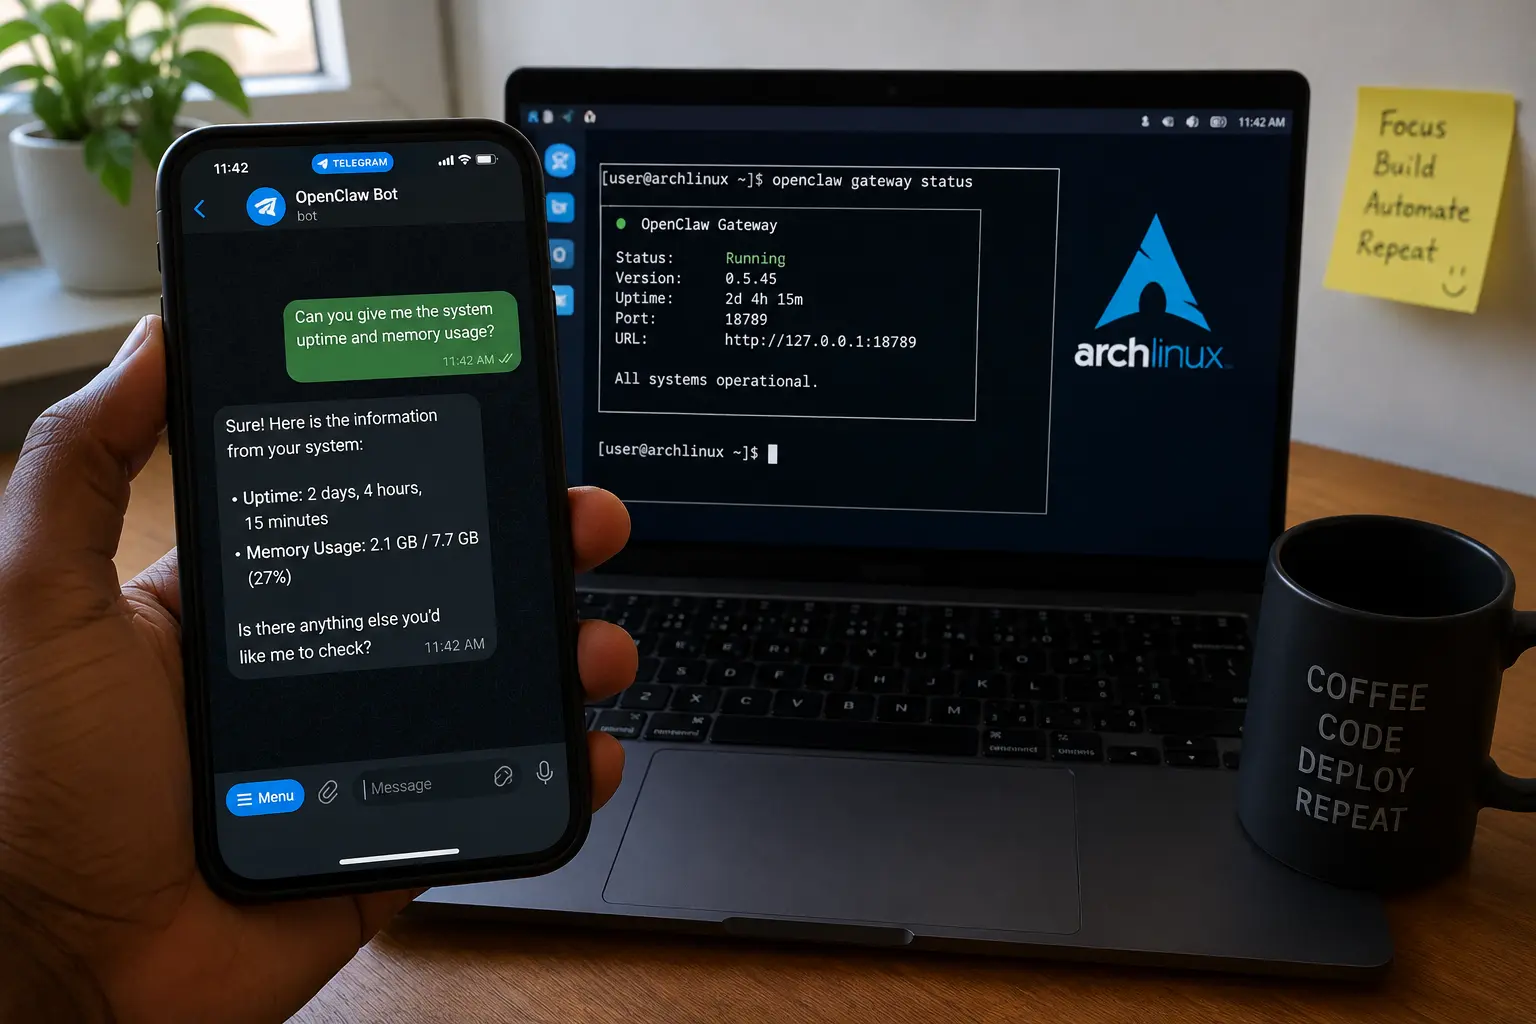
openclaw gateway status
A healthy result shows the runtime as running and the connectivity probe as OK. Add –require-rpc for a stricter check that proves live RPC access, not just that the process is listening.
Run built-in diagnostics
openclaw doctor
This surfaces missing dependencies, Node version mismatches, port conflicts, and configuration errors in one pass.
Connect your first messaging channel
Telegram is the fastest to pair (a bot token from BotFather), followed by Discord (bot token), then WhatsApp (QR-code scan), iMessage, and other channels depending on platform support.
Verify everything works
Send a test message through the connected channel and confirm the agent replies. If it doesn’t, openclaw logs –follow tails the live log stream and is the fastest way to spot the failure point.
Keeping OpenClaw Updated
Update your Arch system regularly. Rolling-release distributions push changes continuously; Node.js point releases, system libraries, and security patches all move faster than on a fixed-release distro, so regular pacman -Syu runs keep dependencies aligned with what OpenClaw expects.
Update OpenClaw itself:
openclaw update --channel stable
Or, for npm installs:
npm install -g openclaw@latest
AUR installs update through the AUR helper (yay, paru, etc.), though given the reliability concerns noted earlier, expect more manual intervention.
Update Node.js. Stay within the supported ranges (22.22.3+, 24.15+, or 25.9+) and check OpenClaw’s release notes before jumping to a major Node version, since compatibility isn’t guaranteed across every combination.
Troubleshooting Common Issues
| Issue | Likely Cause | Solution |
| openclaw: command not found | Your shell hasn’t picked up npm’s global binary directory, so the openclaw executable isn’t in your PATH. | Restart your terminal, or run npm prefix -g to locate the global installation directory and add its bin folder to your PATH. |
| Unsupported Node.js version | You’re running an unsupported version of Node.js. OpenClaw requires 22.22.3+, 24.15+ (recommended), or 25.9+. Older versions may install successfully but fail during runtime. | Check your version with node –version and upgrade to a supported release before troubleshooting anything else. |
| Permission errors | File ownership or directory permissions are incorrect, often after switching to a dedicated service account without updating ownership. | Verify that the OpenClaw working directory is owned by the correct user, then fix permissions with chown and chmod as needed. |
| Onboarding fails | An invalid or expired API key, network connectivity problems, or missing dependencies are preventing the setup wizard from completing. | Verify your API credentials, confirm internet connectivity to your AI provider, and run openclaw doctor to identify missing dependencies or configuration issues. |
| Gateway won’t start | A port conflict on 18789, an invalid configuration file, or firewall rules blocking local traffic. | Use lsof -i:18789 to identify any process using the port. Correct configuration errors if present. If the previous gateway instance crashed, run openclaw gateway –force to free the port before restarting. Use this option carefully to avoid stopping another application that legitimately uses the port. |
| Service doesn’t start after reboot | The systemd user service isn’t enabled, user lingering is disabled, or the service encountered an error during startup. | Check the service status with systemctl –user status openclaw, verify lingering with loginctl show-user $(whoami) –property=Linger, and inspect logs using journalctl –user -u openclaw to identify the root cause. |
Best Practices for Running OpenClaw on Arch
- Keep the system fully updated; rolling release means security patches arrive continuously, but only if you actually run pacman -Syu.
- Default to the official installer; reserve the AUR for cases where you specifically need pacman-managed uninstall/upgrade and are prepared to debug packaging issues yourself.
- Keep the Gateway bound to loopback (127.0.0.1) unless remote access is a deliberate, authenticated choice.
- Use a dedicated service account for any server or always-on deployment.
- Back up
~/.openclaw/before major version upgrades. - Add integrations one at a time, confirming each works before moving to the next.
Start Building AI Agents on Arch Linux in Minutes
With Node.js confirmed, OpenClaw installed, a channel connected, and a systemd service keeping it alive, you have a working, self-hosted AI agent running entirely on your own machine, no vendor lock-in, no data leaving your infrastructure unless you choose a cloud model provider.
From here, expanding means adding channels one at a time, layering in community skills, and tuning the Gateway’s security settings to match the level of exposure your deployment actually has.
Need an always-on VPS to run OpenClaw on instead of your desktop? Get started with Truehost →
OpenClaw on Arch Linux FAQS
Can I run OpenClaw on Linux?
Yes, Linux, including Arch, is one of the three natively supported platforms alongside macOS and Windows (via the Hub app, PowerShell installer, or WSL2).
How do I run OpenClaw safely?
Keep the Gateway on loopback, use allowFrom allowlists per channel, run a dedicated non-root user for servers, and rotate credentials if they’re ever exposed. Avoid binding the port to 0.0.0.0 without authentication configured.
Which Node.js version is recommended?
Node 24.15+ is the current recommended default; 22.22.3+ and 25.9+ are also supported. Node 23 is not supported.
Can I run OpenClaw completely offline?
Yes, by pointing it at a local model runtime such as Ollama instead of a cloud provider, the Gateway, sessions, and file operations all run locally regardless of which model backend you choose.
Which Linux distribution is best for OpenClaw?
Any modern distro with Node.js 22+ works. Arch’s rolling release keeps Node.js current without manual backporting, which is a genuine advantage over fixed-release distributions that can lag on runtime versions for years at a time.
Is the AUR package officially supported?
No. It’s community-maintained, and both the ArchWiki and AUR comment threads describe it as inconsistent. The official installer is the recommended path.
Where are OpenClaw’s configuration files stored?
By default, under ~/.openclaw/, including openclaw.json for configuration and a workspace/ directory for agent state and memory.