Domain RegistrationFind and register the perfect domain for your website.
 .COM DomainChoose a widely recognized domain to build global credibility.
 All TLDsFind and register your perfect domain. Choose from local and global extensions.
 whoisCheck domain ownership details, expiration dates, and registrar information.
 US DomainRegister a .US domain and build trust in the USA.
 Web HostingEverything your website needs to run smoothly
 WordPress HostingWordPress hosting that just works
 Windows HostingReliable hosting for Windows environments
 Reseller HostingTurn hosting into your business
 Email HostingEmail that looks professional and works anywhere
 cPanel HostingFull control of your hosting with cPanel
 Affiliate ProgramJoin as a partner and earn commissions on every referral you send our way.
 Vps HostingScalable virtual servers that expand as you need.
 Dedicated ServersGet complete access and full control over your dedicated physical server.
 Managed vpsNot tech-savvy? We will take care of everything with our fully managed VPS hosting for you.
That moment when you have just registered your domain feels like a real milestone. Everything looks set… until you send your first email from a free Gmail account and realize something feels off.
Suddenly, the message doesn’t carry the weight you expected. Instead of building confidence, it quietly raises doubts. A potential client sees [email protected] instead of [email protected], and the impression changes before the conversation even begins.
This is where many new businesses get stuck, not because they lack skill or a good product, but because their communication still looks “unready.”
The good part is that fixing this is far simpler than most people think. Setting up professional email hosting for a new domain doesn’t require technical experience or a big budget. In most cases, you can have a fully branded email running within a few hours.
With providers like Truehost, the process becomes even more straightforward, whether you’re a freelancer, running a small business, or launching a startup.

Why Email Hosting Matters ?
Email hosting is a service that allows you to send and receive emails using your own domain name. Instead of relying on a free email service, your emails come from an address tied directly to your brand, like [email protected].
It is different from web hosting, although many providers offer both together. Email hosting specifically handles the storage, routing, and delivery of your emails through dedicated servers.
A professional email address does several things for your business. It builds instant credibility, improves deliverability rates, and gives you more control over how your communication looks and behaves.
How to Choose and Register a Domain Name
Step 1: Pick a Name That Represents Your Brand
Your domain name is your digital identity. It should be short, easy to spell, and directly connected to what your business does.
Aim for a .com extension when possible, as it is the most recognized and trusted extension worldwide. If .com is taken, extensions like .co, .net, or country-specific ones like .us for US are solid alternatives.
Step 2: Rules to Follow When Choosing a Domain
- Keep it under 15 characters where possible
- Avoid hyphens and numbers because they confuse people when spoken aloud
- Do not use trademarked names or names that are too close to established brands
- Check that your preferred name is available on social media platforms too
Step 3: Common Mistakes to Avoid
Many people register a domain in a hurry and later regret the choice. Avoid picking overly generic names like bestservices.com because they are forgettable and may already be in use.
Also avoid registering your domain with a provider that locks you in with high renewal fees.
Step 4: How to Register Your Domain
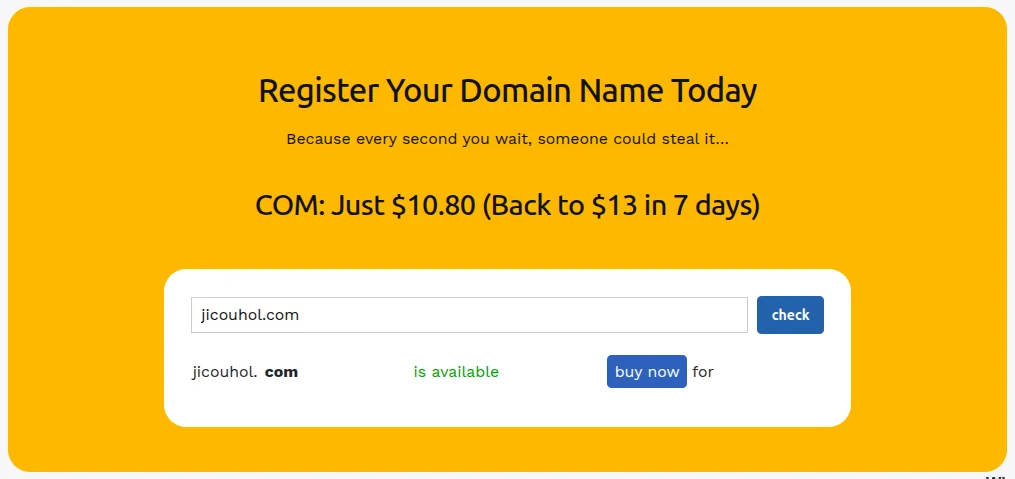
- Go to a domain registrar. Truehost offers domain registration at competitive prices with full DNS control
- Search for your preferred domain name
- Add it to your cart and choose a registration period, typically one to three years
- Complete payment and verify your email address to activate the domain
Once your domain is registered, it becomes the foundation for everything: your website, your email, and your brand identity online.
How to Select an Email Hosting Provider
What to Look For in an Email Hosting Provider
Not all email hosting services are created equal. Before signing up with any provider, there are a few key things worth comparing.
- Storage per mailbox: Check how much storage is included. More space means you avoid issues like full inboxes and missed messages.
- Uptime guarantee: Look for at least 99.9% uptime. Any downtime can mean lost emails and missed business opportunities.
- Security features: Make sure the provider supports SPF, DKIM, and DMARC. These help protect your domain and improve email trustworthiness.
- Spam protection: Built-in spam filtering is essential to keep your inbox clean and reduce unwanted messages.
- Customer support: Reliable 24/7 support matters, especially when you run into setup issues or unexpected problems.
Check whether the plan limits the number of email accounts you can create. Also confirm that it works across all the devices and apps your team uses, including Outlook, Apple Mail, the Gmail app, and Android mail clients.
Shared Hosting vs. Dedicated Email Hosting
Some businesses use shared hosting plans that include email as a bonus feature. This works fine for small teams, but as your business grows, dedicated email hosting gives you better performance and control.
Truehost’s email hosting plans are designed to scale with your business, offering flexible options for individuals and larger organizations alike.
Questions to Ask Before You Sign Up
- Does the provider support standard protocols like IMAP, POP3, and SMTP?
- Can you migrate existing emails from another provider?
- Is there a free trial or money-back guarantee?
- How does the provider handle spam and phishing attempts?
Truehost answers all of these with transparent pricing and a support team that responds fast, which is an important detail when you are setting things up for the first time.
How to Purchase and Configure an Email Hosting Plan
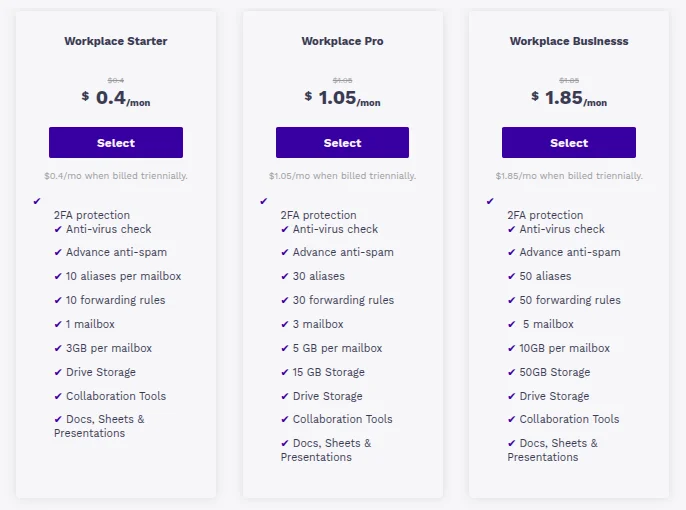
Step 1 : Choosing the Right Plan
Start with a plan that covers your current needs, not what you might need in three years. Most small businesses do well with a basic plan that offers one to five email accounts with at least 5GB of storage per mailbox.
Step 2 : How to Purchase Your Plan
- Log in to your hosting account at Truehost
- Navigate to the email hosting section and select your preferred plan
- Choose whether you want monthly or annual billing, since annual billing usually saves money
- Enter your domain name when prompted
- Complete payment and wait for the confirmation email
Step 3 : Configuring Your DNS Records
This is the step where most beginners get stuck, but it is simpler than it looks. DNS records tell the internet where to send emails for your domain.
After purchasing your plan, your provider will give you a set of values to add to your DNS settings. Here is what each one does:
- MX Record tells incoming emails which server to go to. Without it, emails sent to your domain will have nowhere to land.
- SPF Record (Sender Policy Framework) confirms which servers are allowed to send email on your behalf. It is one of the main tools that prevents your emails from being flagged as spam.
- DKIM Record (DomainKeys Identified Mail) adds a digital signature to your outgoing emails. Receiving servers use this signature to verify that the email genuinely came from you.
- DMARC Record works alongside SPF and DKIM. It tells receiving servers what to do when an email fails those checks, whether to reject it, quarantine it, or let it through.
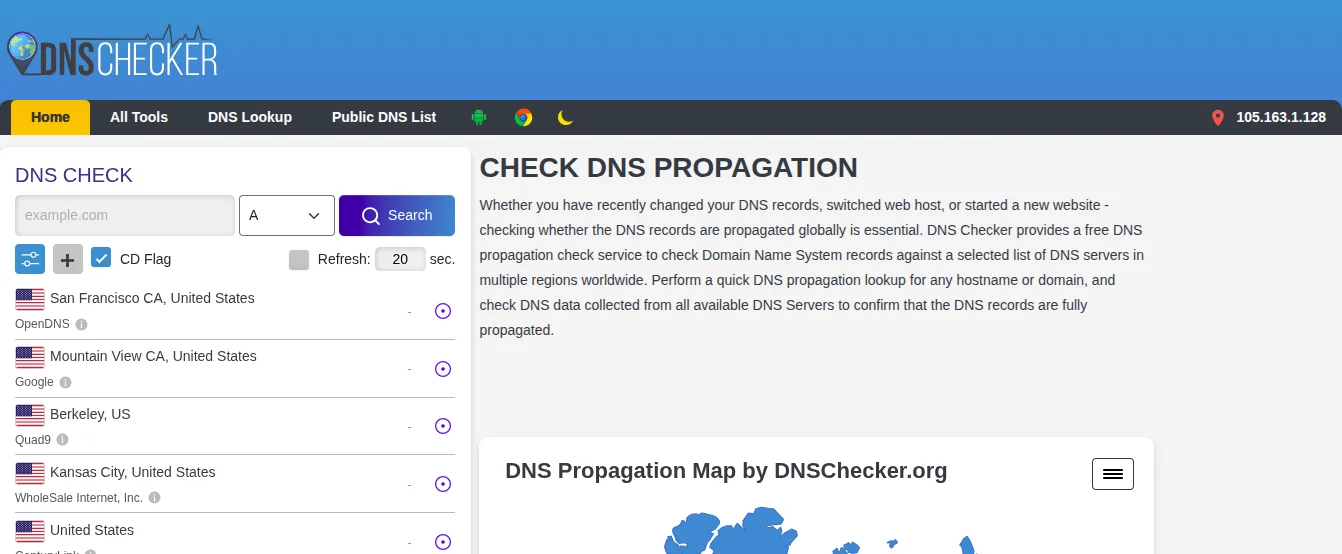
To update these records, go to your domain registrar’s control panel, find the DNS settings section, and enter the values provided by your email host. Changes can take between 24 and 48 hours to fully apply across the internet. This is called DNS propagation and is completely normal.
You can use MXToolbox to check whether your MX records are correctly set up after the propagation period.
Mistake to Avoid at This Stage
Do not skip setting up SPF, DKIM, and DMARC records. Without them, your emails are more likely to land in spam folders, even when they reach the right address.
How to Create and Manage Email Accounts
Creating Your First Email Account
Once your DNS records are active, you can start creating email accounts through your hosting control panel. Most hosts use cPanel or a similar dashboard that keeps the process straightforward.
Here is the general process:
- Log in to your hosting control panel
- Go to the Email Accounts section
- Click Create or Add Email Account
- Enter the username (the part before the @ symbol) and set a strong password
- Assign a storage limit for the mailbox
- Click Create to activate the account
Your new email address is now live and ready to use.
Naming Your Email Accounts Consistently
Use a clear and consistent naming format from the start. Mixing formats like john@, j.smith@, and johnsmith@ within the same organization gets confusing fast.
Here are some common formats that work well:
- [email protected] works well for small teams
- [email protected] is professional and easy to scale
Role-based addresses like support@, hello@, or info@ are great for department inboxes
Managing Multiple Email Accounts
If you have a team, create separate accounts for each member. Shared passwords for a single inbox create security risks and make it hard to track who said what to a client.
Use forwarders if you want emails sent to [email protected] to land in your personal work inbox without creating a separate account. Most cPanel dashboards support this under the Forwarders section. You can check the Truehost knowledge base for step-by-step guidance on setting up forwarders.
Best Practices for Email Account Security
- Use passwords with at least 12 characters, including letters, numbers, and symbols
- Enable two-factor authentication if your provider supports it
- Change passwords immediately when a team member leaves the organization
- Review active accounts quarterly and remove any that are no longer in use
How to Configure Email Clients on Desktop and Mobile Devices
Why You Need an Email Client
Webmail lets you access email through a browser, which is convenient but limited. An email client like Microsoft Outlook, Mozilla Thunderbird, or the built-in Mail apps on iOS and Android gives you a faster, more feature-rich experience that works even when you are offline.
Key Settings You Will Need
Your email host will provide server details after you create your account. You will use these when setting up any email app on any device:
| Setting | Example Value |
| Incoming Mail Server (IMAP) | mail.yourdomain.com |
| IMAP Port | 993 with SSL |
| Outgoing Mail Server (SMTP) | mail.yourdomain.com |
| SMTP Port | 465 with SSL or 587 with TLS |
| Username | [email protected] |
| Password | Your email account password |
Always use IMAP instead of POP3 when setting up on multiple devices. IMAP keeps your emails synced across all devices, while POP3 downloads messages to one device and removes them from the server.
Setting Up on Desktop (Outlook)
- Open Outlook and go to File > Add Account
- Enter your email address and click Advanced Options
- Check Let me set up my account manually and click Connect
- Choose IMAP from the list of account types
- Enter the incoming and outgoing server details from your email host
- Enter your password when prompted and click Connect
Outlook will verify the settings and add the account. You will see your inbox appear in the left panel within a few seconds.
Setting Up on iPhone (iOS Mail App)
- Go to Settings > Mail > Accounts > Add Account
- Tap Other at the bottom of the list
- Tap Add Mail Account and fill in your name, email address, password, and a description
- Tap Next and choose IMAP
- Enter the incoming and outgoing server details and tap Save
Your email will sync automatically. New messages appear in the Mail app just like any other inbox.
Setting Up on Android
- Open the Gmail app or your device’s default Mail app
- Tap Add Account from the menu
- Choose Other (not Gmail or Outlook)
- Enter your email address and tap Manual Setup
- Choose IMAP and enter your server settings
- Follow the prompts and tap Done
If you use the Gmail app, it supports adding non-Gmail accounts, which means you can manage your branded email right alongside personal accounts in a single app.
Common Setup Errors and How to Fix Them
If you get an error connecting to the server, the most likely cause is a wrong server address. Double-check the exact server name from your hosting provider’s dashboard.
If you get an authentication error, make sure you are entering the full email address as the username, not just the part before the @ symbol.
If your emails are not syncing across devices, you may have selected POP3 instead of IMAP during setup. Delete the account from the app and re-add it, selecting IMAP this time.
If sent emails are bouncing, the issue could be that your ISP is blocking SMTP port 465. Switch to port 587 with TLS encryption and try again.
Make the Switch to Professional Email Today
Getting your business email right is one of the most impactful things you can do in the early days of building a brand. Every email you send either reinforces your credibility or quietly chips away at it.
The steps in this guide cover everything from choosing a domain to getting your inbox running on your phone. None of it requires technical expertise, just a clear process and the right provider by your side.
Truehost offers reliable, affordable email hosting plans built for businesses of every size. Whether you are setting up your first account or migrating an entire team, the platform gives you the tools, the uptime, and the support to do it right.
Head over to Truehost today, pick a plan that fits your needs, and send your first branded email before the day is over.