Domain RegistrationFind and register the perfect domain for your website.
 .COM DomainChoose a widely recognized domain to build global credibility.
 All TLDsFind and register your perfect domain. Choose from local and global extensions.
 whoisCheck domain ownership details, expiration dates, and registrar information.
 US DomainRegister a .US domain and build trust in the USA.
 Web HostingEverything your website needs to run smoothly
 WordPress HostingWordPress hosting that just works
 Windows HostingReliable hosting for Windows environments
 Reseller HostingTurn hosting into your business
 Email HostingEmail that looks professional and works anywhere
 cPanel HostingFull control of your hosting with cPanel
 Affiliate ProgramJoin as a partner and earn commissions on every referral you send our way.
 Vps HostingScalable virtual servers that expand as you need.
 Dedicated ServersGet complete access and full control over your dedicated physical server.
 Managed vpsNot tech-savvy? We will take care of everything with our fully managed VPS hosting for you.
Creating a blog on WordPress is an excellent way to share your ideas, knowledge, and passion with a global audience. WordPress is a user-friendly platform with various customization possibilities, making it a popular choice for new and experienced bloggers. In this piece, we will show you how to create a WordPress blog from scratch.
How to create a blog on WordPress
One of the most common mistakes beginners make when starting a blog is choosing the wrong platform. Fortunately, you’re here to avoid that pitfall.
For the vast majority of users, about 95%, the best choice is WordPress.org, also known as self-hosted WordPress.
WordPress is open-source and completely free to use. It allows you to install plugins, customize your blog’s design, and monetize your blog without any restrictions.
To put its popularity into perspective, WordPress powers 43% of all websites on the internet, making it the top choice for successful blogs.
You might be wondering why WordPress is free. What’s the catch?
There isn’t one. It’s free because you handle the setup and hosting yourself.
Step-by-Step Guide
Step 1: Choose a Domain Name
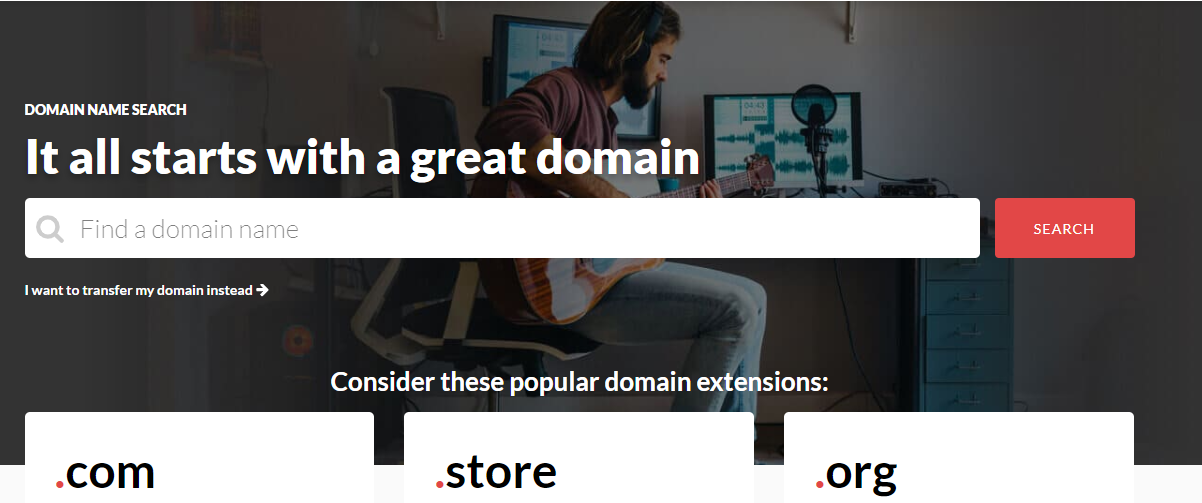
Your domain name is your blog’s prime piece of online real estate. It’s the address people will type in to find your content, so choosing the right domain name is crucial. A catchy and memorable domain name makes it easier for people to find and remember your blog. It also helps establish your brand identity and can contribute to search engine optimization (SEO). Here are a few tips to help you choose a domain name:
– Keep it Short and Sweet
Aim for something easy to remember and type.
– Use Relevant Keywords
Include words that reflect your blog’s niche or topic.
– Keep It On Brand
Consider using your blog’s name or a variation of it.
– Check for Availability
Use a domain name registrar, such as Namecheap, to see if your desired name is available.
Step 2: Selecting a WordPress Hosting Plan
Think of your domain name as the address of your blog, but you also need a reliable place to build your online presence. This is where WordPress hosting comes in. A WordPress hosting plan provides the necessary storage space and resources for your blog to function on the internet. When choosing a WordPress hosting provider, consider the following:
a). Shared Hosting vs Other Options
Shared hosting is the most common and cost-effective choice, especially for beginners. With shared hosting, your website shares space with other websites, which is suitable for new blogs. Virtual Private Server (VPS) and dedicated hosting plans offer more power and control, but at a higher cost and are better for high-traffic websites.
b). Features
Look for a hosting plan that includes features specifically tailored for WordPress. This may include one-click installs, automatic updates, and compatibility with popular WordPress plugins. Managed WordPress hosting is typically the best option for most WordPress users.
c). Storage and Bandwidth
Storage space determines the amount of content you can store on your website, while bandwidth determines the amount of traffic your blog can handle. As a new blog, you may not need a large amount of storage or bandwidth, but choose a provider that allows room for growth.
d). Uptime and Reliability
Uptime refers to how often your website is accessible to visitors. Choose a hosting provider with a high uptime guarantee (ideally 99.9% or higher) to ensure your blog is always available.
e). Customer Support
Reliable customer support is essential in case you encounter any technical issues with your hosting. Select a provider known for responsive and helpful support staff.
Step 3: Install and Configure WordPress
Depending on your hosting provider, installing and configuring WordPress can be straightforward. Many blog hosting companies now automatically install WordPress to help non-technical users get started.
Here’s how to do it:
▪️Log into Your Hosting Account
After purchasing your hosting plan, log in to your account.
▪️Find the WordPress Installer
Look for an option like “Install WordPress” or “WordPress Tools.”
▪️Complete the Installation
Follow the prompts to install WordPress on your domain. You’ll need to provide a blog title, username, and password for your WordPress admin account.
Configure Your WordPress Settings
▪️Log into WordPress Admin
Go to www.yourblogname.com/wp-admin and log in with the credentials you created during the installation.
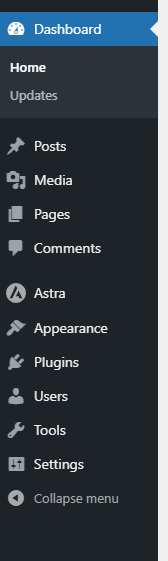
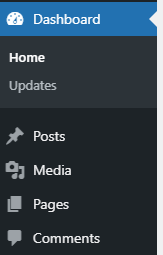
The WordPress Dashboard: A Brief Overview
When you first log into WordPress, you’ll need to familiarize yourself with the dashboard. All of WordPress’ tools are located on the left-hand side of the screen on the toolbar.
Instead of going through all the settings here, we’ll provide an overview of key features and some helpful articles to help you navigate the dashboard:
– Posts
Similar to pages, posts populate your blog with content. Whether you want to write an article about raising kittens or share a new recipe, posts are the building blocks of WordPress content.
– Media
This is where all your documents, images, and videos are stored. You can upload, edit, or delete files in the Media Library.
– Pages
These contain your blog’s static content, such as the home, about, or blog pages. Pages can be used to create landing pages for Google ads, new projects, and more.
– Comments
Interact with your site’s visitors through WordPress’s built-in comment system.
– Appearance
Install new themes, edit templates (full-site editing), and more.
– Plugins
Install, deactivate, or delete plugins, which are WordPress extensions that add extra functionality to your website.
– Users
Add new users, edit permissions, assign user roles, and edit their profiles.
– Tools
Import or export XML files for moving content between WordPress sites, get a glimpse into your website’s health and edit theme and plugin files.
– Settings
Assign a homepage, manage permalinks, manage comment and media settings, and configure privacy settings.
Step 4: Choose and Customize Your Theme
Now that you have a basic understanding of WordPress settings, you can move on to installing a WordPress theme.
1. Select a Theme
Go to “Appearance” > “Themes” and browse through the available options.
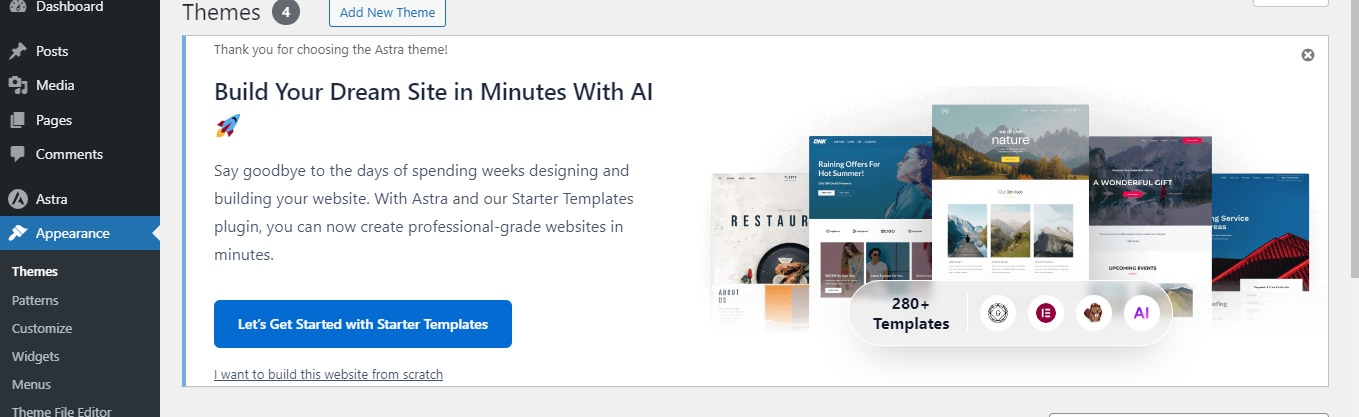
You can either choose a free theme or purchase a premium one for more advanced features and customization.
2. Install and Activate the Theme
Once you find a theme you like, click “Install,” then “Activate.”
3. Customize the Theme
Go to “Appearance” > “Customize” to tweak your theme’s settings, such as colors, fonts, and layout. Many themes also offer unique customization options.
Step 5: Write Your First Blog Post
Congratulations! You’ve laid the groundwork for your WordPress blog. Now, it’s time to write your first blog post. High-quality content is essential for a successful blog. It showcases your expertise, engages your audience, and drives traffic to your site.
▪️Create Key Pages and Posts
▪Create Essential Pages
Go to “Pages” > “Add New” to set up essential pages like “About,” “Contact,” and “Privacy Policy.”
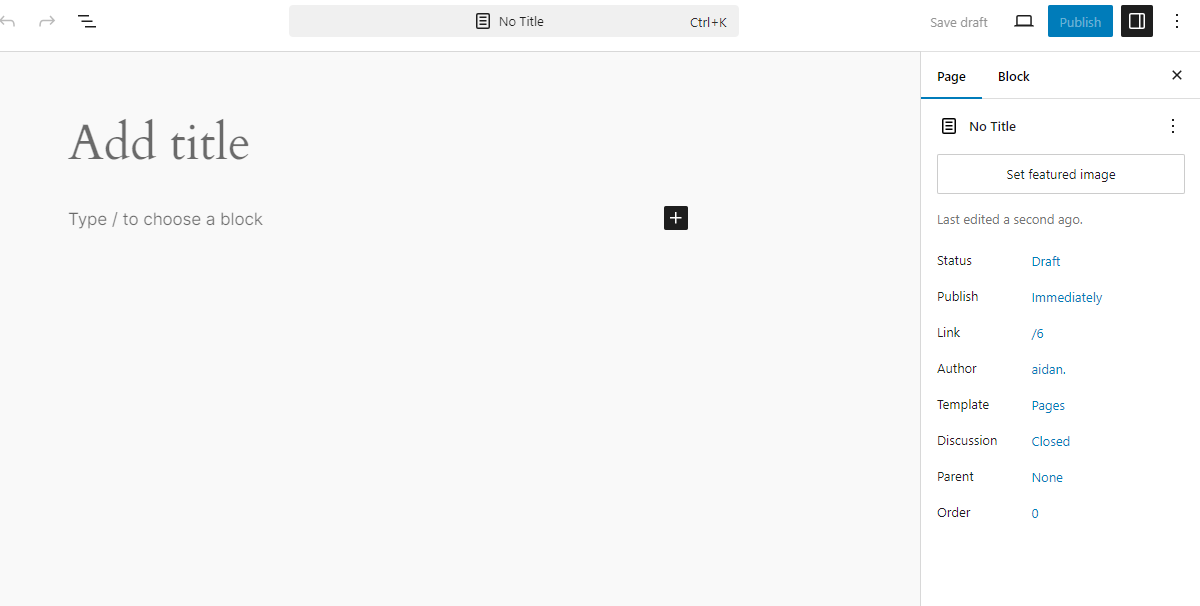
▪Write Your First Blog Post
Go to “Posts” > “Add New” to start writing your first blog post. Use the built-in editor to add text, images, and other media.
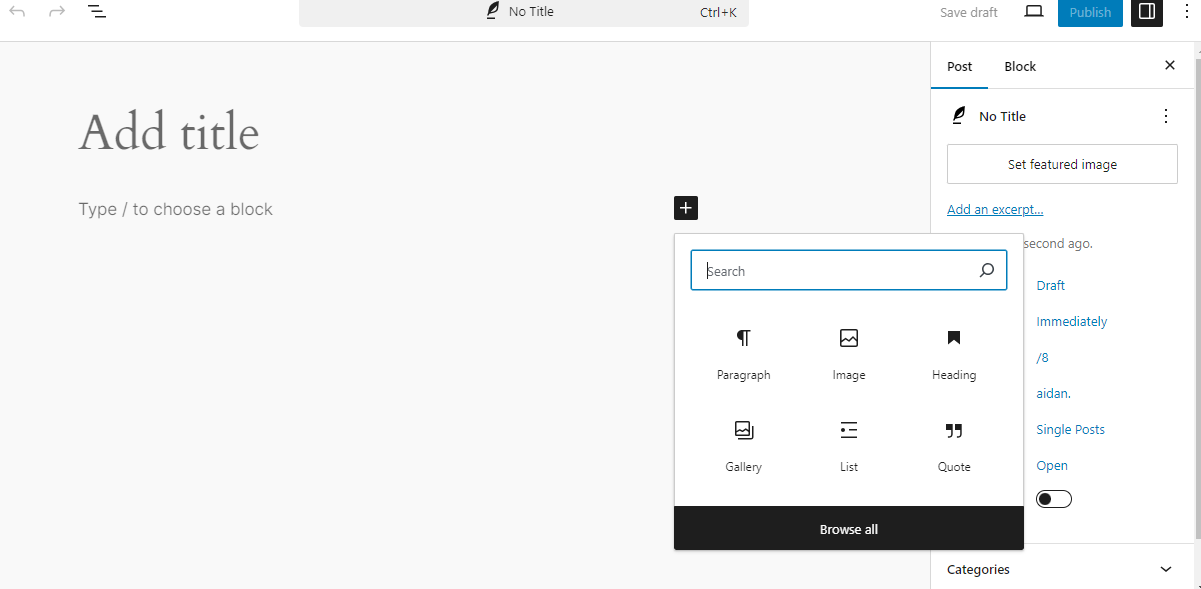
Be sure to add categories and tags to organize your content.
▪️Configure Your Blog’s Navigation
▪Create a Menu
Go to “Appearance” > “Menus” to create a navigation menu.
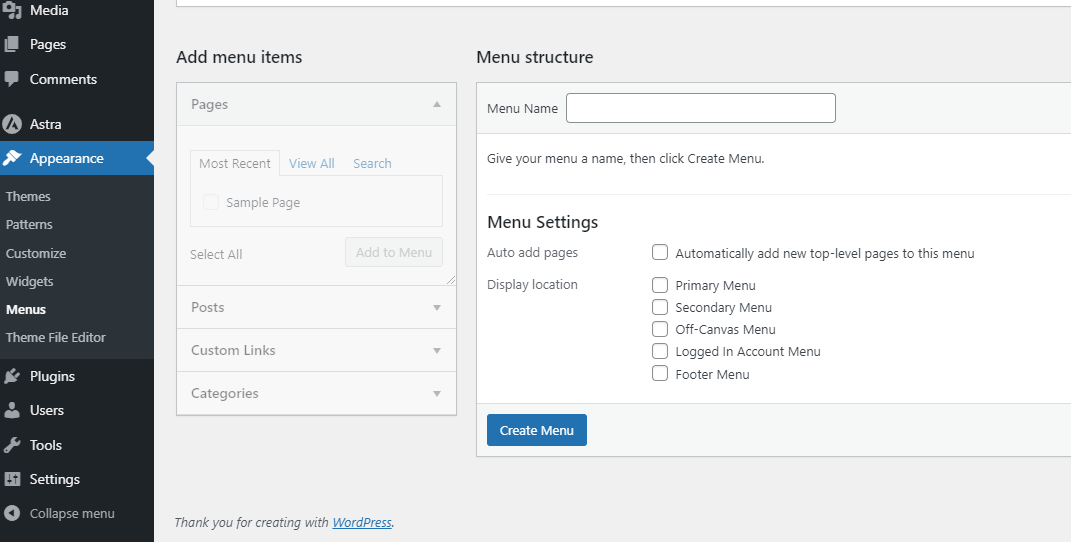
Add your key pages and categories to the menu.
▪Set the Menu Location
Assign your menu to a location, such as the primary menu, based on your theme’s options.

Here are some tips to craft captivating blog posts that resonate with your readers:
✔Know Your Audience
Before you start writing, understand your target audience’s needs and interests. Make your content to address their questions and provide solutions that appeal to them.
✔Choose Engaging Topics
Select topics that are relevant to your niche and intriguing enough to capture attention. Brainstorm ideas based on your expertise, conduct keyword research, and stay updated on current trends. Use a keyword research tool like Semrush to find relevant keywords and identify your competitors.
✔Focus on Value
Every blog post should offer value to the reader. Provide insightful information, and practical advice, or entertain them with your unique perspective.
✔Write with Clarity and Conciseness
Aim for clear, concise writing that’s easy to understand.
✔Proofread and Edit
Typos and grammatical errors can undermine your professionalism. Use tools like Grammarly to identify spelling errors and detect plagiarism.
Remember, your first blog post might be challenging. The key is to start creating, get your voice out there, and learn from the process. Your content will naturally evolve and improve as you continue writing and engaging with your audience.
Step 6: Install Essential Plugins
Plugins enhance the functionality of your WordPress blog. They can introduce new features, strengthen security, optimize performance, and improve content management. Here are some must-have plugins to consider for your blog:
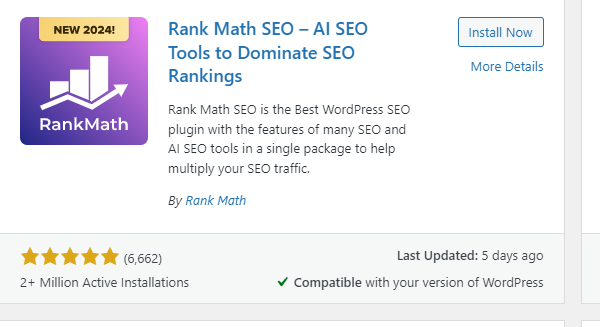
☑SEO Plugins
SEO is crucial for getting your blog discovered online. Plugins like Rank Math can help you optimize your content with relevant keywords, improve readability, and generate XML sitemaps for search engines.
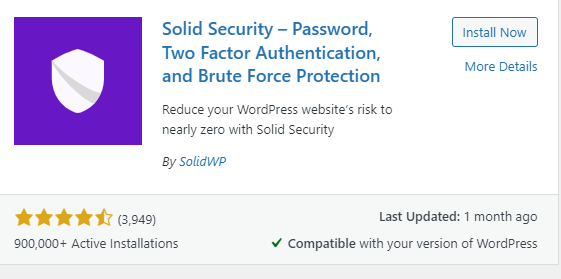
☑Security Plugins
Website security is essential for maintaining a reliable blog. Plugins such as Solid Security and WP Activity Log offer features like two-factor authentication (2FA), activity monitoring, and protection against hackers.
☑Anti-Spam Plugins
To keep your comment section clean and professional, use an anti-spam plugin like Cleantalk or Akismet.
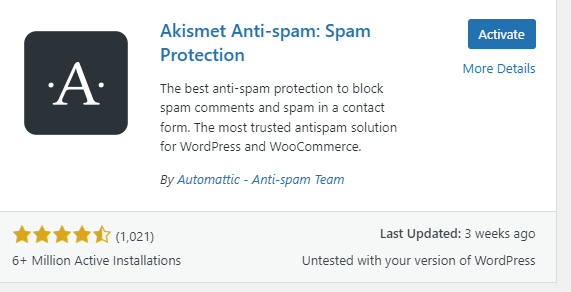
These plugins automatically reduce spam comments, saving you time and effort.
☑Contact Form Plugins
Facilitate easy communication with your readers by using a contact form plugin. WP Forms, for example, provides a simple drag-and-drop editor to build various forms, including registration, login, and contact forms.
☑Image Optimization Plugins
Images are great for visual storytelling but can slow down your website if not optimized. Plugins like EWWW Image Optimizer and ShortPixel
Optimize your images without sacrificing quality, ensuring fast-loading pages and a smoother user experience.
☑Google Analytics Plugins
Track website traffic and analyze visitor behavior with a plugin like MonsterInsights.
Understanding your audience helps you tailor your content and improve the overall effectiveness of your blog.
Step 7: Make money from your blog
After creating a blog that attracts a growing audience, it’s time to start making money from it. Monetizing your blog allows you to turn your passion into profit. One way to do this is by displaying ads on your site. Use advertising plugins like Advanced Ads to easily set up and manage ads from Google Adsense, Amazon Ads, and other platforms.
Another way to monetize your blog is through affiliate marketing. By promoting other companies’ products or services, you can earn a commission for each sale made through your affiliate links. With affiliate marketing plugins like Pretty Links, you can organize your links, customize them, and track their performance with Google Analytics.
Additionally, you can sell digital products, create a membership website, or offer paid services like freelance work to generate income from your blog. Try different monetization strategies to boost your earnings and make the most of your blogging efforts.
Step 8: Promoting Your Blog
01. Utilize Social Media
Establish and maintain social media profiles dedicated to your blog, regularly posting your content to reach a wider audience.
02. Engage with Followers
Promote a sense of community by responding to comments on your blog and social media platforms, encouraging interaction.
03. Collaborate with Fellow Bloggers
Partner with other bloggers in your niche to increase visibility and expand your reach.
Step 9: Maintaining Your Blog
1). Stay Updated
Ensure your WordPress version, themes, and plugins are regularly updated for optimal security and performance.
2). Back Up Your Content
Safeguard your blog by using a backup plugin like UpdraftPlus to routinely save your site’s data.
3). Track Progress
Utilize tools such as Google Analytics to analyze your blog’s performance and make informed decisions for improvement.
Conclusion
WordPress’s blogging journey offers a platform to share your thoughts and ideas with the world. By following these steps, you’ll be able to establish a successful blog. Patience, consistency, and a passion for growth are key as you enjoy the process of developing your online presence.