Domain RegistrationFind and register the perfect domain for your website.
 .COM DomainChoose a widely recognized domain to build global credibility.
 Domain TransferSeamless domain transfers with zero downtime and complete control.
 All TLDsFind and register your perfect domain. Choose from local and global extensions.
 SSL CertificatesKeep your website safe with reliable SSL Certificates that protect customer data and build trust.
 whoisCheck domain ownership details, expiration dates, and registrar information.
 US DomainRegister a .US domain and build trust in the USA.
 Web HostingEverything your website needs to run smoothly
 WordPress HostingWordPress hosting that just works
 Windows HostingReliable hosting for Windows environments
 Reseller HostingTurn hosting into your business
 Email HostingEmail that looks professional and works anywhere
 cPanel HostingFull control of your hosting with cPanel
 Affiliate ProgramJoin as a partner and earn commissions on every referral you send our way.
 Vps HostingScalable virtual servers that expand as you need.
 Dedicated ServersGet complete access and full control over your dedicated physical server.
 Managed vpsNot tech-savvy? We will take care of everything with our fully managed VPS hosting for you.
 AI Website BuilderCreate stunning websites in seconds with AI.
 Online ShopSet up a professional online store. No coding required.
 Web design serviceGet a tailored website designed to match your brand and support your goals.
 BlogFind helpful guides on web hosting, online selling, digital marketing, and more.
 Contact USYou can reach us anytime, day or night, through chat or email.
 SupportBrowse helpful guides and answers for all of our services.
A default Ubuntu install gives you a working system, not a secure one. The gap between those two things is exactly what this guide closes.
Most tutorials stop at the operating system layer. They cover SSH and the firewall, and then they call it done. But a web server carries risks that plain OS hardening never touches.
Skip the hardening step, and the costs pile up fast. A compromised box can mean a blacklisted IP, a ransacked database, or an account hijacked to send spam.
Hosting providers often suspend accounts caught doing this, even when the owner had no idea it was happening.
Think about what’s actually running on a hosting box. There’s a shared IP reputation to protect.
There’s a database full of customer data. There’s an uptime promise you made, whether written into a contract or just expected by users.
Treat this guide as two layers stacked on top of each other. The first layer locks down the operating system. The second layer locks down everything the operating system is hosting.
Step 1: Update the System and Enable Automatic Security Patches
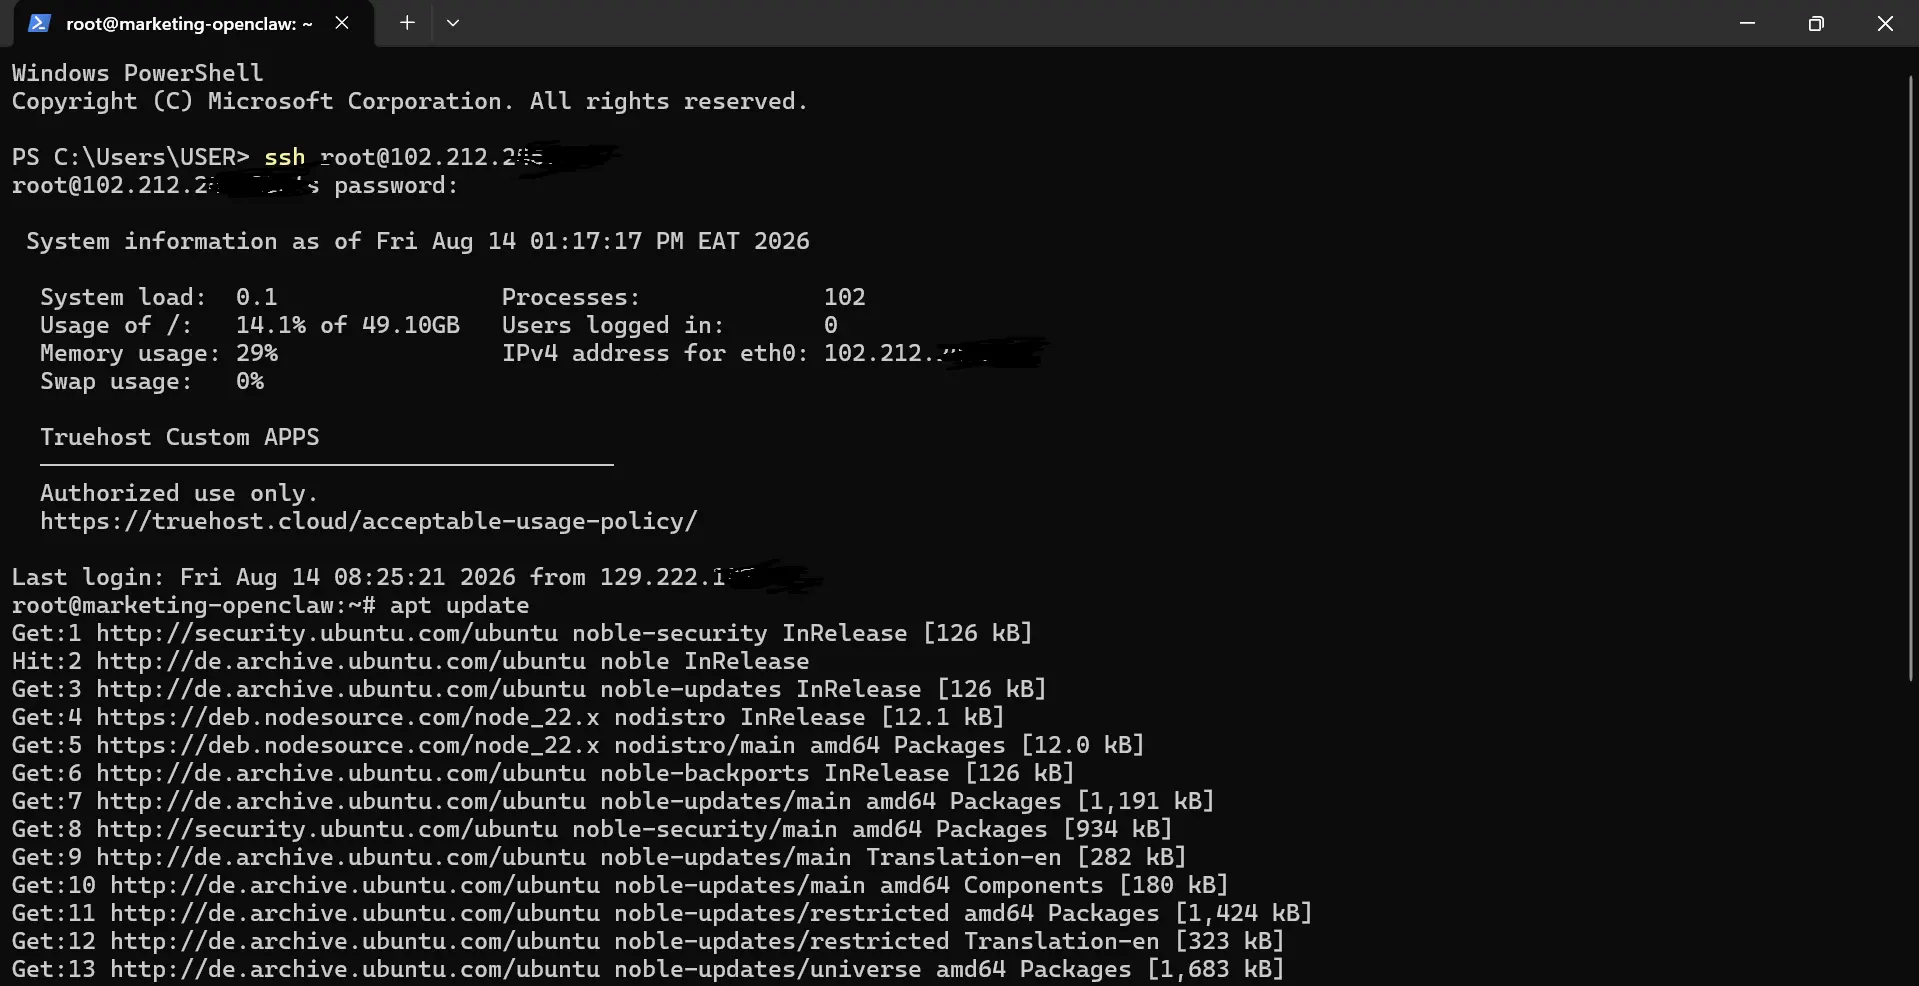
The first command you run on a new server should update its packages. Everything else waits until this step finishes.
sudo apt update && sudo apt upgrade -yA patch released last week won’t help you if your server never installs it. So the next move is to set up automatic updates specifically for security patches.
sudo apt install unattended-upgrades -ysudo dpkg-reconfigure --priority=low unattended-upgradesChoose security-only automatic upgrades rather than full automatic upgrades.
Full upgrades can bump package versions in ways that break a running application without warning. Security patches carry far less risk of that happening.
One thing to keep in mind: unattended upgrades install patches, but they don’t reboot the server for you. Kernel updates need a reboot before they take effect.
Set a reminder to check for pending reboots and handle them during a low-traffic window.
Step 2: Create a Non-Root Sudo User
Running every command as root sounds convenient until one typo takes down the whole server. A dedicated admin user with sudo access limits that risk.
sudo adduser yourusernamesudo usermod -aG sudo yourusernameFollow the prompts to set a password, then confirm the account can actually use sudo before moving forward.
su - yourusernamesudo whoamiIf that returns root, the new user has sudo access working correctly. Keep the original root session open until you’ve confirmed this.
Locking yourself out over a permissions mistake is a common and avoidable mishap.
Step 3: Harden SSH Access
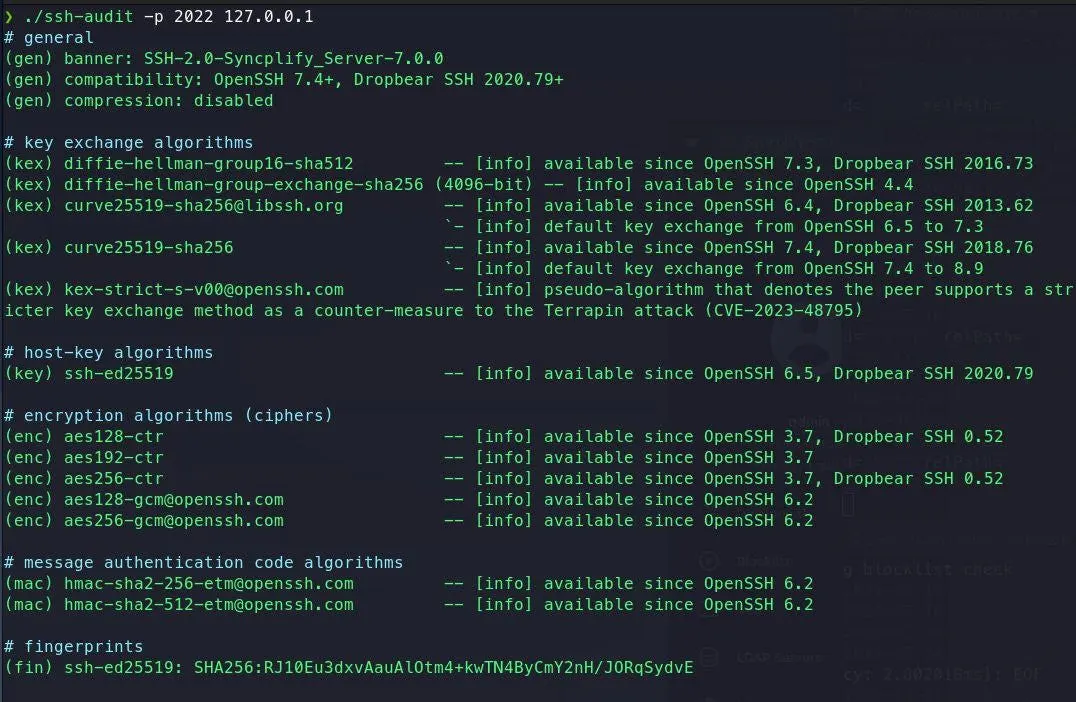
SSH is the front door to your server, so it deserves more attention than any other single setting here.
Start by generating an SSH key pair on your local machine, not the server.
ssh-keygen -t ed25519 -C "[email protected]"ssh-copy-id yourusername@your-server-ipEd25519 keys are fast to generate and hard to brute-force, which makes them the current standard choice over older RSA keys.
Once your key works, edit the SSH configuration file to close off password-based logins entirely.
sudo nano /etc/ssh/sshd_configSet these values:
PermitRootLogin noPasswordAuthentication noPubkeyAuthentication yesAllowUsers yourusernameDisabling root login means an attacker can’t even attempt to log in as root remotely.
Restricting AllowUsers to specific accounts also blocks any other local user from attempting SSH access.
Changing the SSH port from 22 won’t stop a targeted attacker, but it does reduce the constant noise from automated scanners hammering the default port.
Before restarting the SSH service, open a second terminal window and keep it connected. Test your new configuration in that second session first.
sudo systemctl restart sshIf the second session logs in successfully with your key, you can close the original session. If it fails, you still have your first session open to fix the problem.
Step 4: Configure the UFW Firewall for a Web Server
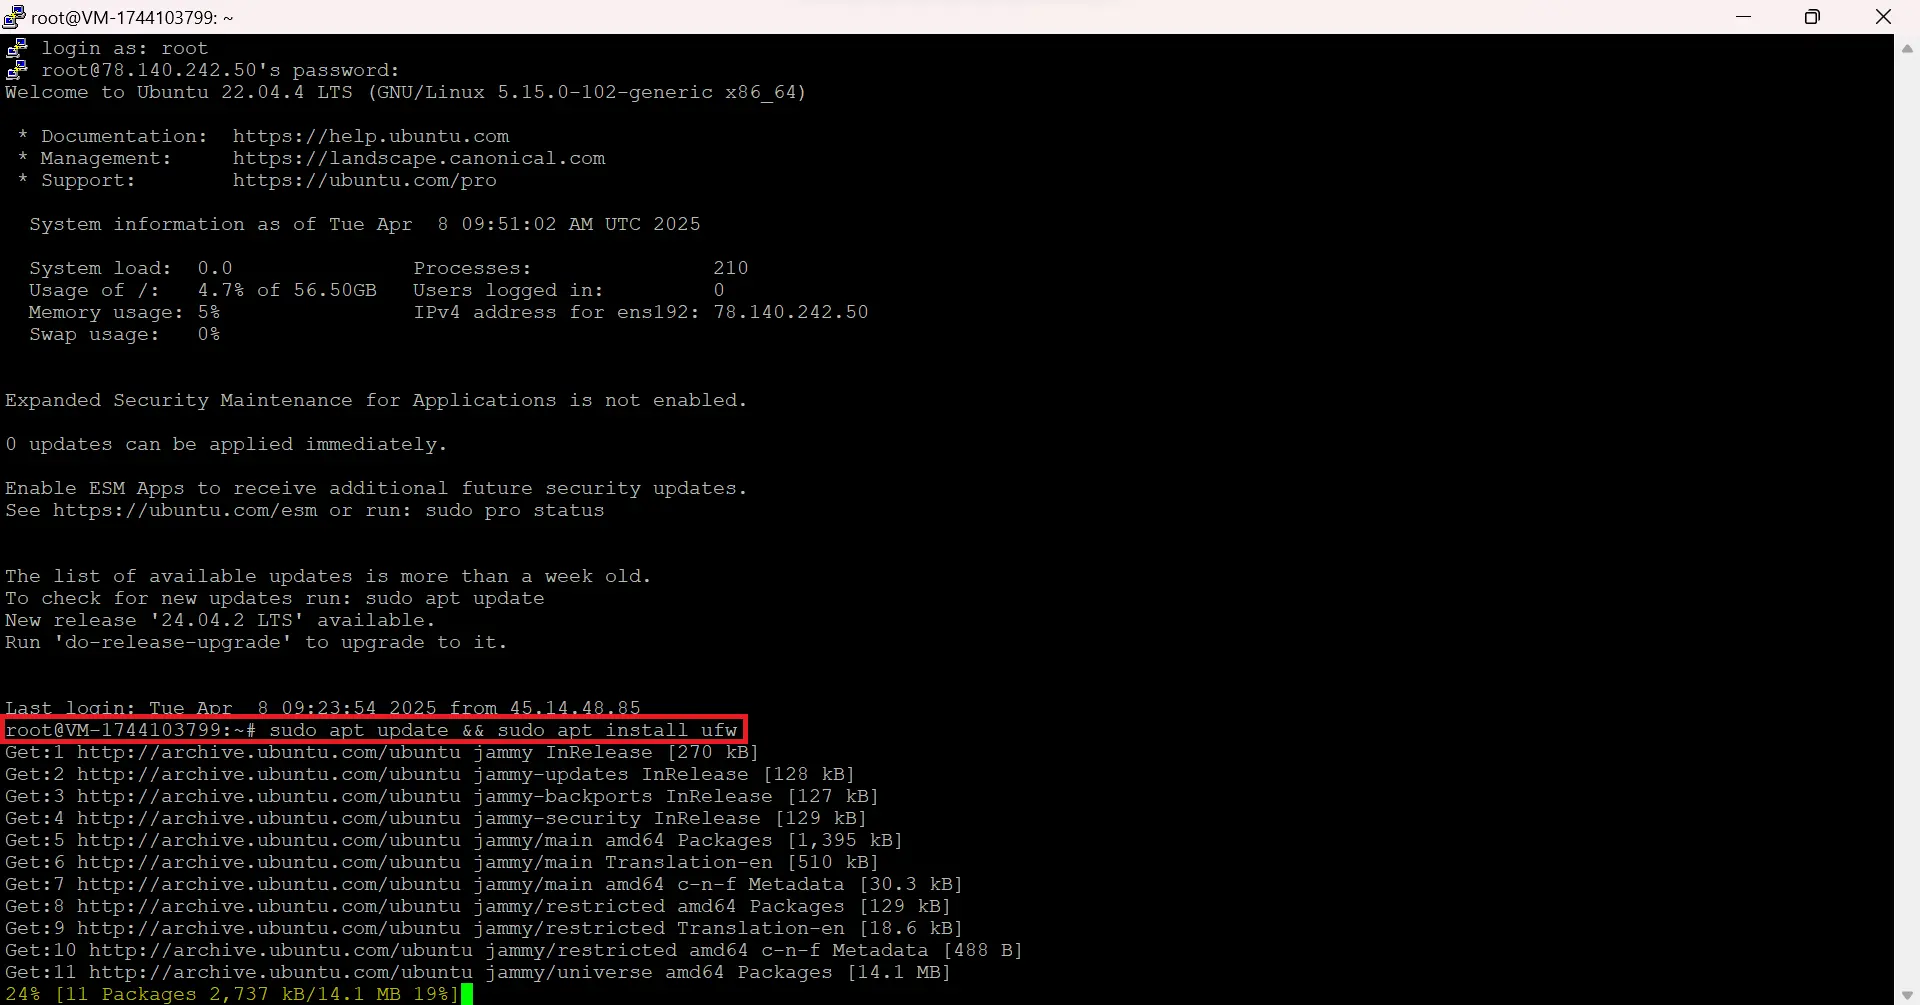
UFW (Uncomplicated Firewall) gives you a simple, readable way to control what traffic reaches your server. Start with a deny-by-default policy.
sudo ufw default deny incomingsudo ufw default allow outgoingNow open only the ports your web server actually needs.
sudo ufw allow 22/tcp comment 'SSH'

sudo ufw allow 80/tcp comment 'HTTP'

sudo ufw allow 443/tcp comment 'HTTPS'

sudo ufw enable
If you changed your SSH port earlier, allow that port number instead of 22. Every port you leave closed is one less thing an attacker can try.
Some hosting setups require additional ports to be open, such as 25 for mail or 3306 for MySQL. Only open what the server genuinely requires, and question every exception before adding it.
Where possible, restrict SSH access to a known IP range instead of leaving it open to anyone.
sudo ufw delete allow 22/tcp

sudo ufw allow from 203.0.113.0/24 to any port 22
This single change removes SSH from public exposure entirely for anyone outside that range.
Step 5: Install Fail2Ban to Stop Brute-Force Attacks
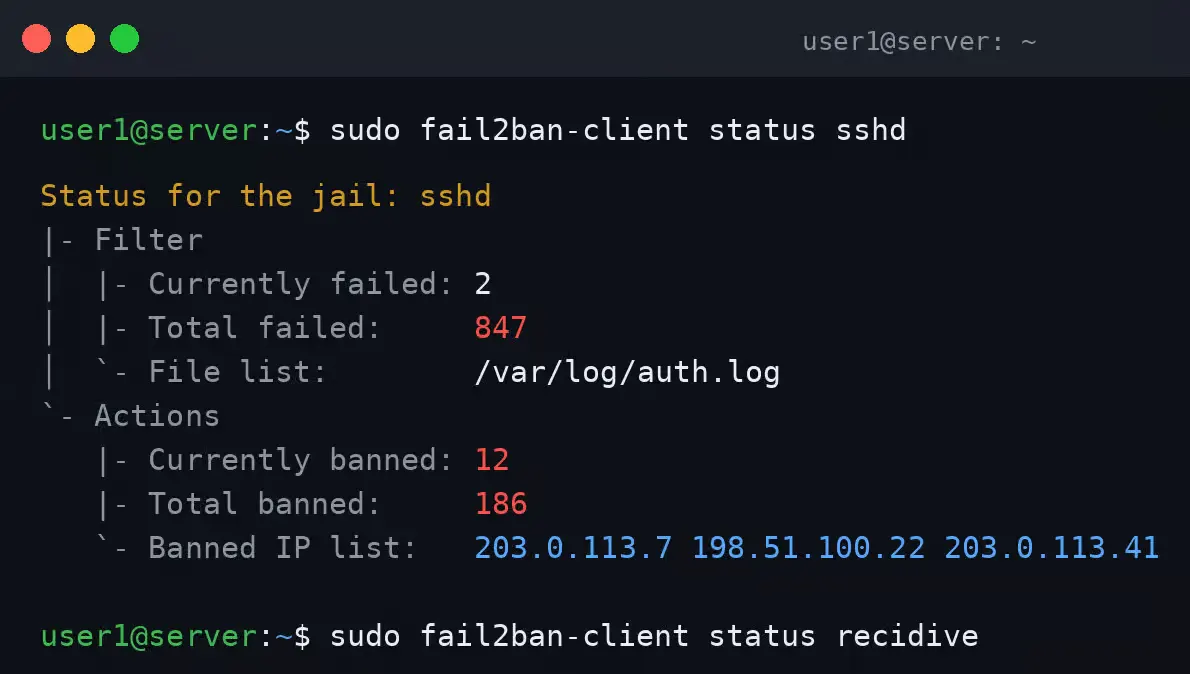
Fail2Ban monitors your logs and bans IP addresses that repeatedly fail login attempts. It won’t stop every kind of attack, but it stops the most common one: automated password guessing.
sudo apt install fail2ban -y

sudo systemctl enable fail2ban

sudo systemctl start fail2ban
The default settings ban an IP after five failed attempts within ten minutes, for ten minutes. That’s a reasonable starting point for most servers.
Since this server hosts websites, extend Fail2Ban beyond SSH protection. A jail for your CMS login page (WordPress’s wp-login.php is a frequent target) catches a whole category of automated attacks that SSH rules never see.
Check that a ban actually works before trusting it.
sudo fail2ban-client status sshdThis shows currently banned IPs and confirms the jail is active and doing its job.
Step 6: Harden the Web Server Itself (Apache/Nginx)
This is where most hardening guides stop, and it’s exactly where a hosting-focused server needs to keep going.
Start by hiding version details that attackers can use to fingerprint your setup. For Apache, edit the security configuration file:
sudo nano /etc/apache2/conf-available/security.conf

ServerTokens Prod

ServerSignature Off
For Nginx, add this to the main config block:
server_tokens off;Next, turn off directory listing so visitors can’t browse folders that lack an index file.
Options -IndexesFile permissions deserve equal attention here. The web server process should be able to read site files but not write to them, unless a specific feature, such as file uploads or caching, genuinely requires it.
A compromised script with write access to everything can do far more damage than one confined to a single folder.
Finally, consider a basic web application firewall like ModSecurity. It won’t catch everything, but it filters out a large share of common exploit attempts before they reach your application code.
Step 7: Secure the Database and Application Layer
A database that listens on a public interface is an open invitation. Bind it to localhost so only the server itself can reach it.
For MySQL, check the bind address setting:

sudo nano /etc/mysql/mysql.conf.d/mysqld.cnf

bind-address = 127.0.0.1
Never expose port 3306 or 5432 externally through your firewall. If a remote database connection is genuinely needed, use an SSH tunnel instead of opening the port directly.
Give each application its own database user with permissions limited to that one database.
This way, if one application gets compromised, the damage stays contained to its own data rather than spreading across every site on the server.
If the server hosts multiple sites, isolate PHP-FPM or other runtime processes per site and per user.
That separation stops one poorly secured site from becoming a path into every other site sharing the same box.
Step 8: Enable TLS/HTTPS Properly
A site without HTTPS loses visitor trust and search visibility both at once. Certbot makes obtaining a free, auto-renewing certificate from Let’s Encrypt quick and easy.
sudo apt install certbot python3-certbot-nginx -y

sudo certbot --nginx -d yourdomain.com -d www.yourdomain.com
Swap python3-certbot-nginx for python3-certbot-apache if you’re running Apache instead.
Certbot also configures automatic renewal, so certificates don’t quietly expire and break your site without warning.
Once HTTPS is active, force every HTTP request to redirect to HTTPS. Certbot usually offers to set this up during installation, and it’s worth accepting.
Step 9: Verify the Hardening Actually Worked
None of the steps above means much unless you confirm they took effect. This is the step most guides leave out entirely.
Check that only your intended ports are open:
sudo ufw status verboseFrom an external machine, scan the server to see what’s actually reachable from outside:
nmap -Pn your-server-ipOnly ports 80, 443, and your SSH port should show up. Anything else needs an explanation or a fix.
Confirm password authentication is truly off by trying to log in with a password from a machine that doesn’t have your SSH key. It should fail outright.
Finally, run your domain through an SSL checking tool to confirm your certificate and cipher settings are configured correctly, not just present.
Step 10: Maintain Security Over Time
Hardening a server once protects it today, not next year. Threats shift, and so should your habits.
Set a recurring reminder to review your firewall rules and installed packages at least every few months. Review sooner after any major change, like adding a new control panel or a mail server.
Check your logs regularly, not only after something goes wrong.
sudo tail -f /var/log/auth.logWatch for repeated failed logins, unfamiliar IP addresses, or login attempts at odd hours.
Rotate SSH keys periodically, and remove access for any user who no longer needs it. An old key still sitting on a former contractor’s laptop is a risk nobody planned for.
FAQs
Should I disable root login on Ubuntu?
Yes. Disabling root login over SSH removes one of the most common paths attackers try first. Use a sudo-enabled user account instead, and reserve root access for local console use only.
Is UFW enough to secure a server, or do I need more?
UFW handles network-level access control well, but it’s only one layer. A fully secured hosting server also needs SSH hardening, Fail2Ban, web server configuration, and database isolation.
Do I need an antivirus on an Ubuntu web server?
Traditional antivirus software isn’t standard practice on Linux servers because the threat model differs from that of desktop malware. A file integrity scanner, such as AIDE or rkhunter, is a more common and useful choice.
How do I know if my Ubuntu server has already been compromised?
Watch for unexpected outbound traffic, unfamiliar processes running under top or ps aux, new user accounts you didn’t create, and sudden spikes in CPU or bandwidth use. Log review catches most of this early.
What’s the difference between hardening and just enabling a firewall?
A firewall controls network traffic, but hardening covers far more ground. It includes user permissions, SSH configuration, patch management, application settings, and log monitoring, all working together.
Secure Your VPS Today
Securing an Ubuntu server for web hosting isn’t a single task you check off and forget. It’s a baseline you build once, then maintain as your setup grows and changes.
Every step in this guide, from SSH keys to database isolation, removes a specific path an attacker could otherwise use. Skipping any one of them leaves that path open.
If maintaining all of this across multiple servers sounds like more than you want to manage by hand, look into hosting plans that build this hardening in by default. That way, the baseline stays covered even as your projects multiply.