Domain RegistrationFind and register the perfect domain for your website.
 .COM DomainChoose a widely recognized domain to build global credibility.
 Domain TransferSeamless domain transfers with zero downtime and complete control.
 All TLDsFind and register your perfect domain. Choose from local and global extensions.
 SSL CertificatesKeep your website safe with reliable SSL Certificates that protect customer data and build trust.
 whoisCheck domain ownership details, expiration dates, and registrar information.
 US DomainRegister a .US domain and build trust in the USA.
 Web HostingEverything your website needs to run smoothly
 WordPress HostingWordPress hosting that just works
 Windows HostingReliable hosting for Windows environments
 Reseller HostingTurn hosting into your business
 Email HostingEmail that looks professional and works anywhere
 cPanel HostingFull control of your hosting with cPanel
 Affiliate ProgramJoin as a partner and earn commissions on every referral you send our way.
 Vps HostingScalable virtual servers that expand as you need.
 Dedicated ServersGet complete access and full control over your dedicated physical server.
 Managed vpsNot tech-savvy? We will take care of everything with our fully managed VPS hosting for you.
 AI Website BuilderCreate stunning websites in seconds with AI.
 Online ShopSet up a professional online store. No coding required.
 Web design serviceGet a tailored website designed to match your brand and support your goals.
 BlogFind helpful guides on web hosting, online selling, digital marketing, and more.
 Contact USYou can reach us anytime, day or night, through chat or email.
 SupportBrowse helpful guides and answers for all of our services.
You built a website. You picked a new host. You are ready to go live.
Then you hit a screen full of settings you have never seen before, and suddenly you’re stuck.
Here’s the truth: changing nameservers feels scary, but it’s one of the simplest technical tasks you will ever do.
It’s not rocket science.
It’s a checklist.
And once you know how to change domain nameservers, you can move hosts, switch DNS providers, or launch a new site in minutes, not days.
What Are Nameservers, Really?
Think of nameservers as your domain’s forwarding address.
They tell the internet exactly where to send visitors when someone types in your web address.
Here’s what people get wrong constantly: changing nameservers does not transfer domain ownership. Your domain stays registered in your name, full stop. You’re only redirecting where its DNS gets managed.
So why would you touch this in the first place?
- You’re switching hosting providers.
- You’re launching a website builder like Wix or Shopify.
- You’re moving your business email to a new host.
- You’re upgrading to a faster, more secure DNS provider.
Whatever your reason, here’s the good news: this process is safe, fast, and totally beginner-friendly when you follow the right steps. Let’s get into it.
Step 1: Find Your New Nameservers
You can’t point your domain anywhere until you have the destination address.
Your new hosting provider hands this to you. No guesswork required.
Check these three places:
- The welcome email they sent when you signed up
- Your new hosting provider’s control panel
- Their support documentation, if you’re still hunting
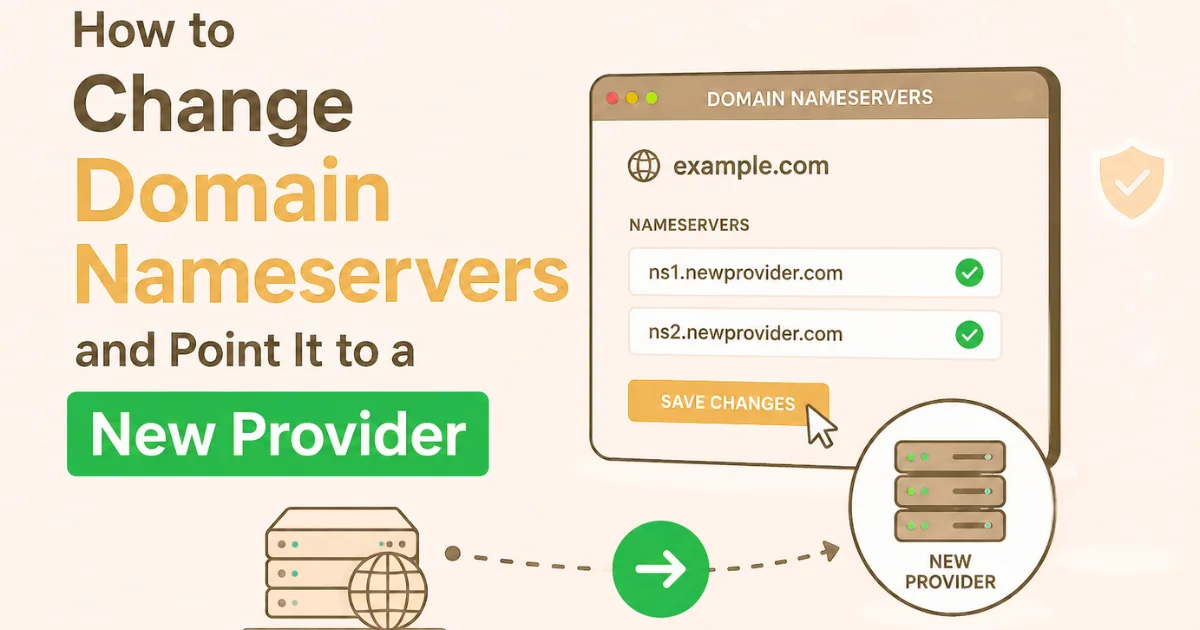
Nameservers usually look like this:
ns1.newprovider.comns2.newprovider.com
Some providers hand you three or four. Copy every single one, exactly as written. One typo here, and nothing else in this guide matters.
Step 2: Log In to Your Domain Registrar
Here’s where people get confused fast: your host and your registrar are not always the same company.
Nameservers live with your domain registrar, the company where you bought your domain name.
Here’s the move:
- Log in to your registrar’s website.
- Open your account dashboard.
- Click Domain Management or My Domains.
- Select the domain you’re updating.
Look for a tab labeled DNS, Nameservers, or Name Server Settings. Every registrar dresses this up differently, but it’s always sitting near your domain’s main settings.
Step 3: Locate the Nameserver Settings
Inside this menu, you’ll see two paths forward.
| Option | What It Actually Does |
|---|---|
| Default Nameservers | Registrar controls your DNS |
| Custom Nameservers | You hand DNS control to a new provider |
Pointing your domain somewhere new? Select Custom Nameservers. That’s your only move.
One critical distinction most beginners miss: if you just need to change a single record, like your MX record for email, don’t touch this section at all. Nameserver changes hand over all your DNS control at once. Save this step for a full provider switch.
Step 4: Replace the Existing Nameservers
This is the moment. Here’s exactly how it goes down.
- Delete the old nameservers sitting in the fields.
- Type in your new nameservers, one per line.
- Scan every character for typos.
- Confirm you’ve entered all the nameservers your provider gave you.
One wrong letter, and your site goes dark. Or worse, your email stops working and nobody tells you until a client complains. Slow down and double-check before moving on.
Step 5: Save Your Changes
You’re almost there. Now lock it in.
- Hit Save, Update, or Apply Changes.
- Confirm through email or a pop-up if your registrar asks.
- Complete any extra verification step.
The update starts working immediately behind the scenes. But the internet doesn’t update all at once. That’s where propagation comes in, and it’s where most beginners start to panic unnecessarily.
Step 6: Wait for DNS Propagation
Here’s what nobody tells you: your update doesn’t go live everywhere instantly, and that’s completely normal.
DNS servers around the world cache your domain’s old information for a set period, known as Time to Live (TTL). Until that cache expires, some visitors still see your old setup.

Typical DNS propagation window: a few minutes up to 48 hours.
So don’t panic if a friend says your new site isn’t loading while it works fine for you. You’re both right. It depends on which DNS servers your ISP is using and where you’re located. This is temporary, expected, and nothing is broken.
Step 7: Verify That the Nameservers Have Updated
Don’t just wait and hope. Check it yourself.
- WHOIS lookup tools reveal the nameservers currently attached to your domain.
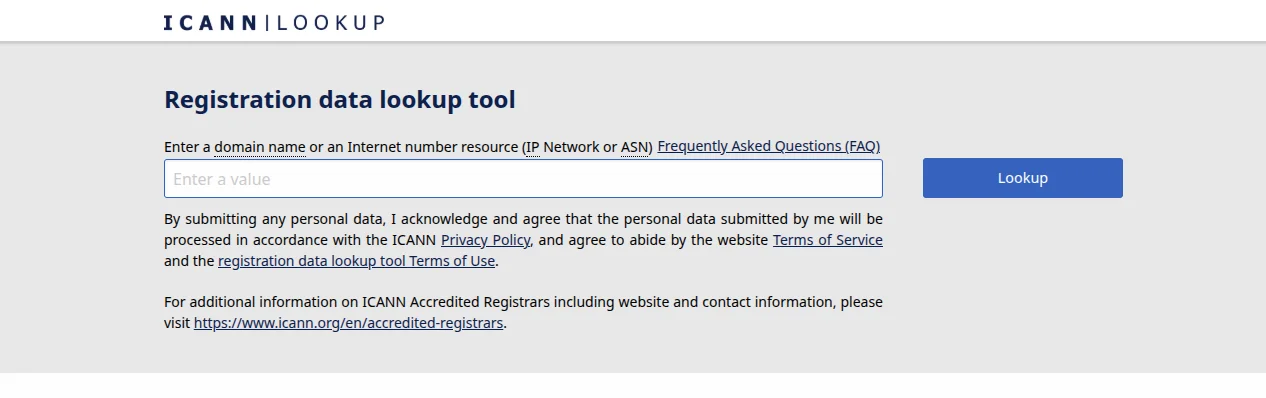
- DNS checker tools show your propagation progress across the globe, city by city.
- Your domain registrar dashboard confirms the change was saved correctly.
Here’s what success looks like: your new nameservers show up consistently across most checker locations, and your site loads correctly from different devices and networks. That’s your green light.
Step 8: Confirm Your Website and Email Are Working
Propagation looks done? Good. Now stress-test everything.
- Website accessibility – does it load clean on desktop and mobile?
- SSL certificate – secure padlock showing, no warnings?
- Business email – can you send and receive without issues?
- Contact forms and services – do forms, chat, and booking tools still fire correctly?
Something broken after 48 hours? Don’t spiral. First, re-check your nameservers for typos. Then confirm your new host has your files and DNS records set up properly on their end. Still stuck? Get your provider’s support team on the phone.
Common Mistakes to Avoid
Small errors here create big headaches later. Here’s what trips people up, and how to dodge each one.
| Mistake | The Fix |
|---|---|
| Entering incorrect nameservers | Copy and paste straight from your provider’s email |
| Editing DNS records instead of nameservers | Only touch nameservers when switching your full DNS provider |
| Forgetting to add all required nameservers | Confirm whether you need two, three, or four |
| Expecting instant updates | Give it up to 48 hours before you worry |
| Skipping a backup of your old DNS records | Screenshot or export everything before you touch anything |
That last one deserves a second look. Back up your existing DNS records, especially MX records, before you change anything. If something looks off later, you’ll thank yourself.
How Long Does It Take for Nameserver Changes to Work?
Most updates land within a few hours. The official ceiling is 48 hours.
What speeds it up or slows it down:
- Your domain’s TTL setting
- How often your ISP refreshes its cache
- How many global DNS servers still need the update
How to track it without losing your mind:
- Run a DNS checker every few hours
- Test your site from different devices and networks
- Check your registrar dashboard for confirmation
Still nothing after 48 hours? That’s your cue to call your registrar or host directly. They can confirm the change landed correctly on their end and troubleshoot from there.
FAQs
What happens when I change my domain nameservers?
Your domain switches to using the DNS records managed by your new provider. That controls where your website and email point, but who owns the domain never changes.
How long does it take for nameserver changes to propagate?
Usually a few minutes to a few hours. Give it up to 48 hours to fully finish spreading across every DNS server worldwide.
Will changing nameservers affect my website or email?
Briefly, yes. Expect some inconsistency while propagation runs. Once it’s done, both should work normally through your new provider.
Can I change nameservers without transferring my domain?
Yes. Nameserver changes only shift who manages your DNS. Your registration and ownership stay exactly where they are.
How do I know if my nameservers have updated successfully?
Run a WHOIS lookup or DNS checker tool to confirm the new nameservers are showing. Your registrar dashboard should confirm it too.
What’s the difference between nameservers and DNS records?
Nameservers decide who manages your domain’s DNS. DNS records, like A records and MX records, are the specific instructions inside that DNS pointing traffic to your website or email server.
Point Your Domain to Your New Hosting Provider with Confidence
Here’s the bottom line: changing domain nameservers is routine once you’ve done it once.
Find your new nameservers. Log in to your registrar. Switch to custom nameservers. Enter everything carefully. Save. Let propagation run its course.
Check your work. Test everything. And if anything feels off, call your host’s support team instead of guessing.
Ready to make the switch without the stress? Truehost makes it easy to register domains, manage DNS, and host your website all under one roof. Whether you’re moving your site with our website migration service, setting up business email, or upgrading your hosting, our team is ready the moment you need us.
Stop Guessing. Start Pointing Your Domain the Right Way.
You’ve got the steps. Now put them to work.
👉 Get started with Truehost hosting, domains, and DNS management today. One dashboard. Zero guesswork. Support whenever you need it.