Domain RegistrationFind and register the perfect domain for your website.
 .COM DomainChoose a widely recognized domain to build global credibility.
 Domain TransferSeamless domain transfers with zero downtime and complete control.
 All TLDsFind and register your perfect domain. Choose from local and global extensions.
 SSL CertificatesKeep your website safe with reliable SSL Certificates that protect customer data and build trust.
 whoisCheck domain ownership details, expiration dates, and registrar information.
 US DomainRegister a .US domain and build trust in the USA.
 Web HostingEverything your website needs to run smoothly
 WordPress HostingWordPress hosting that just works
 Windows HostingReliable hosting for Windows environments
 Reseller HostingTurn hosting into your business
 Email HostingEmail that looks professional and works anywhere
 cPanel HostingFull control of your hosting with cPanel
 Affiliate ProgramJoin as a partner and earn commissions on every referral you send our way.
 Vps HostingScalable virtual servers that expand as you need.
 Dedicated ServersGet complete access and full control over your dedicated physical server.
 Managed vpsNot tech-savvy? We will take care of everything with our fully managed VPS hosting for you.
 AI Website BuilderCreate stunning websites in seconds with AI.
 Online ShopSet up a professional online store. No coding required.
 Web design serviceGet a tailored website designed to match your brand and support your goals.
 BlogFind helpful guides on web hosting, online selling, digital marketing, and more.
 Contact USYou can reach us anytime, day or night, through chat or email.
 SupportBrowse helpful guides and answers for all of our services.
Your AI assistant is only as good as the last time you explained yourself to it. Ask it to run your deploy script, format your reports the way you like, or check on your server the way you always do, and you’ll type out the same instructions again tomorrow, and the day after that. Multiply that by every workflow you care about, and “smart assistant” starts to feel like a very patient intern who forgets everything overnight.
A custom OpenClaw Skill fixes this at the assistant level, the same way solid hosting fixes it at the infrastructure level, by making the thing you set up stay set up.
That’s the whole idea behind a custom OpenClaw Skill.
OpenClaw is already smart, but it doesn’t automatically know your personal workflows, your favorite scripts, or the exact way you like things done. So every single time, you end up repeating the same instructions. That gets old fast, doesn’t it?
The good news is that OpenClaw has a simple fix for this: a custom OpenClaw Skill.
Skills teach the agent how and when to use tools. Each skill is just a directory containing a file called SKILL.md, which has two parts:
- Some YAML frontmatter (a little info card at the top)
- Markdown instructions (plain, easy-to-read text telling the agent what to do)
OpenClaw loads these skills from several different folders, called “roots,” in a specific order, so it always knows which version to trust first.
Sounds simple, right? It really is, once you see it step by step. So, let’s stop talking about it and walk through how to build your very first custom OpenClaw skill, from the very first folder to publishing it for the world to use.
Step I. Create the Skill Directory
Before you can write anything, you need a home for your skill to live in. Think of this folder like a labeled drawer. It keeps everything neat and easy to find later.
Skills live in your workspace skills/ folder. To create your first one, open your terminal and type:
mkdir -p ~/.openclaw/workspace/skills/hello-worldNow, here’s something that will trip you as a beginner: you can absolutely organize your skills into subfolders if you want to keep things tidy. For example, you might sort skills by category, like this:
skills/personal/hello-worldBut here’s the important part: the skill isn’t actually named after the folder path. It’s named after whatever you put in the SKILL.md frontmatter. So even if your skill sits inside a folder called “personal,” it’s still called “hello-world,” and you’d still invoke it using /hello-world. The folder is just for your own organization, nothing more.
Step II. Write SKILL.md
This is the heart of the whole process of creating a custom OpenClaw skill. Every custom OpenClaw skill needs a SKILL.md file, and this one file does two jobs at once.
- First, there’s the frontmatter, which defines the metadata (basically, the skill’s name tag and short description).
- Second, there’s the body, which gives the agent its actual instructions, written in plain markdown.
Here’s a simple example structure.
At the top, you’d have name and description written in YAML frontmatter. Right after that, you’d write markdown instructions, like telling the agent to use the exec tool to run a particular command.
Before you move on, keep these naming rules in mind, because they matter more than they seem:
- Use lowercase letters, digits, and hyphens only for your name field. No capital letters, no spaces.
- Keep the directory name and the frontmatter name aligned with each other, so things stay easy to track.
- Your description is shown directly to the agent, and it also shows up in slash-command discovery. So keep it to one line, and stay under 160 characters. Short and clear beats long and fancy every time.
Once your SKILL.md file is written and saved, your custom OpenClaw skill technically exists. But don’t celebrate just yet. You still need to make sure OpenClaw actually sees it.
Step III. Verify the Skill Loaded
This step is your quick reality check. It’s kind of like checking your email sent successfully before you assume the other person got it.
To see if OpenClaw picked up your new skill, run:
openclaw skills listIf your skill shows up in that list, congratulations. OpenClaw already recognizes it. By default, OpenClaw watches SKILL.md files under your skills folders automatically, so most of the time, changes show up right away. However, if that watcher is turned off, or if you’re continuing a chat session that started before you added the skill, you’ll need to either start a brand-new session or run:
openclaw gateway restartThis makes sure the agent receives the freshest, updated list of everything it now knows how to do.
Step IV. Test It
Now for the fun part. Seeing your new skill in action. There’s nothing quite like watching something you built actually work.
You can test it by running:
openclaw agent --message "give me a greeting"Or, if you’d rather keep things casual, just open a normal chat and ask the agent directly, the same way you’d talk to a person. Either way works fine.
If you want to be extra specific and skip any guesswork, you can also call your skill directly by name, like this:
/skill hello-worldThis tells OpenClaw exactly which skill to run, instead of letting the agent decide on its own.
SKILL.md Reference
Now that you’ve built one custom OpenClaw skill from start to finish, let’s slow down for a second and look closer at what actually goes inside that SKILL.md file.
Required fields
| Field | Description |
|---|---|
| name | Unique slug using lowercase letters, digits, and hyphens |
| description | One-line description shown to the agent and in discovery output |
These two fields are non-negotiable. Without them, your skill simply won’t work correctly.
Optional frontmatter keys
| Field | Default | Description |
|---|---|---|
| user-invocable | true | Expose the skill as a user slash command |
| disable-model-invocation | false | Keep the skill out of the agent’s system prompt (still runs via /skill) |
| command-dispatch | — | Set to tool to route the slash command directly to a tool, bypassing the model |
| command-tool | — | Tool name to invoke when command-dispatch: tool is set |
| command-arg-mode | raw | For tool dispatch, forwards the raw args string to the tool |
| homepage | — | URL shown as “Website” in the macOS Skills UI |
These aren’t required, but they give you finer control over how your skill behaves and how visible it is.
There’s also something handy called {baseDir}. This lets you reference files inside your skill’s own directory without hardcoding a full path every time. For example, instead of typing out a long file path, you could just write:
Run the helper script at {baseDir}/scripts/run.shOpenClaw automatically figures out where that is, based on your skill’s own folder. Handy, right?
Add Conditional Activation (Gating)
Sometimes, you don’t want your skill running everywhere, all the time. Maybe it needs a specific program installed first, or it only makes sense on certain computers. That’s exactly what gating is for.
You can gate a custom OpenClaw skill, so it only loads when its dependencies are actually available, using a metadata.openclaw.requires block inside the frontmatter.
| Key | Description |
|---|---|
| requires.bins | All binaries must exist on PATH |
| requires.anyBins | At least one binary must exist on PATH |
| requires.env | Each env var must exist in the process or config |
| requires.config | Each openclaw.json path must be truthy |
| os | Platform filter: [“darwin”], [“linux”], [“win32”] |
| always | Set true to skip all gates and always include the skill |
Think of gating like a bouncer at a club door. It checks if the right conditions are met before letting your skill in.
There’s also a smart way to handle environment variables and API keys. You can wire an API key to a skill entry inside openclaw.json, under skills.entries.<skill-name>, specifying whether it’s enabled and where the apiKey comes from (its source, provider, and id).
Here’s the reassuring part: that key only gets injected into the host process for that one agent turn. It never reaches the sandbox, which keeps things safer.
Propose via Skill Workshop (Optional Review Path)
Sometimes, you don’t want to write SKILL.md by hand at all, or maybe you’d rather have someone review your idea before it goes live. That’s exactly where Skill Workshop comes in handy.
To propose a brand-new skill, you’d run something like:
openclaw skills workshop propose-create --name "hello-world" --description "..." --proposal ./PROPOSAL.mdIf you’re updating an existing skill instead, the command looks like this:
openclaw skills workshop propose-update hello-world --proposal ./PROPOSAL.md --description "..."If your proposal includes extra support files, use –proposal-dir instead. Just make sure the directory contains a PROPOSAL.md file at its root, with any support files organized under folders like assets/, examples/, references/, scripts/, or templates/.
Once it’s submitted, you (or another reviewer) can check it over and approve it with:
openclaw skills workshop inspect <proposal-id>

openclaw skills workshop apply <proposal-id>
This whole path is optional, but it’s a great safety net, especially for skills you didn’t write entirely by hand yourself.
Publishing to ClawHub
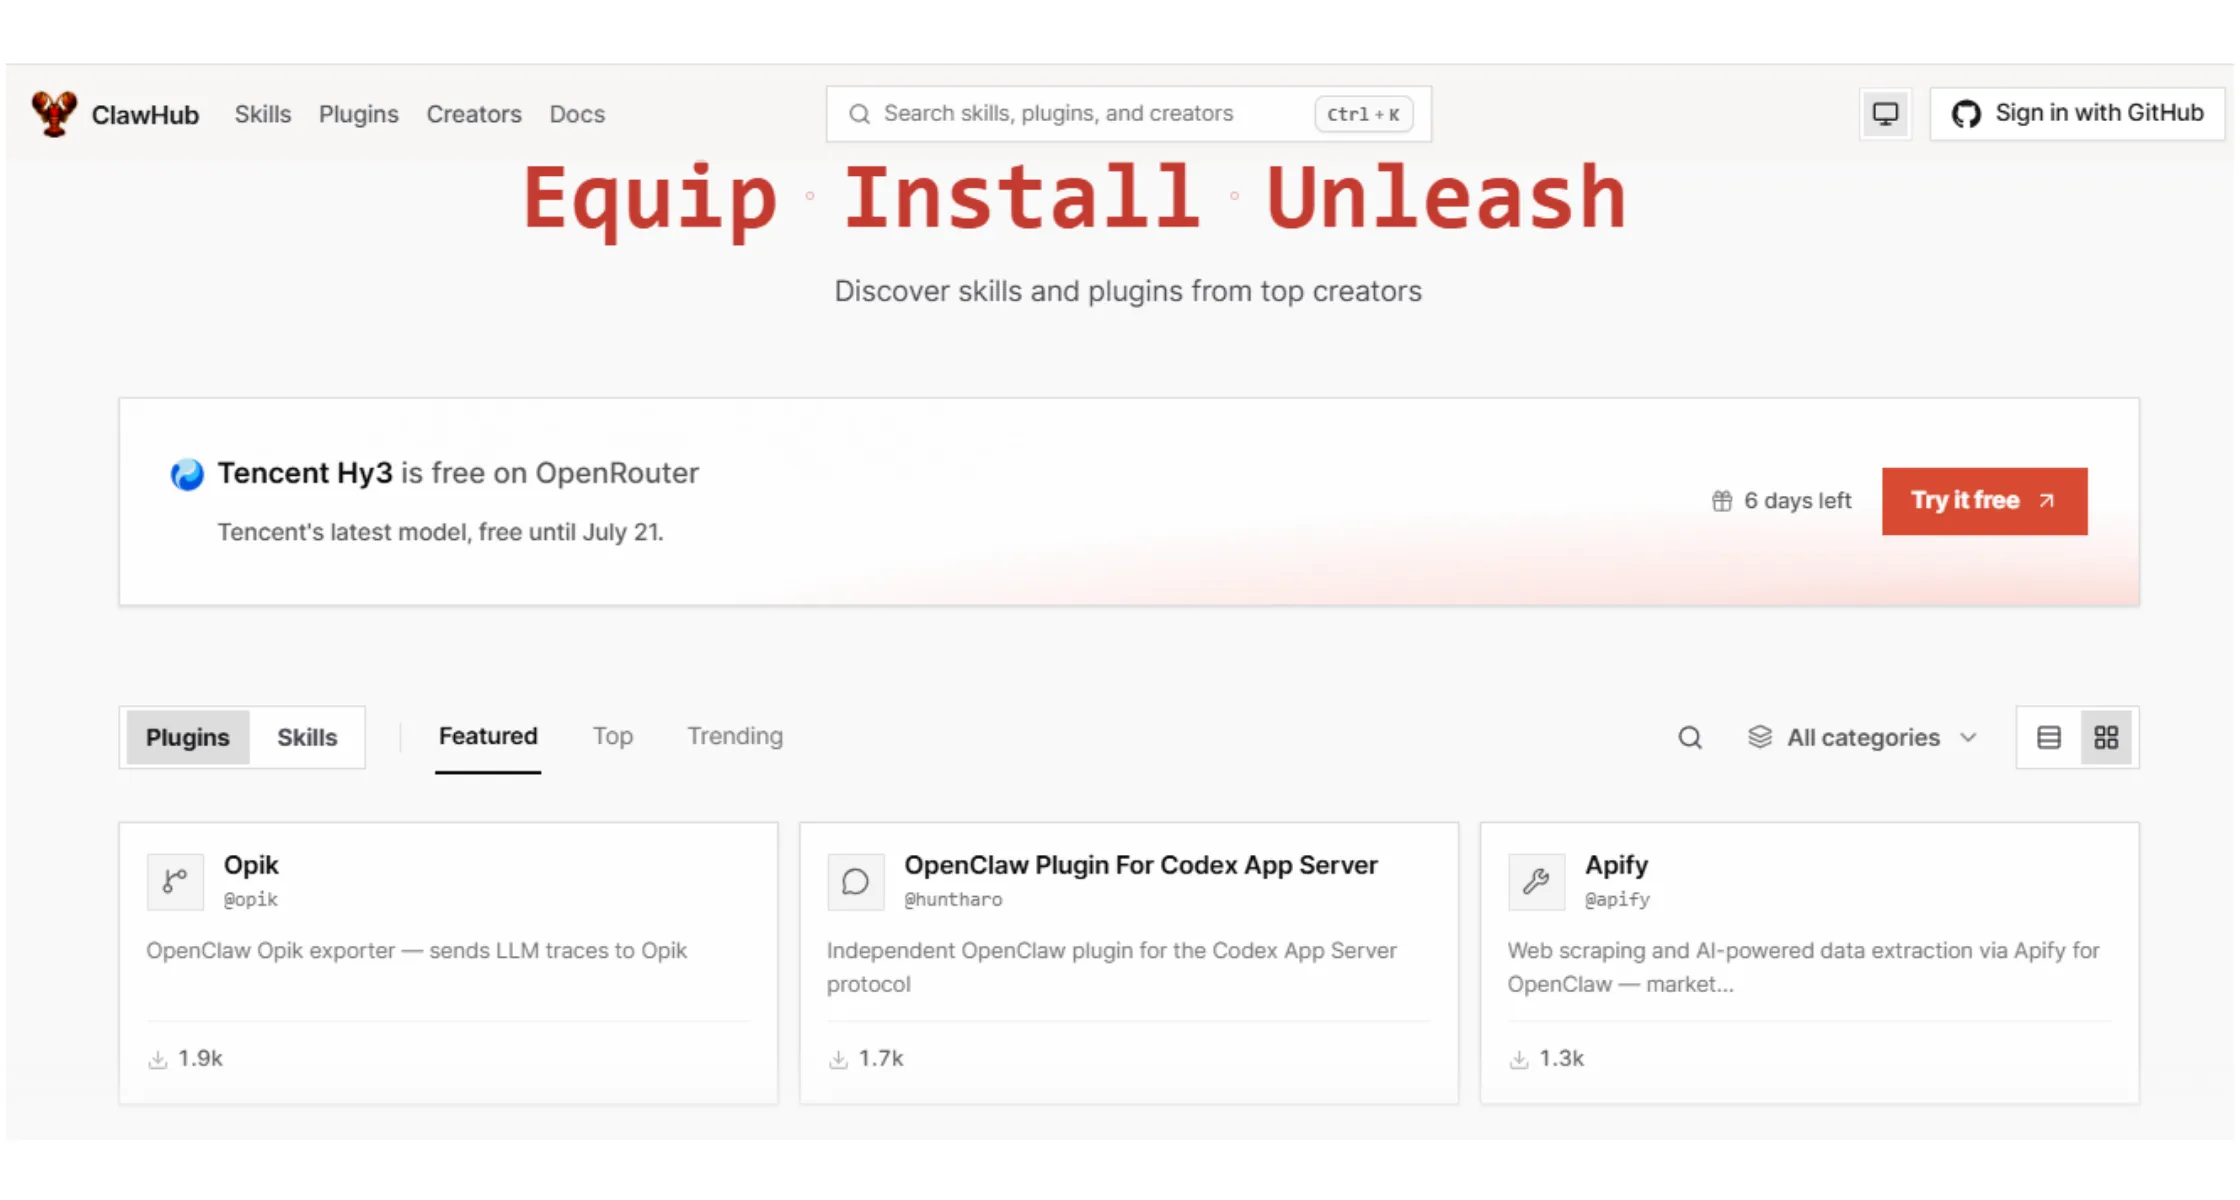
So, you’ve built a custom OpenClaw skill, tested it, and you’re proud of it. Now what if you want to share it with everyone else? That’s what ClawHub is for.
First, make sure your SKILL.md is complete. That means your name, description, and any gating fields are properly set. If you have a project page somewhere, this is also a good time to add a homepage URL.
Next, install the standalone ClawHub CLI and log in:
npm i -g clawhub

clawhub login
Finally, publish your skill:
clawhub skill publish ./path/to/hello-worldIf you want more control, you can add --version <version> or --owner <owner> to override the version OpenClaw would otherwise guess, or to publish it under a specific owner name instead of your default one.
How to Create a Custom OpenClaw Skill Best Practices
Before you go off and build every custom OpenClaw skill under the sun, here are a few golden rules worth remembering:
- Be concise. Instruct the model on what to do, not how to be an AI. It already knows how to think. It just needs your specific direction.
- Safety first. If your skill uses exec (a tool that runs commands), make sure your instructions don’t allow random or untrusted input to sneak in commands it shouldn’t be running.
- Test locally. Always run
openclaw agent --message "..."and check things work before you share your skill with anyone else. - Use ClawHub. Before building something completely from scratch, browse community skills at
clawhub.ai.Someone may have already solved your exact problem.
Create a Custom OpenClaw Skill Troubleshooting Common Errors
| Problem | Likely Cause | Fix |
|---|---|---|
Skill doesn’t appear in openclaw skills list | Skill folder isn’t under a recognized skills/ root, or the directory was created after the current session started | Confirm the path is ~/.openclaw/workspace/skills/<name> (or another valid root), then rerun openclaw skills list |
| Skill appears in the list but the agent never invokes it on its own | disable-model-invocation is set to true in the frontmatter | Remove or set disable-model-invocation: false. The skill will still work via /skill, but won’t be model-invocable until you do |
/skill-name command doesn’t show up as a slash command | user-invocable is set to false | Set user-invocable: true in the frontmatter |
| Changes to SKILL.md aren’t reflected | File watcher is disabled, or you’re continuing an older chat session | Run openclaw gateway restart, or start a fresh session |
| Skill fails to load with a naming error | name field uses capital letters, spaces, or underscores | Use only lowercase letters, digits, and hyphens in the name field |
| Skill loads but description is cut off or missing in discovery | Description exceeds ~160 characters | Shorten the one-line description field |
| Skill doesn’t load on a specific machine but works on another | os platform filter excludes the current OS | Check the os key under metadata.openclaw.requires and confirm it includes the current platform (darwin, linux, win32) |
| Skill silently doesn’t activate even though dependencies seem fine | A required binary isn’t on PATH, or a required env var/config value is missing/falsy | Verify requires.bins, requires.anyBins, requires.env, and requires.config values against your actual environment |
{baseDir} path in instructions resolves incorrectly or file isn’t found | Referenced file doesn’t actually exist inside the skill’s own directory | Double-check the file path is relative to the skill folder, not the workspace root |
| API key isn’t available to the skill at runtime | Key isn’t wired up under skills.entries.<skill-name> in openclaw.json, or the entry is disabled | Confirm the enabled flag and that apiKey source/provider/id are correctly set |
clawhub skill publish fails | Missing required frontmatter fields, not logged in, or version conflict | Confirm name and description are set, run clawhub login again, or pass --version to override |
| Skill proposal via Workshop won’t apply | PROPOSAL.md missing from the proposal directory root, or proposal ID typo | Ensure PROPOSAL.md sits at the top level of --proposal-dir, then recheck the ID with openclaw skills workshop inspect <proposal-id> |
Create a Custom OpenClaw Skill With Ease
And that’s really the whole process of creating a custom OpenClaw Skill, from start to finish. In a nutshell, to build a custom OpenClaw skill, you:
- Create a skill directory
- Write a clear
SKILL.mdfile with the right frontmatter - Verify OpenClaw actually loaded it
- Then test it out for yourself
From there, you can add gating rules to control when it runs, send it through Skill Workshop for review, and publish it to ClawHub so others can benefit from it too. What once felt like a big technical mountain turns out to be a handful of small, friendly steps.
If all of this sounds great, but running your own server and keeping everything online feels like more than you want to manage, you don’t have to do it solo. OpenClaw hosting from Truehost takes care of the uptime, the background processes, and the technical upkeep for you, so you can spend your time actually building your custom OpenClaw skill instead of babysitting a server. Plans start as low as $14.08, making it an easy, affordable way to keep your OpenClaw setup running smoothly around the clock.