
The Cyberpanel is the Ultimate Solution for Professionals.
In terms of features, CyberPanel offers everything that you’d expect from a server control panel including the following:
- Automatic software installer >> for WordPress, Drupal, and some other software.
- ModSecurity >> to protect your server/sites.
- One-click Let’s Encrypt installer for SSL certificates, along with automatic renewals.
- FTP server management.
- Database management >> including phpMyAdmin.
- DNS management >> including a Cloudflare integration.
- Email support >> including webmail powered by Rainloop.
- Automatic backups >> including real-time incremental backups.
- Staging/clone site functionality for WordPress.
- Git deployment to your CyberPanel sites.
- Containerization >> including support for Docker containers.
How to install and access CyberPanel
You can install it on any Ubuntu or Centos VPS or Dedicated server.
You’ll need to install CyberPanel via SSH – you can find the instructions here.
How to access CyberPanel.
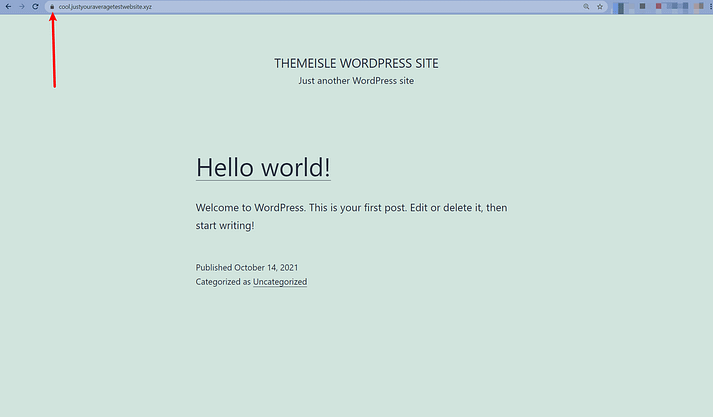
Now you have CyberPanel installed on your Ubuntu or Centos server. To access CyberPanel, you’d first want to point a domain name to your server by creating an A record that points to the Cyberpanel VPS server IP. Or, you can go directly to the server IP address.
If you visit the domain name, you’ll see that LiteSpeed Web Server is working properly, though you’ll get a 404 error for now because you haven’t created a site yet:

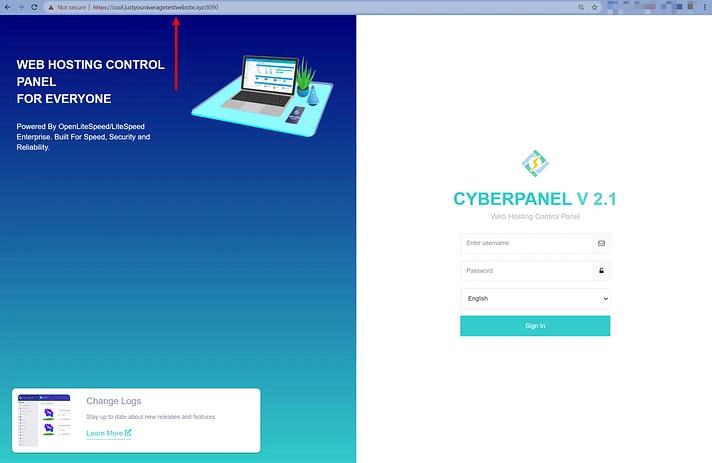
To access your CyberPanel dashboard, append :8090 to the end of your server ip. For example, 123.34.45.67:8090.
If you’re using Chrome, you’ll get an SSL warning. Just open the advanced settings and click to proceed.
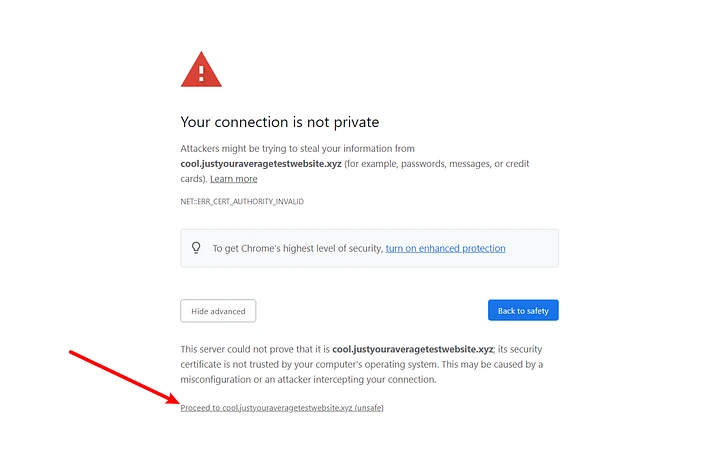
Now, you’ll be prompted to log in to CyberPanel:
So – what’s your CyberPanel username and password?
Well, if you installed CyberPanel via SSH, the default access credentials are as follows:
- Username:
admin - Password:
1234567
How to use the CyberPanel dashboard
CyberPanel’s user interface isn’t always the most user-friendly but has plenty of functionalities.
Once you get the hang of it, you should have no issues.
How to create a website
To create a new website with CyberPanel, you head to Websites → Create Website:
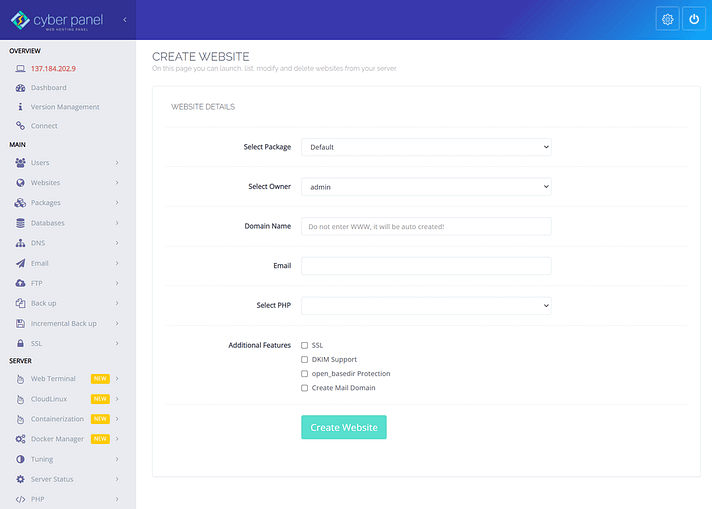
If you check the SSL box, CyberPanel will automatically install an SSL certificate for the site from Let’s Encrypt, which is convenient. CyberPanel should automatically renew the SSL certificate every three months.
Once you set up your website, you can open its settings to install WordPress on it using the application installer. CyberPanel will also install LSCache along with WordPress, which lets you take advantage of LiteSpeed Web Server’s caching:
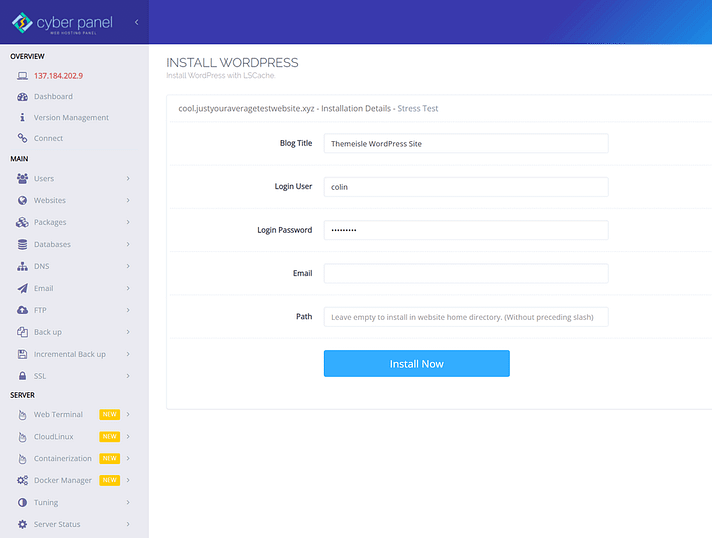
You can also install other applications such as Drupal – you aren’t limited to WordPress only.
And that’s it – you now have a working WordPress site powered by LiteSpeed Web Server and CyberPanel. You can see that the SSL certificate is also working properly:
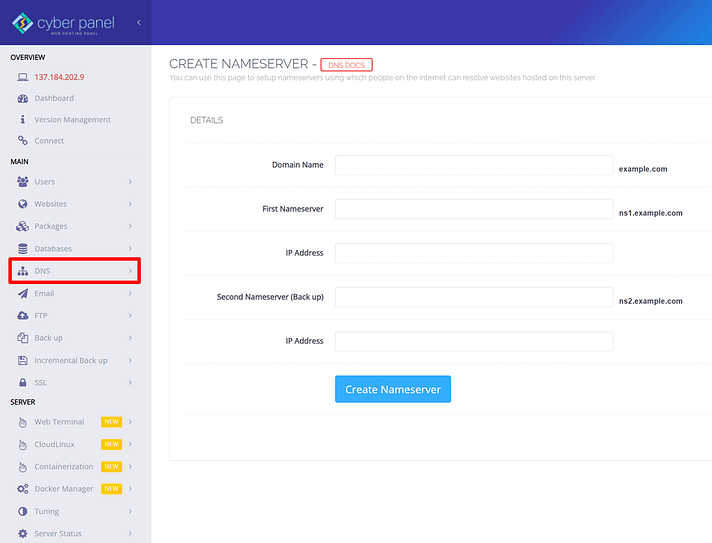
How to manage DNS
CyberPanel gives you two ways to manage DNS:
First, it ships with its own DNS server that you can use to create nameservers and manage records:
Second, there’s a DNS sync option to let you integrate with Cloudflare. With this, you can use Cloudflare to manage your DNS while still syncing local records to Cloudflare. This is convenient because it means you won’t need to manually apply DNS changes in both CyberPanel and Cloudflare.
How to manage FTP accounts and databases
To manage FTP accounts, you can head to the FTP tab.
For databases, you go to the Database tab. To work with databases, CyberPanel includes phpMyAdmin, along with a convenient auto-login feature that lets you log in to phpMyAdmin just by clicking a link.
CyberPanel pros and cons
To finish out our CyberPanel review and tutorial, let’s look at the pros and cons.
Pros:
It uses LiteSpeed Web Server, which is rare in a server control panel. Most other panels are only for Apache or Nginx and/or don’t offer native LiteSpeed support.
It’s free and open source. If you’re ok with OpenLiteSpeed you get unlimited usage at no cost.
It gives you all of the core features that you need to manage sites/servers, along with useful features such as WordPress staging sites and site cloning.
Cons:
The interface/user experience is not as nice as some other popular tools, especially SaaS server control panels.
It can have issues with bugs, especially around new releases. It’s generally a good idea to wait before applying updates.

Leave A Comment?