
There are situations where you may need to upload your own custom operating system. VPS provided by Truehost allow to do so. To upload your custom OS, follow the steps below
1. Login to your client area in the link below.
https://truehost.co.ke/cloud/clientarea.php
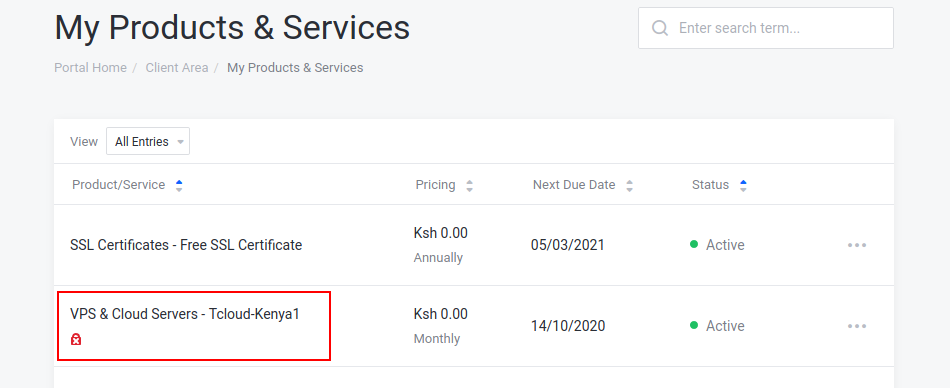
2. Navigate to Services >> My Services
3. Click on your VPS Service
- On your left, click End User Panel under Virtualizor.
- Click ISO then Add ISO
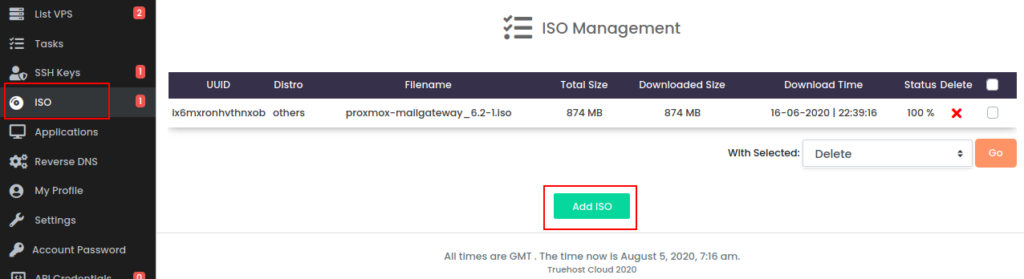
6. At this point, you need to upload your ISO Image on a public URL. There are many websites that provide the services to upload an item and share an upload lonk. One such site is https://plik.root.gg
7. Once you obtain your upload link, copy it under ISO URL field. Then fill in an ISO Name.
8. Click Add ISO. Give it some time for the upload to complete.
Once uploaded your ISO is available for use. To install it, follow the steps below
9. Go to Settings the Settings again.
10. On the Boot Order section, select option 2, which has 1)CD Drive 2) Hard Disk
11. Under ISO for secondary CDROM, select your uploaded ISO Image then click Submit

After you receive a success message, Restart your server and connect to it via VNC.
12. On the modal opened, click Launch HTML VNC to open the VNC portal via your browser. You will get a screen where you can now proceed with the ISO installation.

Leave A Comment?