Domain RegistrationFind and register the perfect domain for your website.
 .COM DomainChoose a widely recognized domain to build global credibility.
 Domain TransferSeamless domain transfers with zero downtime and complete control.
 All TLDsFind and register your perfect domain. Choose from local and global extensions.
 SSL CertificatesKeep your website safe with reliable SSL Certificates that protect customer data and build trust.
 whoisCheck domain ownership details, expiration dates, and registrar information.
 US DomainRegister a .US domain and build trust in the USA.
 Web HostingEverything your website needs to run smoothly
 WordPress HostingWordPress hosting that just works
 Windows HostingReliable hosting for Windows environments
 Reseller HostingTurn hosting into your business
 Email HostingEmail that looks professional and works anywhere
 cPanel HostingFull control of your hosting with cPanel
 Affiliate ProgramJoin as a partner and earn commissions on every referral you send our way.
 Vps HostingScalable virtual servers that expand as you need.
 Dedicated ServersGet complete access and full control over your dedicated physical server.
 Managed vpsNot tech-savvy? We will take care of everything with our fully managed VPS hosting for you.
 AI Website BuilderCreate stunning websites in seconds with AI.
 Online ShopSet up a professional online store. No coding required.
 Web design serviceGet a tailored website designed to match your brand and support your goals.
 BlogFind helpful guides on web hosting, online selling, digital marketing, and more.
 Contact USYou can reach us anytime, day or night, through chat or email.
 SupportBrowse helpful guides and answers for all of our services.
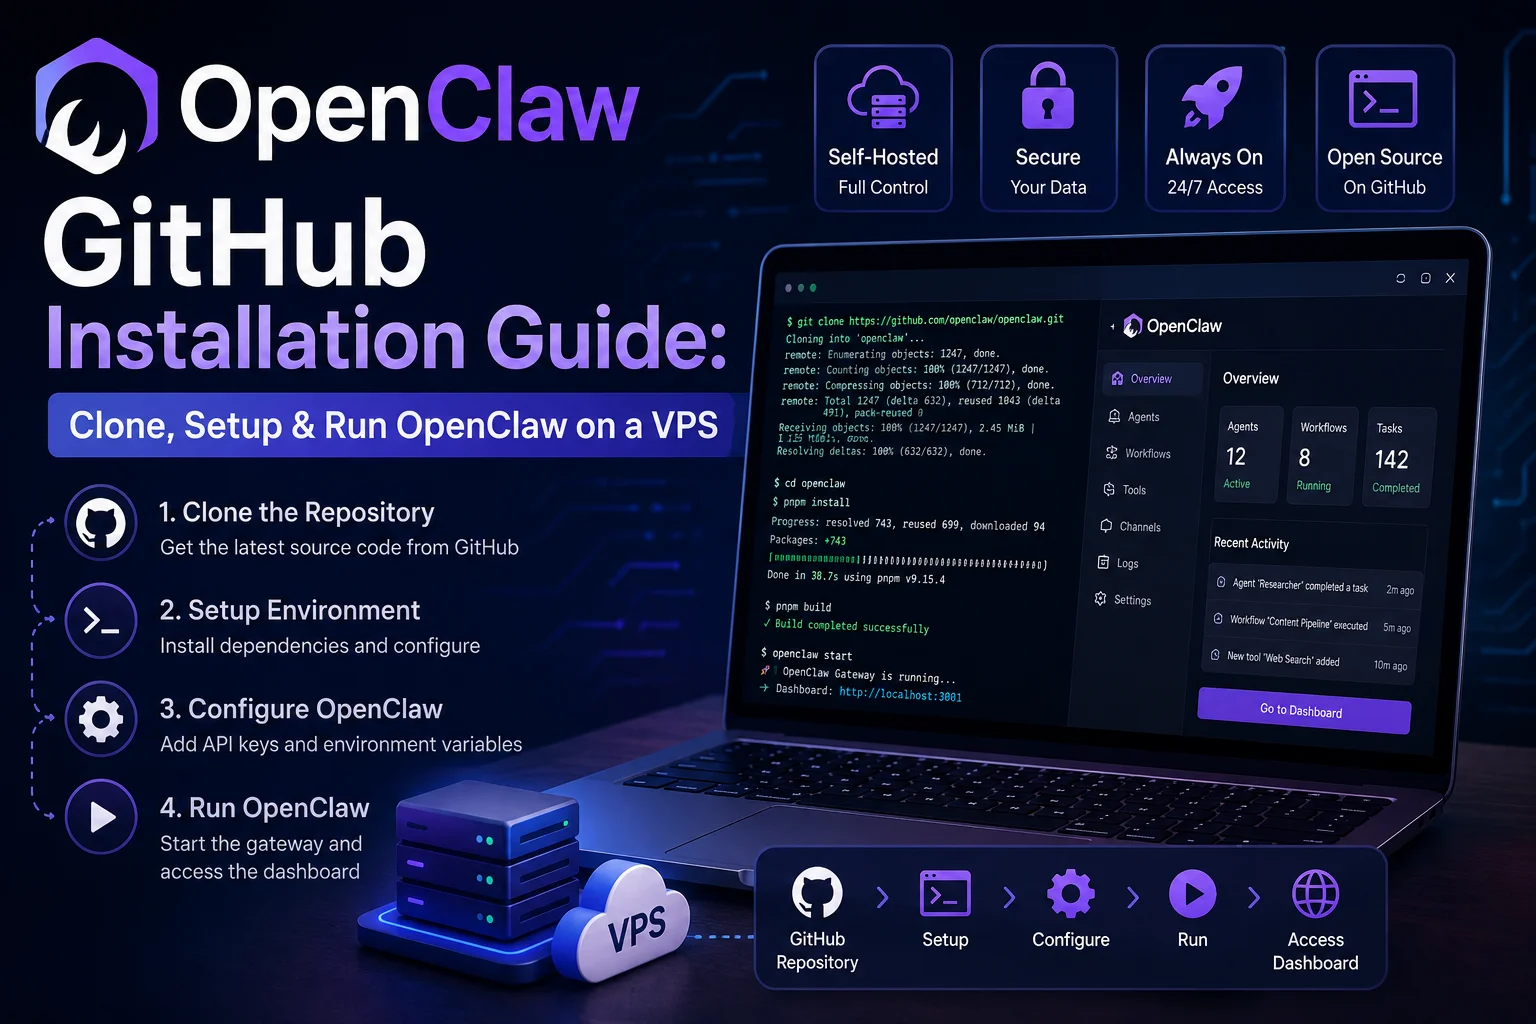
Getting OpenClaw up and running doesn’t have to be complicated. With the right setup, you can go from cloning the GitHub repository to running your own AI automation platform in less than an hour.
Whether you’re testing OpenClaw on your local machine or deploying it on a VPS for 24/7 availability, this OpenClaw GitHub installation guide walks you through every step. You will learn how to clone the repository, install dependencies, configure the platform, launch the gateway, troubleshoot common issues, and prepare your installation for production.
By the end of this guide, you will have a fully functional OpenClaw installation with a working gateway, an accessible dashboard, and the knowledge to keep it running reliably on your own infrastructure.
If you don’t already have a server, you can deploy OpenClaw on a reliable VPS with Truehost. A VPS keeps your AI agents online around the clock, even when your computer is turned off.
Prerequisites
System Requirements
OpenClaw runs on modest hardware, but a few baseline requirements keep the gateway stable.
- Hardware: 1 vCPU and 1GB RAM minimum for a single-user gateway; 2GB+ RAM recommended for Docker builds
- Operating systems: macOS, Linux, and Windows are all supported
- Node.js: version 24.15+ recommended, with 22.22.3+ or 25.9+ also supported
- Package manager: npm, pnpm, or bun all work for a global CLI install; pnpm is required for source checkouts
- Terminal: any standard shell (bash, zsh, or PowerShell on Windows)
Verify Your Environment
Check your Node.js version before installing anything
node -vIf Node.js is missing or outdated, install it from nodejs.org or a version manager like nvm.
Install pnpm if you plan to build from source.
npm install -g pnpmConfirm Git is available, since you’ll need it to clone the OpenClaw GitHub repository.
git --versionClone the OpenClaw GitHub Repository
Clone the repository
Cloning from OpenClaw GitHub gives you the full source, useful if you want to customize the codebase or contribute back.
git clone https://github.com/openclaw/openclaw.gitNavigate to the project directory
cd openclawUnderstand the project structure
A few folders matter most for setup and configuration.
| Folder/File | Purpose |
|---|---|
src/ | Core gateway and CLI source code |
extensions/ | Bundled channel and skill plugins |
config/ | Default configuration templates |
docs/ | Full documentation source |
.env.example | Template for environment-based secrets |
Dockerfile / docker-compose.yml | Docker install files |
Install OpenClaw
Most users don’t need a source checkout at all. If you just want the CLI, skip straight to the global install.
Install dependencies
For a source checkout, this repository is a pnpm workspace, so use pnpm rather than npm.
pnpm installBuild the application
bash
pnpm build
pnpm ui:build
Link OpenClaw globally
If you’d rather skip building from source, install the published package directly.
bash
npm install -g openclaw@latestRun the onboarding wizard
This is the core of any OpenClaw installation, whether from source or npm.
openclaw onboard --install-daemonThe wizard walks you through gateway setup, workspace creation, channel connections, and skill selection. The --install-daemon flag also installs a background service (systemd on Linux, launchd on macOS) so OpenClaw keeps running after you close the terminal.
Configure OpenClaw
Create the initial configuration
Onboarding writes a configuration file automatically. You can also edit it directly.
~/.openclaw/openclaw.jsonA minimal config looks like this:
json
{
  "agents": {
    "defaults": {
      "model": "<provider>/<model-id>"
    }
  }
}
Configure AI provider API keys
OpenClaw supports Anthropic, OpenAI, Google Gemini, xAI Grok, OpenRouter, GitHub Copilot, MiniMax, and any OpenAI- or Anthropic-compatible endpoint. Add keys through the onboarding wizard, or set them as environment variables.
Configure the gateway
The gateway defaults to loopback binding for security, meaning only your local machine can reach it. Change this only if you understand the security trade-offs of exposing it more broadly.
Configure the workspace
Your OpenClaw configuration includes a workspace root where the agent stores files and context.
~/.openclaw/workspaceThis path is configurable via agents.defaults.workspace if you’d rather store it elsewhere.
Configure optional environment variables
Use environment variables instead of hardcoding values whenever a setting is sensitive (API keys, gateway tokens) or changes between environments (development vs. production). Store them in a .env file at the project root, based on .env.example.
Launch OpenClaw
Development mode
Use this while actively editing source code, since it auto-reloads on changes.
bash
pnpm gateway:watchProduction mode
For a standard install, start the gateway service directly.
bash
openclaw gateway startStart background services
The onboarding wizard’s --install-daemon flag already sets this up, keeping the gateway running as a persistent background service. Use this for any long-running deployment, including a VPS.
Verify Your Installation
Run diagnostics
bash
openclaw doctorThis checks your configuration, dependencies, and channel setup for common issues.
Check gateway status
bash
openclaw gateway statusExpected output confirms the gateway is running and shows its port, typically 18789.
Verify daemon status
If you installed the background service, openclaw gateway status also reflects its state. On Linux, you can cross-check with systemd directly.
bash
systemctl --user status openclaw-gateway.serviceTest the dashboard
bash
openclaw dashboardThis opens the Control UI in your browser.
Run your first AI request
bash
openclaw agent --message "Hello from OpenClaw" --thinking highA successful response confirms your provider API key and model configuration are working correctly.
Access the OpenClaw Dashboard
Default dashboard URL
By default, the OpenClaw dashboard is available at:
http://127.0.0.1:18789Dashboard overview
- Agents: manage your configured agents and their assigned models
- Channels: view and connect messaging platforms like Telegram, Slack, or Discord
- Logs: review gateway activity and troubleshoot errors
- Configuration: edit settings without touching the JSON file directly
Change the default dashboard port
Update the gateway’s bind and port settings in openclaw.json, then restart the gateway for the change to take effect.
Deploy OpenClaw on a VPS
Why use a VPS
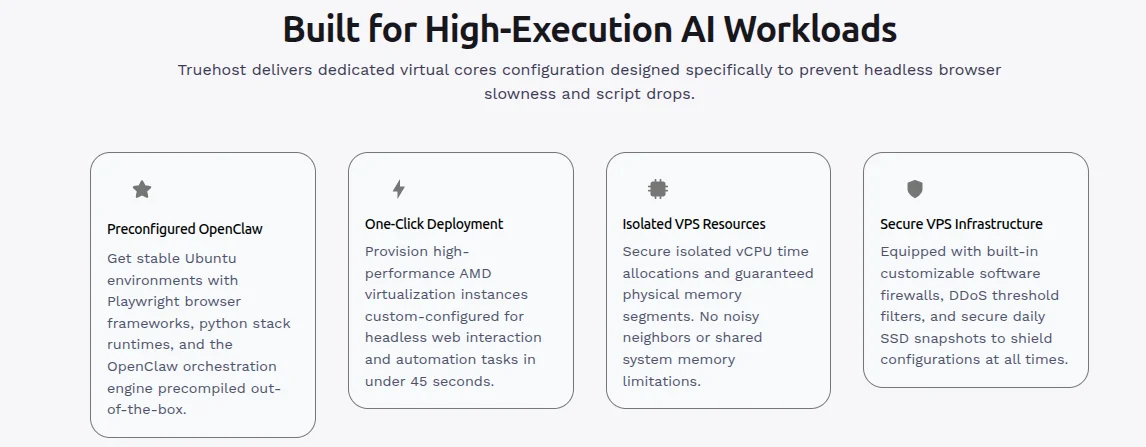
A VPS keeps OpenClaw running continuously, independent of your personal laptop or desktop uptime. This matters if you’re connecting messaging channels that need to respond around the clock. If you’d rather skip the server setup entirely, Truehost OpenClaw Hosting provisions a ready-to-run gateway on infrastructure built for this exact workload.
Install on Ubuntu
The same install commands from earlier apply directly on an Ubuntu server.
bash
curl -fsSL https://openclaw.ai/install.sh | bash
openclaw onboard --install-daemon
Install on macOS
If you’re testing locally before deploying to a VPS, macOS uses the same install script as Linux.
bash
curl -fsSL https://openclaw.ai/install.sh | bash
openclaw onboard --install-daemon
The --install-daemon flag sets up a launchd service, so the gateway keeps running in the background even after you close the terminal.
Install on Windows
Windows uses a dedicated PowerShell install script instead of the shell script.
powershell
iwr -useb https://openclaw.ai/install.ps1 | iexRun onboarding the same way once the install finishes.
powershell
openclaw onboard --install-daemonWindows also has a native Hub companion app if you’d rather manage the gateway through a desktop interface instead of the termin
Configure the firewall
Only open the ports you actually need. If you’re accessing the dashboard through an SSH tunnel or Tailscale, you don’t need to open the gateway port publicly at all.
bash
sudo ufw allow OpenSSH
sudo ufw allow 443/tcp
sudo ufw enable
Configure Nginx or Caddy as a reverse proxy
If you want a public URL for the dashboard, put a reverse proxy in front of the gateway rather than exposing port 18789 directly.
nginx
server {
    listen 80;
    server_name yourdomain.com;

    location / {
        proxy_pass http://127.0.0.1:18789;
        proxy_set_header Host $host;
        proxy_set_header X-Real-IP $remote_addr;
    }
}
Caddy handles this with less configuration:
yourdomain.com {
    reverse_proxy 127.0.0.1:18789
}
Enable HTTPS using Let’s Encrypt
With Nginx, Certbot automates certificate issuance and renewal.
bash
sudo certbot --nginx -d yourdomain.comCaddy issues and renews HTTPS certificates automatically, with no extra command needed.
Run OpenClaw as a systemd service
The onboarding wizard installs this automatically when you use --install-daemon. To review or edit the unit file:
bash
systemctl --user edit openclaw-gateway.serviceAutomatically restart OpenClaw after a reboot
Enable the service so it starts on boot without manual intervention.
bash
systemctl --user enable openclaw-gateway.serviceFor extra resilience on small VMs, set explicit restart behavior in the unit override:
ini
[Service]
Restart=always
RestartSec=2
TimeoutStartSec=90
Running this whole setup on dependable infrastructure matters more than any single config file. Truehost OpenClaw Hosting is built specifically for this kind of always-on gateway, so you skip the manual server tuning and get straight to configuring your agent.
Common Installation Errors
| Error | Fix |
|---|---|
| Incorrect Node.js version | Install Node 24.15+, 22.22.3+, or 25.9+; check with node -v |
| pnpm installation failures | Reinstall with npm install -g pnpm and retry |
| Dependency conflicts | Delete node_modules and lockfile artifacts, then reinstall |
| Missing API keys | Re-run openclaw onboard to add provider credentials |
| Gateway startup failures | Run openclaw doctor to surface the specific misconfiguration |
| Port already in use | Change the gateway port in openclaw.json, or stop the conflicting process |
| Permission errors | Check ownership of ~/.openclaw; avoid mixing root and user installs |
| Build failures | Confirm you’re using pnpm (not npm) for source builds, and that Node meets the minimum version |
Security Best Practices
- Protect the dashboard. Keep the gateway on loopback and access it through an SSH tunnel or Tailscale rather than exposing it publicly.
- Secure API keys. Store them as environment variables or in the encrypted auth-profile store, never hardcoded in source files.
- Restrict agent permissions. Use sandboxing for non-main sessions, especially in group or multi-user channels.
- Configure firewall rules. Only open ports you actively need; keep the gateway port closed to the public internet where possible.
- Store secrets using environment variables. This keeps sensitive values out of version control and config files you might share.
- Keep dependencies updated. Outdated packages are one of the most common sources of vulnerabilities in any self-hosted tool.
Updating OpenClaw
Update a GitHub installation
bash
git pull
pnpm install
pnpm build
Update a CLI installation
bash
openclaw updateSwitch release channels if needed:
bash
openclaw update --channel stableVerify the update completed successfully
bash
openclaw doctorRun this OpenClaw update guide step every time, since it catches migration issues before they become runtime errors
Managing Your Installation
- View logs: check the Logs tab in the dashboard, or tail the gateway’s log output directly
- Restart services:
openclaw gateway stopfollowed byopenclaw gateway start - Stop OpenClaw:
openclaw gateway stop - Reset configuration: re-run
openclaw onboardto overwrite existing settings - Back up configuration files: copy
~/.openclaw/openclaw.jsonand the workspace directory to a safe location regularly - Uninstall OpenClaw: follow the official uninstall steps to remove the daemon, config, and workspace cleanly
Install OpenClaw with Docker (Optional)
Install with Docker
From the repository root:
bash
./scripts/docker/setup.shThis builds the gateway image locally and runs onboarding automatically, including generating a gateway token.
Docker Compose example
bash
docker compose up -d openclaw-gatewayOnce running, open the Control UI at http://127.0.0.1:18789 and paste the token from your .env file.
When Docker is a better choice than a native installation
Docker makes sense for an isolated, disposable environment, or when you want consistent behavior across multiple hosts without managing Node.js versions manually. For a straightforward single-VPS deployment, a native OpenClaw Ubuntu installation is often simpler to manage day to day
Production Best Practices
- Monitor CPU and memory usage, especially during Docker image builds
- Keep Node.js updated to a supported version
- Schedule regular backups of your config and workspace directories
- Rotate API keys periodically, particularly after any suspected exposure
- Update dependencies regularly to pick up security patches
- Restrict public dashboard access to trusted networks only
- Monitor logs for repeated errors or unexpected channel activity
- Test backups periodically by restoring them on a separate machine
FAQs
Can I install OpenClaw without Docker?
Yes. The default install method uses the install script or npm, with Docker as an optional alternative.
Can OpenClaw run on Windows?
Yes. OpenClaw supports macOS, Linux, and Windows, including a native Windows Hub companion app.
Which AI models does OpenClaw support?
OpenClaw works with Anthropic, OpenAI, Google Gemini, xAI Grok, OpenRouter, GitHub Copilot, MiniMax, and any OpenAI- or Anthropic-compatible endpoint.
How do I update OpenClaw safely?
Run openclaw update, then openclaw doctor to confirm the update completed without configuration issues.
Why isn’t the OpenClaw dashboard loading?
Check that the gateway is running with openclaw gateway status, and confirm you’re using the correct port if you changed it from the default.
How do I uninstall OpenClaw?
Stop the gateway service, remove the daemon with your system’s service manager, then delete the ~/.openclaw directory.
Ready to Build with OpenClaw?
You have gone from cloning the OpenClaw GitHub repository to configuring the gateway, verifying your installation, and deploying it on a VPS with a reverse proxy and HTTPS. That’s the full lifecycle, covered end to end.
From here, start connecting channels, experiment with different AI providers, and build out the workflows your agent will handle daily. For anything meant to run continuously, deploying on a VPS beats relying on a personal machine that sleeps, reboots, or loses its network connection.
Ready to deploy? Truehost OpenClaw Hosting gives your OpenClaw VPS setup the uptime, resources, and reliability a production gateway needs, so your assistant stays online whenever your team needs it. Get OpenClaw hosting from Truehost running today and deploy with confidence.